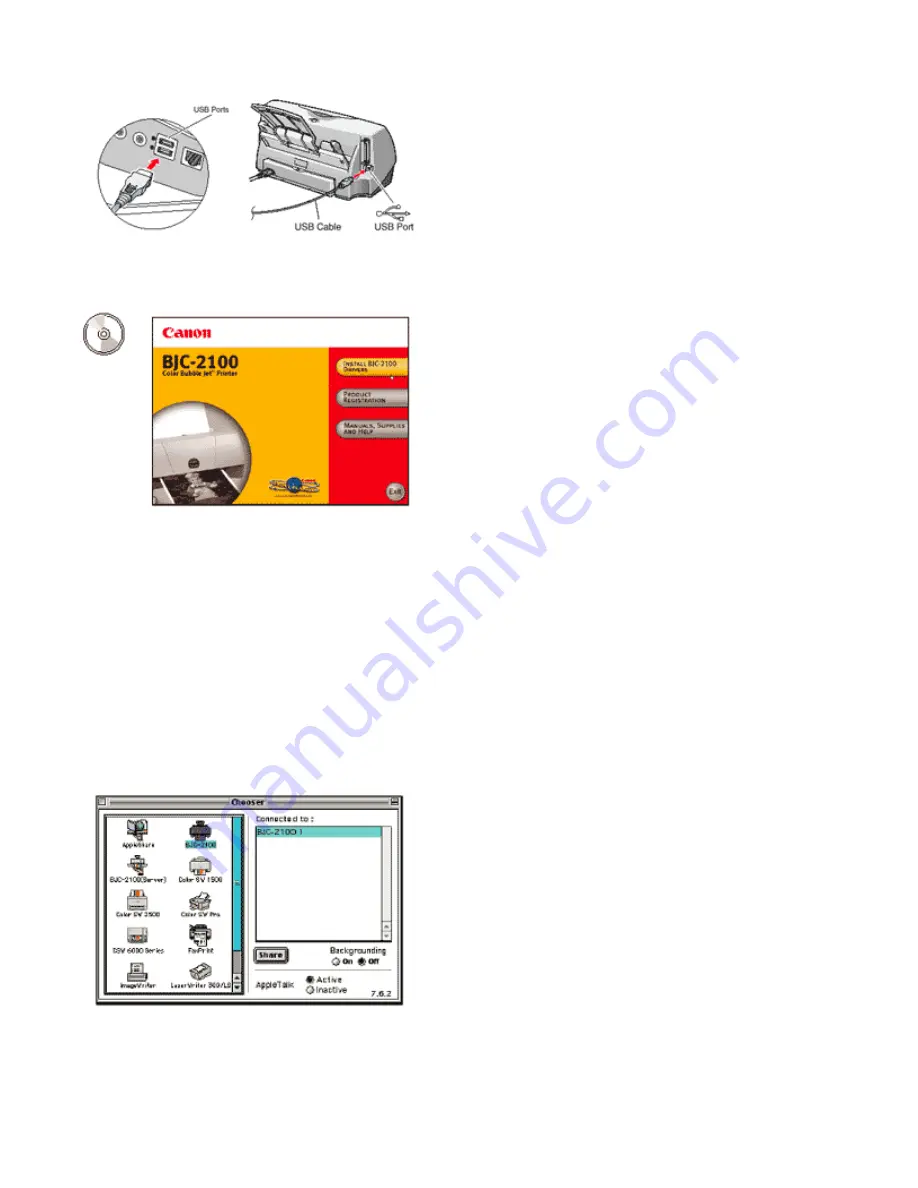
background image

Macintosh® Users


1. Connect the USB cable to the computer and then to the printer. 


2. Turn on the computer, and insert the Install Me First CD-ROM into your CD-ROM drive. The following screen 
appears: 


3. Click on "Install BJC-2100 Drivers." The License Agreement screen appears. 
 
4. Read the agreement and click Agree to continue. The next screen asks you to install the printer. 
 
5. Click on Install to continue with Easy Install. The next screen reports the progress of the driver installation. 
 
6. After driver installation, you must reboot the system. Click the Restart button when you see the "Installation 
was successful" screen. 

• 

After rebooting, the opening screen appears, allowing you to proceed with other portions of the installation 
process. 

 
7. Once installation is complete, be sure to go to the Chooser menu (under the Apple® icon) and select the BJC-
2100 as the default printer. 


Summary of Contents for BJC-2100 Series

Page 1: ...r drivers o Macintosh printer driver o IS 22 Color Scanner Cartridge driver o Online User s Manual o Software applications o Electronic registration 2 Remove all shipping tape and materials from the u...

Page 2: ...tray to the front of the printer Step 2 Plug In the Printer The printer is turned on as long as it is plugged in There is no power button or power light on this printer When not being used the printer...

Page 3: ...Section 3 Load Paper 1 Move the paper guide to the left to match your paper size 2 Insert the stack of paper with the print side up and adjust the paper guide...

Page 4: ...1 Open the front cover The cartridge holder moves to the left 2 Make sure the blue lock lever on the cartridge holder is raised 3 Remove the cartridge from its package 4 You MUST remove these protecti...

Page 5: ...er the blue lock lever until it locks into place Important Before you close the front cover write down the serial number located inside the printer to the right of the cartridge holder You ll need thi...

Page 6: ...u do not see this screen see the Installation Tips following step 5B 5 When you see this screen connect your interface cable to the printer Connect the free end of the USB or parallel cable to the pri...

Page 7: ...ation depends on computer and then connect it to the printer 2 Turn on the computer 3 The Found New Hardware Wizard screen appears Click Next Note If you do not see this screen skip to step 8 4 When t...

Page 8: ...Next 6 Once the driver is found this screen appears Click Next 7 The next screen shows successful completion of this installation Click Finish 8 Setup starts automatically Follow the on screen instru...

Page 9: ...en asks you to install the printer 5 Click on Install to continue with Easy Install The next screen reports the progress of the driver installation 6 After driver installation you must reboot the syst...

Reviews: