Chapter 3
3-34
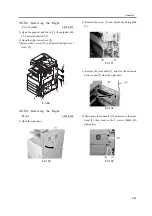
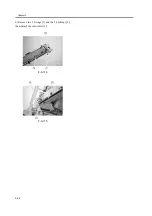
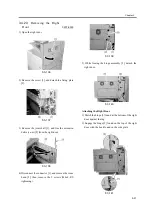
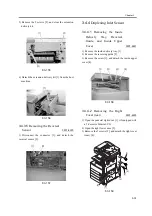
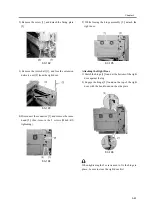
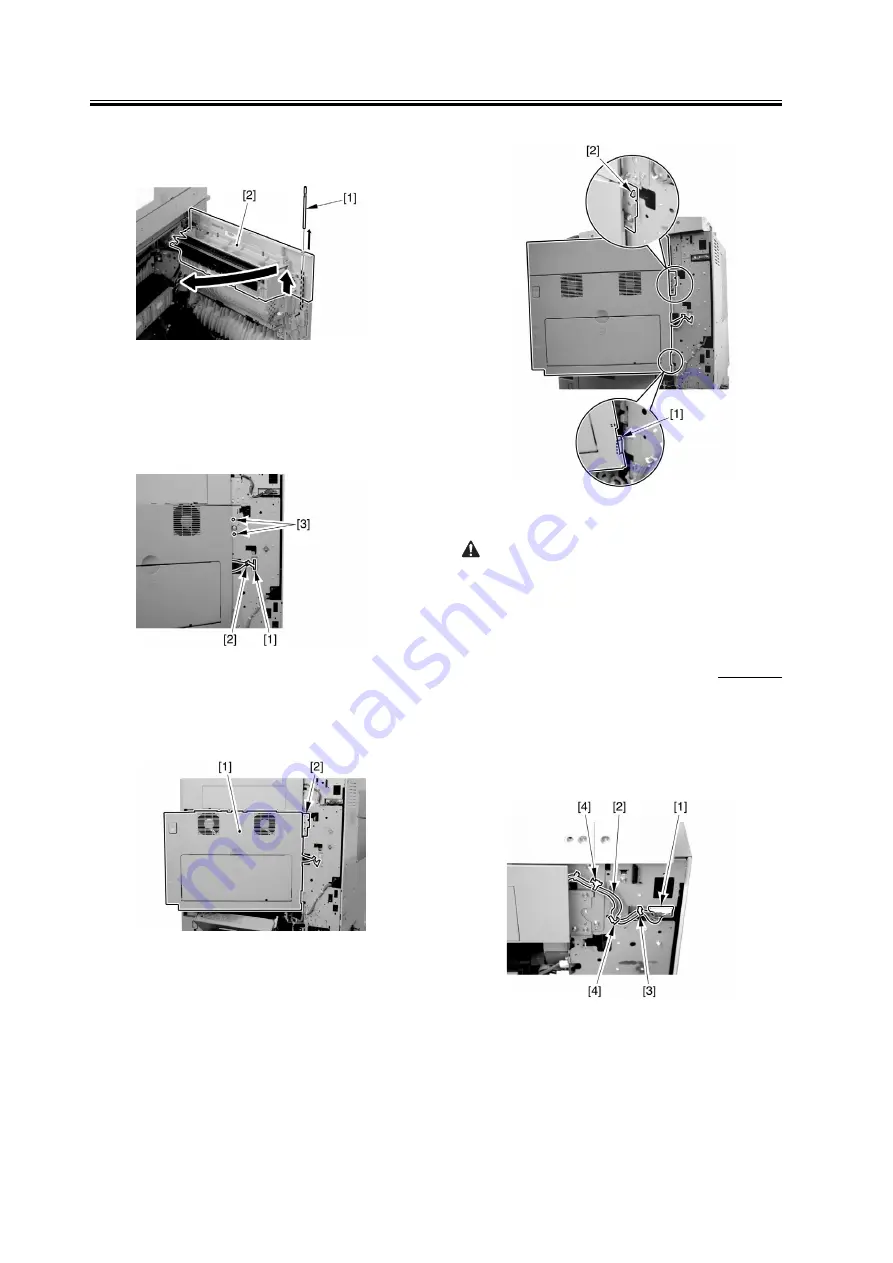
3) Remove the joint shaft [1], and free the extension
delivery unit [2] from the right door.
F-3-150
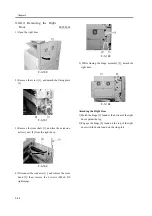
4) Disconnect the connector [1], and remove the reuse
band [2]; then, remove the 2 screws (M4x8; RS
tightening).
F-3-151
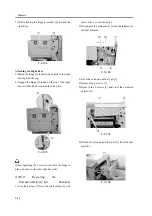
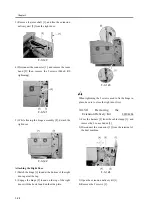
5) While freeing the hinge assembly [2], detach the
right door.
F-3-152
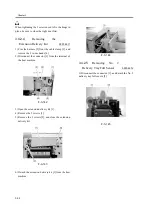
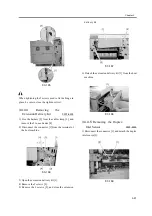
Attaching the Right Door
1) Match the hinge [1] found at the bottom of the right
door against the lug.
2) Engage the hinge [2] found on the top of the right
door with the hook found on the side plate.
F-3-153
When tightening the 2 screws used to fix the hinge in
place, be sure to close the right door first.
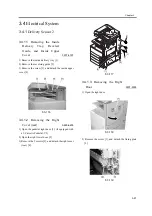
3.4.3.4
Removing the
Extension Delivery Kit
0007-6219
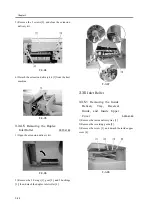
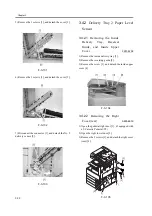
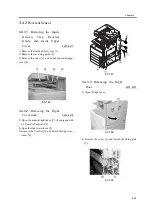
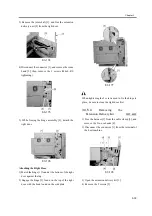
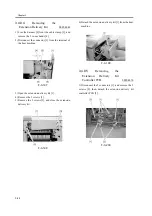
1) Free the harness [2] front the cable clamp [3], and
remove the 2 re-use bands [4].
2) Disconnect the connector [1] from the terminal of
the host machine.
F-3-154
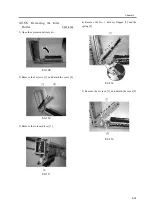
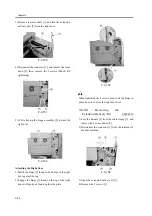
3) Open the extension delivery kit [1].
4) Remove the 2 screws [3].
Summary of Contents for A-1
Page 1: ...Oct 25 2004 Service Manual Finisher Sorter DeliveryTray 3 Way Unit A1 ...
Page 2: ......
Page 6: ......
Page 9: ...Chapter 1 Specifications ...
Page 10: ......
Page 12: ......
Page 17: ...Chapter 2 Functions ...
Page 18: ......
Page 20: ......
Page 29: ...Chapter 3 Parts Replacement Procedure ...
Page 30: ......
Page 77: ...Chapter 4 Maintenance ...
Page 78: ......
Page 80: ......
Page 84: ...Chapter 4 4 4 ...
Page 85: ...Oct 25 2004 ...
Page 86: ......


