Chapter 3
3-19
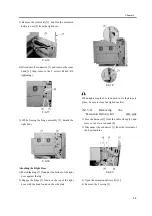
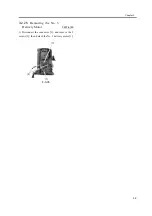
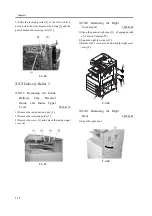
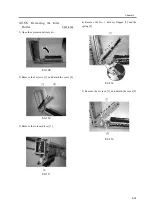
3) Free the cable from the 8 wire saddles [1], and
detach the re-use band [2].
F-3-80
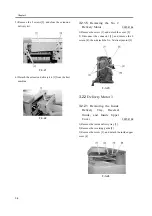
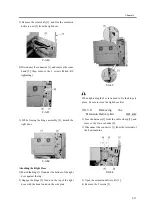
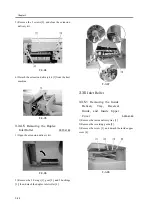
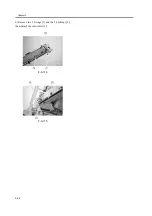
When pulling out the joint pin, hold the No. 2 delivery
assembly in place with your hand so that the assembly
will not tumble down.
4) Remove the 2 E-rings [1] and the joint pin [2] to
detach the No. 2 delivery assembly [3].
F-3-81
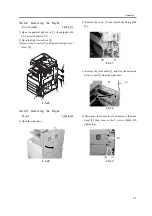
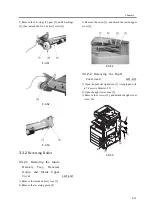
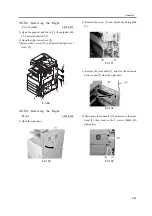
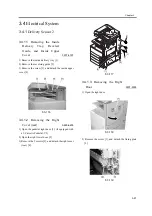
5) Remove the 2 E-rings [1], 2 gears [2], belt [3], pin
[4], and 5 screws [5]; then, detach the plate [6].
F-3-82
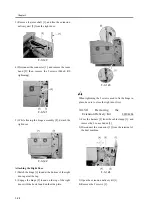
6) Remove the 2 screws [1], and detach the No. 3
delivery frame [2].
F-3-83
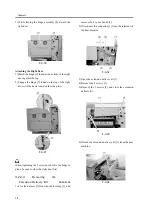
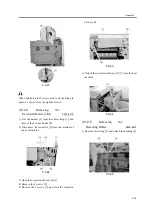
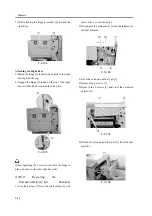
7) Remove the No. 3 delivery roller [1].
F-3-84
Summary of Contents for A-1
Page 1: ...Oct 25 2004 Service Manual Finisher Sorter DeliveryTray 3 Way Unit A1 ...
Page 2: ......
Page 6: ......
Page 9: ...Chapter 1 Specifications ...
Page 10: ......
Page 12: ......
Page 17: ...Chapter 2 Functions ...
Page 18: ......
Page 20: ......
Page 29: ...Chapter 3 Parts Replacement Procedure ...
Page 30: ......
Page 77: ...Chapter 4 Maintenance ...
Page 78: ......
Page 80: ......
Page 84: ...Chapter 4 4 4 ...
Page 85: ...Oct 25 2004 ...
Page 86: ......

