


86
Setting the White Balance
When the white balance mode is set to match the light source, the camera
reproduces colors more accurately.
1
Press
(
D
on the omni selector).
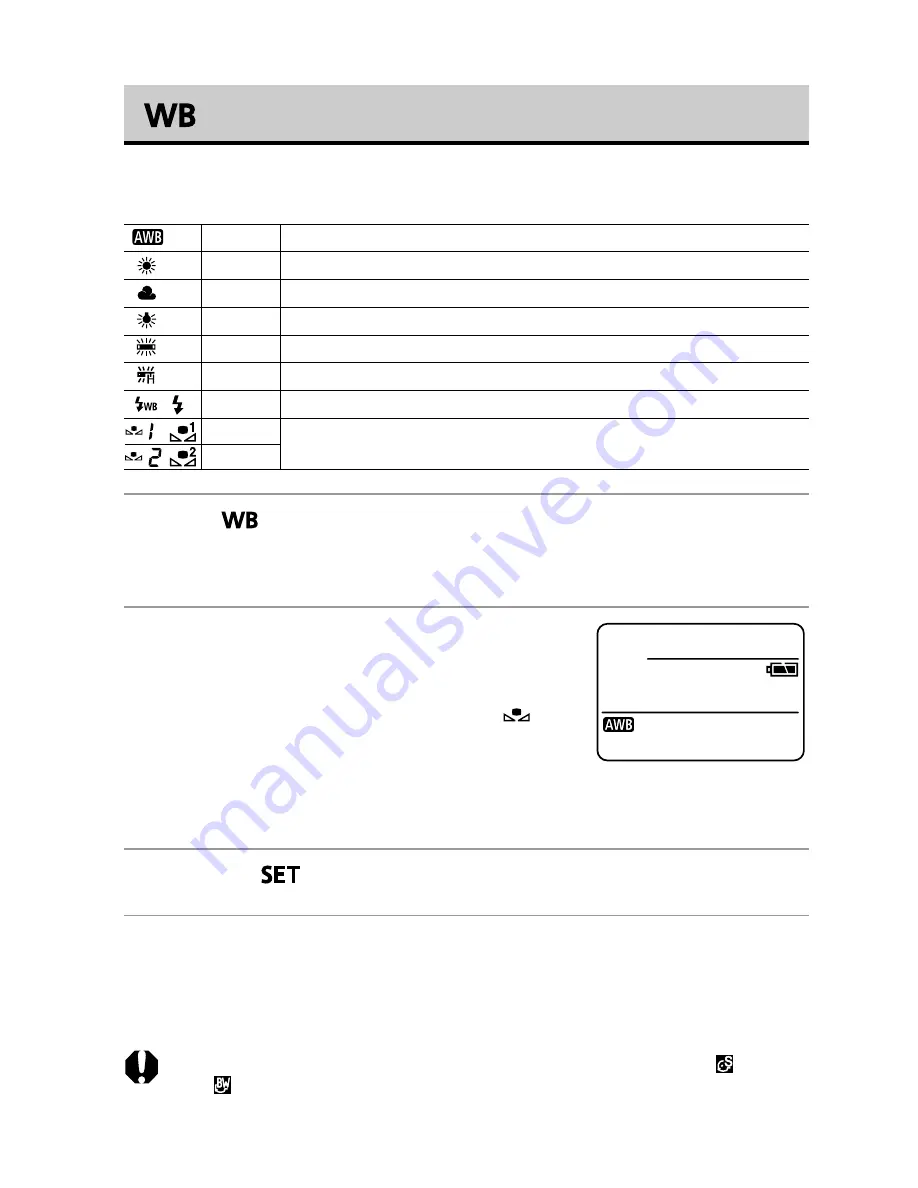
• The current white balance mode will appear in the display panel. The white
balance settings menu will appear in the LCD monitor if it is on.
2
Select the desired setting using the main
dial or the
B
or
A
arrow on the omni
selector.
• Please see the next page regarding the
custom setting.
• You can shoot the image right after selecting
settings by pressing the shutter button. This
screen will appear again, once the image is shot.
3
Press the
button or click the main dial.
4
Shoot the image.
○
○
○
○
○
○
○
○
○
○
○
○
○
○
○
○
○
○
○
○
○
○
• The white balance cannot be adjusted when the photo effect is set to
(Sepia)
or
(B/W).
Auto
Settings are automatically set by the camera
Daylight
For recording outdoors on a bright day
Cloudy
For recording under overcast, shady or twilight skies
Tungsten
For recording under tungsten and bulb-type 3-wavelength fluorescent lighting
Fluorescent
For recording under warm-white, cool-white or warm-white (3-wavelength) fluorescent lighting
Fluorescent H
For recording under daylight fluorescent, or daylight fluorescent-type 3-wavelength fluorescent lighting
Flash
For flash photography
Custom1
For setting a custom value with a white sheet of paper, etc., to obtain the optimal white balance
for the conditions. There are two custom values: custom1 and custom2.
Custom2
/
/
/


