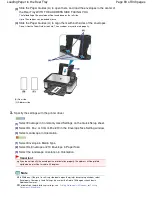


4.
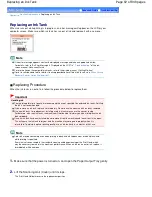
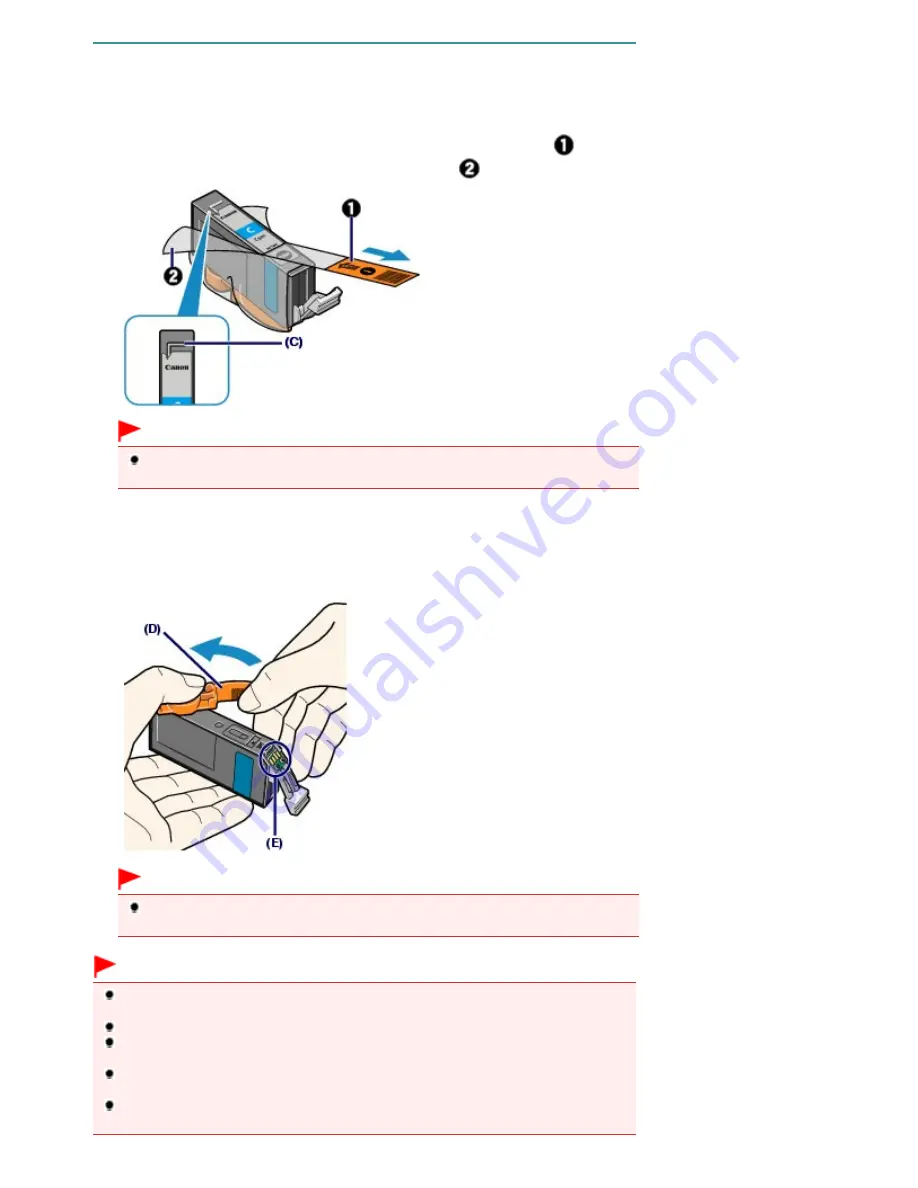
Prepare the new ink tank.
(1)
Take a new ink tank out of its package, pull the orange tape (
) in the direction
of the arrow to peel it off, then remove the film (
).
Important
Make sure that the film is completely removed from the air hole (C).
If the air hole is blocked with the remaining film, ink may leak out or may not eject properly.
(2)
Hold the orange protective cap (D) as indicated in the figure below, then twist
and remove it from the bottom of the ink tank.
Remove the protective cap while holding it to prevent the ink from staining your fingers.
Discard the protective cap once it is removed.
Important
Do not touch the electrical contacts (E) on the ink tank. It can cause the machine to
malfunction or become unable to print.
Important
If you shake the ink tank, the ink may spill out and stain your hands and the surrounding area.
Be careful to handle the ink tank.
Do not squeeze the side of ink tanks as this may cause the ink to leak out.
Be careful not to stain your hands and the surrounding area with ink on the removed
protective cap.
Do not reattach the protective cap once you have removed it. Discard it according to the local
laws and regulations regarding disposal of consumables.
Do not touch the open ink port once the protective cap is removed, as this may prevent the ink
from being ejected properly.
Page 94 of 949 pages
Replacing an Ink Tank
Summary of Contents for 3747B003
Page 19: ...Page top Page 19 of 949 pages Printing Photos Saved on the Memory Card USB Flash Drive ...
Page 22: ...Page top Page 22 of 949 pages Using Various Functions ...
Page 28: ...Page top Page 28 of 949 pages Inserting the USB Flash Drive ...
Page 73: ...Page top Page 73 of 949 pages Loading Paper ...
Page 81: ...Page top Page 81 of 949 pages Loading Paper in the Rear Tray ...
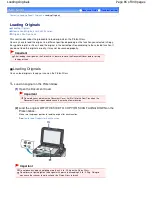
Page 87: ...2 Close the Document Cover gently Page top Page 87 of 949 pages Loading Originals ...
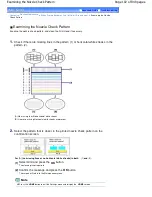
Page 101: ...Page top Page 101 of 949 pages Printing the Nozzle Check Pattern ...
Page 105: ...See Cleaning the Print Head Deeply Page top Page 105 of 949 pages Cleaning the Print Head ...
Page 148: ...Page top Page 148 of 949 pages Printing Photos ...
Page 173: ...See Help for details on the Edit screen Page top Page 173 of 949 pages Editing ...
Page 182: ...Page top Page 182 of 949 pages Printing ...
Page 191: ...Adjusting Images Page top Page 191 of 949 pages Correcting and Enhancing Photos ...
Page 228: ...Page top Page 228 of 949 pages Printing an Index ...
Page 230: ...Page top Page 230 of 949 pages Printing ID Photos ID Photo Print ...
Page 249: ...Page top Page 249 of 949 pages Printing Dates on Photos ...
Page 270: ...Page top Page 270 of 949 pages Borderless Printing ...
Page 329: ...Page top Page 329 of 949 pages Smoothing Jagged Outlines ...
Page 525: ...Page top Page 525 of 949 pages Memory Card Screen Scan Import Window ...
Page 606: ...Page top Page 606 of 949 pages Scanning in Advanced Mode ...
Page 608: ...Page top Page 608 of 949 pages Scanning in Auto Scan Mode ...
Page 637: ...Scanning in Basic Mode Page top Page 637 of 949 pages Basic Mode Tab ...
Page 660: ...Page top Page 660 of 949 pages Scanner Tab ...
Page 747: ...Page top Page 747 of 949 pages Printer Cannot be Registered ...
Page 761: ...Page top Page 761 of 949 pages Advanced settings ...
Page 780: ...Page top Page 780 of 949 pages If an Error Occurs ...
Page 823: ...Page top Page 823 of 949 pages Jammed Paper Is Not Removed out When Automatic Duplex Printing ...
Page 889: ...Page top Page 889 of 949 pages Using Easy PhotoPrint EX ...
Page 898: ...Page top Page 898 of 949 pages Canon IJ Network Tool Dialog Box ...
Page 917: ...Page top Page 917 of 949 pages How to Set a Network Key Network Password ...


