Using the Menus
Pre
p
ar
ati
o
n
s
31
Using the Menus
Many of the camcorder’s functions can be
adjusted from the menus that open after
pressing the FUNC. button (
).
For details about the available menu
options and settings, refer to the
Menu
Options Lists
(
43).
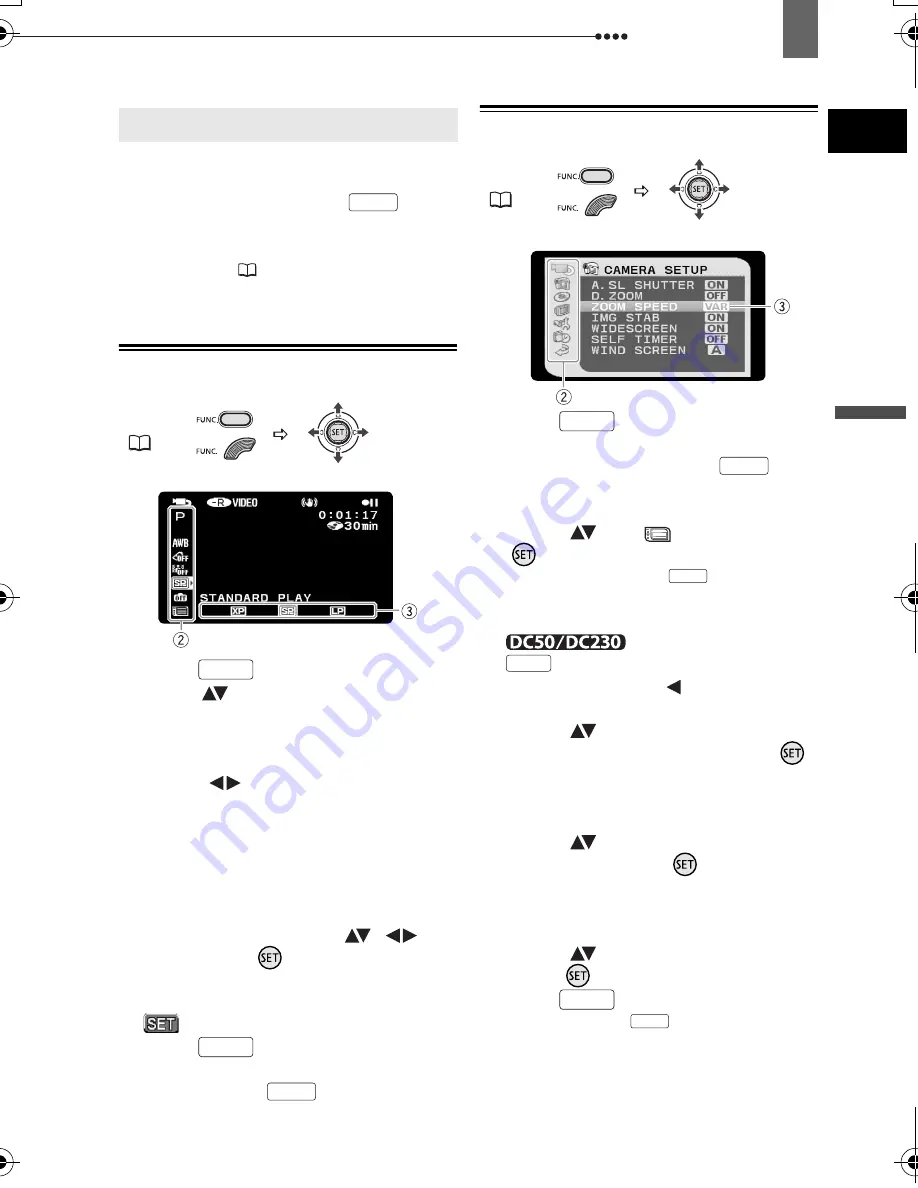
Selecting a FUNC. Menu Option
1
Press .
2
Select (
) the icon of the function you
want change from the left side column.
Menu items not available will appear
grayed out.
3
Select (
) the desired setting
from the available options at the
bottom bar.
• The selected option will be
highlighted in light blue. Menu items
not available will appear grayed out.
• With some settings, you will need to
make further selections (
,
)
and/or press (
). Follow the
additional operation guides that will
appear on the screen (such as the
icon, small arrows, etc.).
4
Press
to save the settings
and close the menu.
You can press
to close the
menu at any time.
Selecting an Option from the Setup Menus
1
Press .
During the playback of a disc recorded
in VIDEO mode, pressing
will
open directly the setup menus.
Continue directly from step 3.
2
Select (
) the
icon and press
(
) to open the setup menus.
• You can also hold
pressed
down for more than 2 seconds to open
directly the setup menus screen.
You can also press
on the wireless controller.
• Push the joystick ( ) to return to the
menu selection screen (step 3).
3
Select (
) the desired menu from
the left side column and press (
).
The title of the selected menu appears
on top of the screen and under it the
list of settings.
4
Select (
) the setting you want to
change and press (
).
The orange selection bar indicates the
menu setting currently selected. Items
not available appear in black.
5
Select (
) the desired option and
press (
) to save the setting.
6
Press .
You can press
to close the
menu at any time.
Using the Menus
FUNC.
(
31)
FUNC.
FUNC.
FUNC.
FUNC.
FUNC.
(
31)
FUNC.
FUNC.
FUNC.
MENU
FUNC.
FUNC.
D119_NTSC-E.book Page 31 Monday, December 18, 2006 10:14 AM


