8
Setting Up the Biometrics
Getting Started
Important:
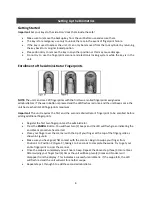
Set your keys to the side. Don’t lock them inside the safe!
Make sure to remove the backup key from the unit before use and secure them.
The key is for emergency use only to unlock the case in the event of fingerprint failure.
If the key is used to access the unit; it can only be removed from the lock cylinder by returning
the key back to its original locked position.
Please do not try to remove the key in any other position or this may cause damage.
Do not try to use the fingerprint scanner and electronic locking system while the key is in the
unit.
Enrollment of the Administrator Fingerprints
NOTE:
The unit can store 120 fingerprints with the first two enrolled fingerprints assigned as
administrators. If the Learn Button is pressed and the LED flashes red once and the unit beeps once the
unit has reached its 120 fingerprints maximum.
Important:
The unit requires the first and the second administrator’s fingerprint to be enrolled before
adding additional fingerprints.
Register the first two fingerprints as the administrator.
Press the
ENROLL
Button. You will hear two (2) beeps and the LED will flash green indicating the
enrollment procedure has started.
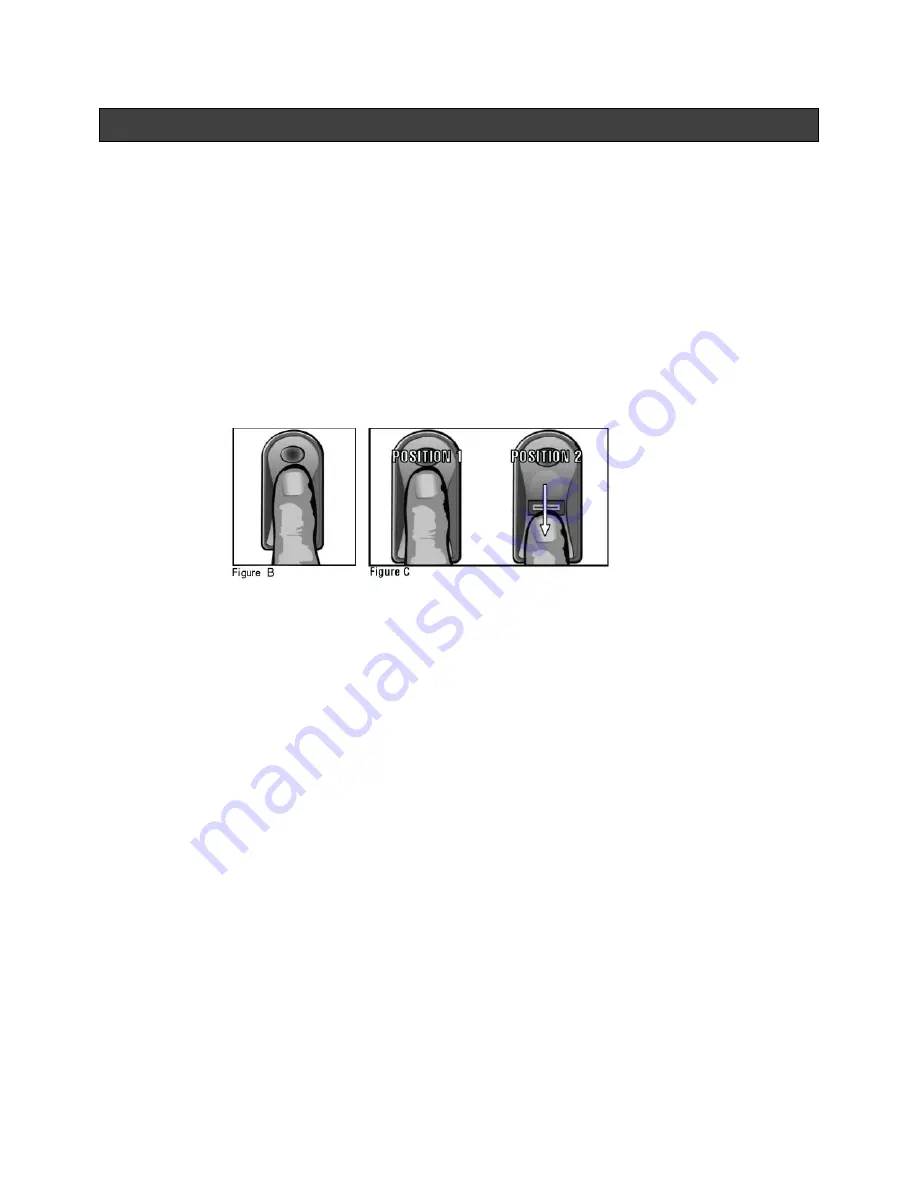
Place your finger over the scanner with the tip of your finger at the top of the finger guide as
shown in Figure B.
Make sure you have good, flat contact with the scanner. Begin to swipe your finger from
Position 1 to Position 2 (Figure C), taking 1 to 2 seconds to complete the swipe. Try to get your
entire fingerprint to cross the scanner.
Once the swipe is completed you will hear a beep. Repeat the above step three (3) more times.
After swiping your finger four (4) times the unit will beep two (2) times and No User will
disappear from the display. This indicates a successful enrollment. If the swipe fails, the LED
will flash red and the unit will wait for another swipe.
Repeat steps 1 through 5 to add the second administrator.
Summary of Contents for RadioVault
Page 1: ...RadioVault Owner s Manual REV 1 4 12 ...
Page 3: ...2 Display Controls and Indicators ...
Page 4: ...3 Display Controls and Indicators ...
Page 12: ...11 Notes ...
Page 13: ...12 Notes ...
Page 15: ...14 ...


