


.51.
.50.
7. Normal operation
7. Normal operation
7.5.9 Restore Settings
There are 5 items in initial setting submenu.
The
screen
shows
as
below
:
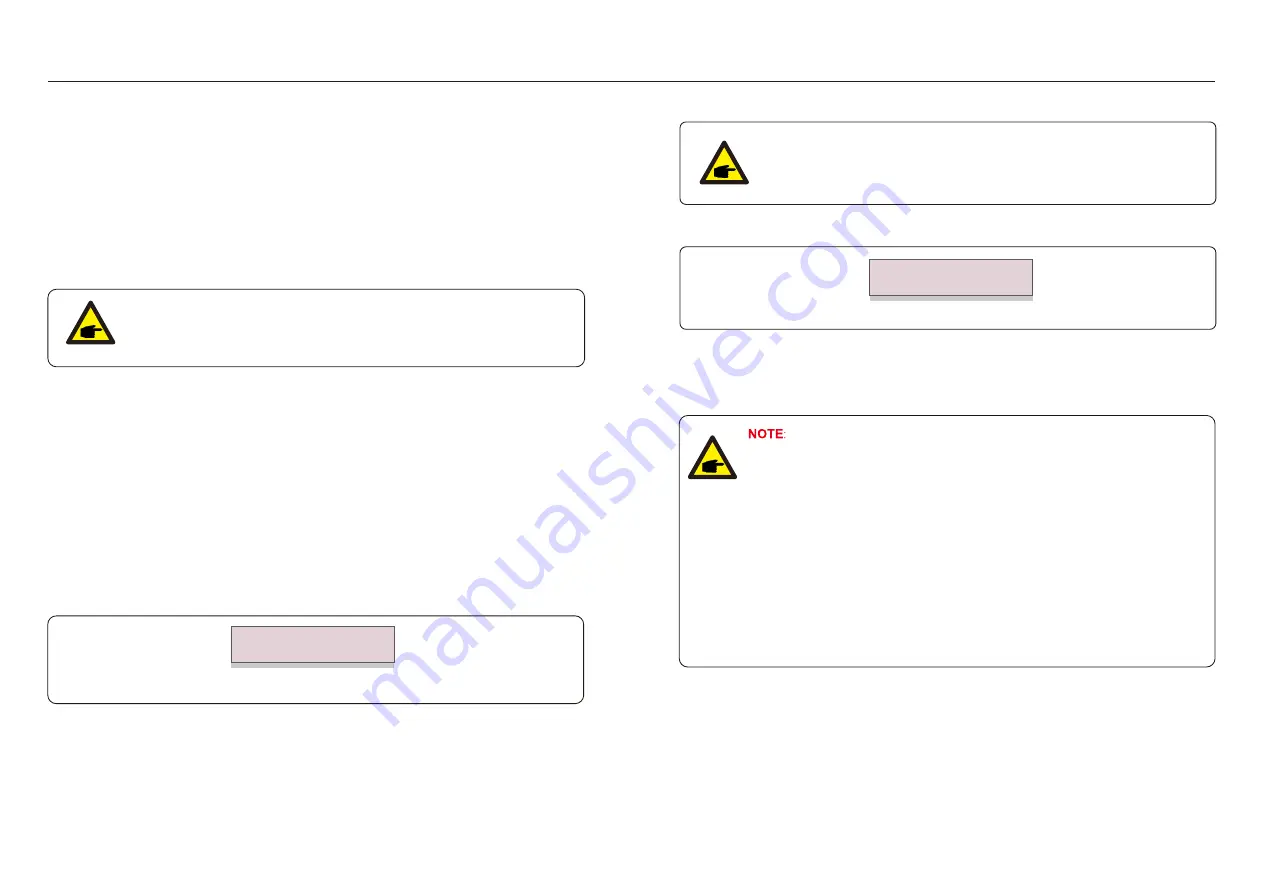
Restore setting could set all item in 7.5.7 special setting to default.
Figure 7.22 Restore Settings
Are
you
sure
?
YES=<ENT> NO=<ESC>
Press
the
Enter
key
to
save
the
setting
after
setting
grid
off
.
Press
the
ESC
key
to
return
the
previous
mean
.
7.5.11 Internal EPM Set
This section includes two functions related to the smart meter.
Please refer to section 4.3 for detailed connection diagrams.
Function 2: 24 Hour Consumption Monitoring Function
Only applicable if Canadian Solar monitoring system is used.
Inverters can work with a smart meter to monitor the load consumption data for
the whole day and the data will be displayed on the Canadian Solar monitoring system.
Smart meter can only be installed on the grid side.
Function 1: Internal Export Power Management Function
Inverters can work with a smart meter to dynamically limit the export power of
the system. Zero injection can be achieved.
Smart meter can be installed either on the grid side OR the load side.
7.5.8 STD
Mode Settings
1.
Working Mode Set
2.
Power Rate Limit
3.
Freq Derate Set
4.
10mins Voltage Set
5.
Power Priority
6.
Initial Settings
7.
Voltage PCC Set
Selecting “STD Mode. Settings” displays the sub-menu shown below:
This function is applicable by maintenance personnel only, wrong operation
will prevent the inverter from reaching maximum power.
7.5.8
.
1 Enable DRM/Logic Interface Settings
Please follow below settings to enable the DRM/Logic Interface function.
The setting is "OFF" by default. If the setting is set to "ON", but the external DRM controlling
device or logic interface relay is not connected or logic interface relay is opened, the inverter
will display "LimbyDRM" and the inverter output power will be limited to zero.
1. Select "
Initial Settings
"
2. Select "
DRM" and set it to "ON
"
7.5.10 HMI Update
HMI
Current
Ver
.: 02
YES
=<
ENT
>
NO
=<
ESC
>
Selecting “Updater” displays the sub-menu shown below:
This section is applicable to maintenance personnel only.
Updater is for updating LCD firmware.
Press the ENTER key to start the process.
Press the ESC key to return to the previous menu.
Figure 7.23


