- 9 -
the shelter.
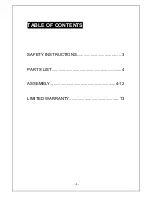
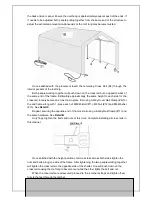
Using a small length pipe or a wooden dowel insert it through the eye of the fastening
stake.Applying downward pressure and using the pipe or dowel for leverage, twist the
fastening stake into the ground until only 3”(7.62 cm) of the stake remains above ground
surface. Using the wire provided lash the Cross Rail (Bottom) (#4) down to the fastening
stake as shown in the illustration.
THIS SHELTER MUST BE ANCHORED AND IS NOT
TO BE USED WITHOUT COMPLETING THIS STEP.
DEPENDING ON SOIL CONDITIONS, THE
ANCHORS PROVIDED MAY NOT BE
SUFFICIENT TO HOLD THE STRUCTURE DOWN
DURING TIMES OF HIGH WINDS. THE USER OF
THE SHELTER MUST ENSURE TO TAKE
ADEQUATE PRECAUTIONS TO ANCHOR THE
SHELTER SECURELY
.
Note: Do not proceed on to the panel and covering
steps until the frame is properly anchored
Step 6: Attaching End Panels
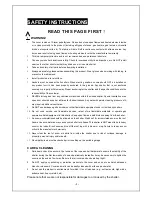
Starting from the peak, remove the Cross Rail (#3) from the 3-Way Top Connector
(#5-1). Place exposed at the top of the panel over the 3-Way Connector and under the
cross pole as shown in Detail E on the next page. Replace the Cross Rail (#3). At each
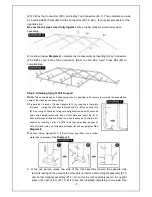
corner remove the Cross Rail (#3) and pull the fabric around to the inside, placing the
3-Way Socket (#5-2 or #5-3) through the opening in the fabric as shown in Detail D. Tighten
the panel by following
Diagram L
. Repeat above for another door.
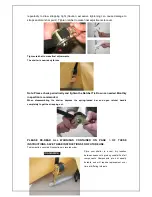
See
Diagram J
for tightened end panel.


