CSA-10PA
How to Set
Choose your package and follow the process as below
009
CSA-10PA
Setting the set-top box options to watching TV. (Refer to Subscriber’s Manual of your settop box.)
Turn on the power inserter
Turn on the IDU
Wait until antenna searching and
positioning is completed
(approximately a minute ).
Press any key to ready the CSA-10PA.
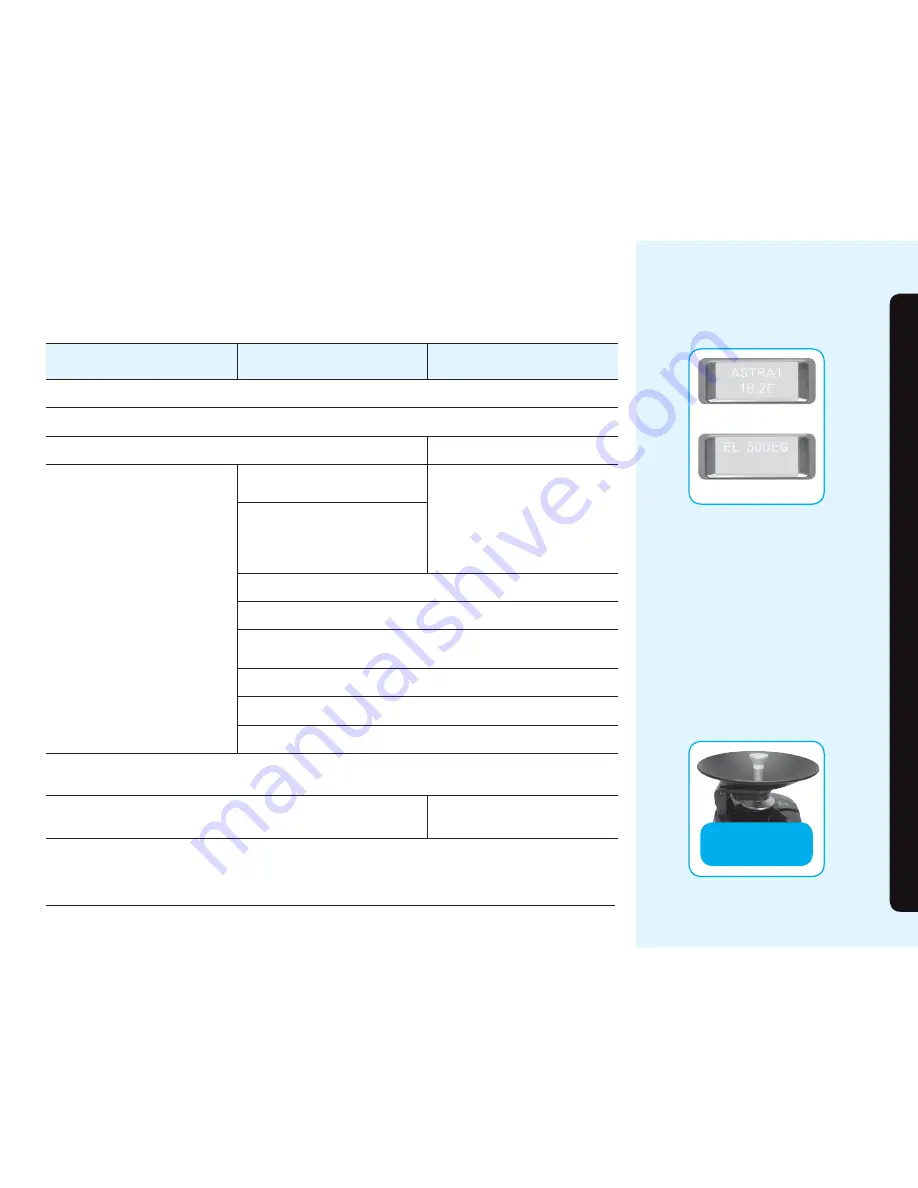
Select a satellite that you wish with the up & down button.
After that, go to the elevation selection menu with the ‘set’ button.
A few seconds later, “Elevation Angle Menu” will appear on the LCD.
Select an elevation that you wish.
Select a proper angle of its elevation with the up & down button.
Make sure proper operation by pressing the ‘set’ button after the above process done.
Wait until antenna searching and positioning is completed (approximately a minute)
A few seconds after System Power On, “
satellite name” will appear on the LCD.
Select a satellite that you wish. Be wait
until the name appear.
After antenna positioning is complete CSA-10PA will start automatically and TV can now be viewed. If no TV picture check all
conditions set-top box, CSA-10PA and TV follow the above steps again.
When you have fi nished using the CSA-10PA or would like to set it to the parking position for transportation, plug in the power
supply and switch the IDU on using the power switch. This will automatically set the unit into the parking position.
The dish elevation will drop and the base unit will rotate until it switches off in the parking position. This process will take
approximately a min. to complete.
You may off the power switch and remove the adapter after successful installation .
(Don’t remove the feeder cable between Set-Top and Dish)
A few seconds after System Power On, “
satellite name” will appear on the LCD.
Select a satellite that you wish. Be wait
until the name appear.
CSA-10PA PLUS
CSA-10PA PRO
Turn on the TV and Settop box.
Parking Position
Example Picture
Example Screen(Satellite Selection)
Example Screen(Elevation Selection)