16
Setting the Needle Origin
and Verifying the work area
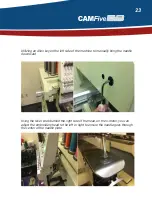
• Before starting the design, you must check your work
area to ensure that the needles do not collide with the
hoop bar.
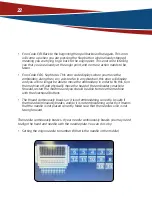
• In order to do this, press the directional button on the top
right corner, and move the needle to a corner where the
origin point is safe within the material.
Note: The origin point will follow the needle that is set as the main needle. To adjust which of the
15 needles to be the main, press the change needle button, and choose which one should be the
main needle (typically needle 1).
• Press the directional keys if you need to
move the needle origin around, until you
have the correct work area.
• Now that you have set the needle
origin, now we can do a border
check to see where the design will
embroider over.
• Press the directional keys on the
top right corner, and press Border
Check on the bottom. This will allow
your embroidery machine to make
a preview of the area that the
machine will embroider over.


