119RW25
119RW25
- ver.
11
- 11/2013
Lit-up icons
Symbol
*
Meaning
(green)
Signals open inputs in system. If relating to any areas of the
scenario that you want to boot, the keypad will indicate what they
are and, to continue, you will need to close them or exclude them
temporarily.
Indicates that there are no open inputs. The scenario can be
turned on without any problems.
(green)
Indicates that the areas are off (system off).
Indicates that the areas are on (system full on).
Indicates that at least one area is on (system partially on).
(red)
Indicates that the areas are in alarm.
Indicates that at least one area is in alarm (system in alarm).
Indicates that the system has detected an alarm that has been
acknowledged. See the event list for the alarm log. To remove the
message refer to the control panel USER MANUAL.
(yellow)
Indicates that there are no system faults.
It may indicate that:
- the mains supply (230
V
AC) is absent;
- the battery of a radio device must be replaced;
- there is a fuse to be replaced;
- an faulty input is unbalanced;
- the clock has not been initialised yet;
- there is a problem on the PSTN or GSM line;
- the SIM card of the GSM module has expired.
Indicates that the control panel battery must be replaced.
*
off,
steady,
flashing light,
Technical data
Type
STDCSNWL - STDCSBWL
Power supply (V DC)
3 x CR123A batteries
Maximum absorption (mA)
600
Absorption in stand-by (μA)
20
Frequency (MHz)
Dual Band: 868,65 / 433,92
Battery life guaranteed (years)
2 for 1 minute of use per day
Relative humidity (%)
25 - 75, non-condensing
INSTALLATION
Fix the bracket
③
with screws supplied, making sure that the strain relief device
⑦
rests on
the wall and that the writing
⑤
in upright.
Fit batteries
⑥
and engage the keypad lock
④
to the bracket
③
by snapping into place.
Proceed with the self-learning of the CP Control Panel (see relative Installation Manual).
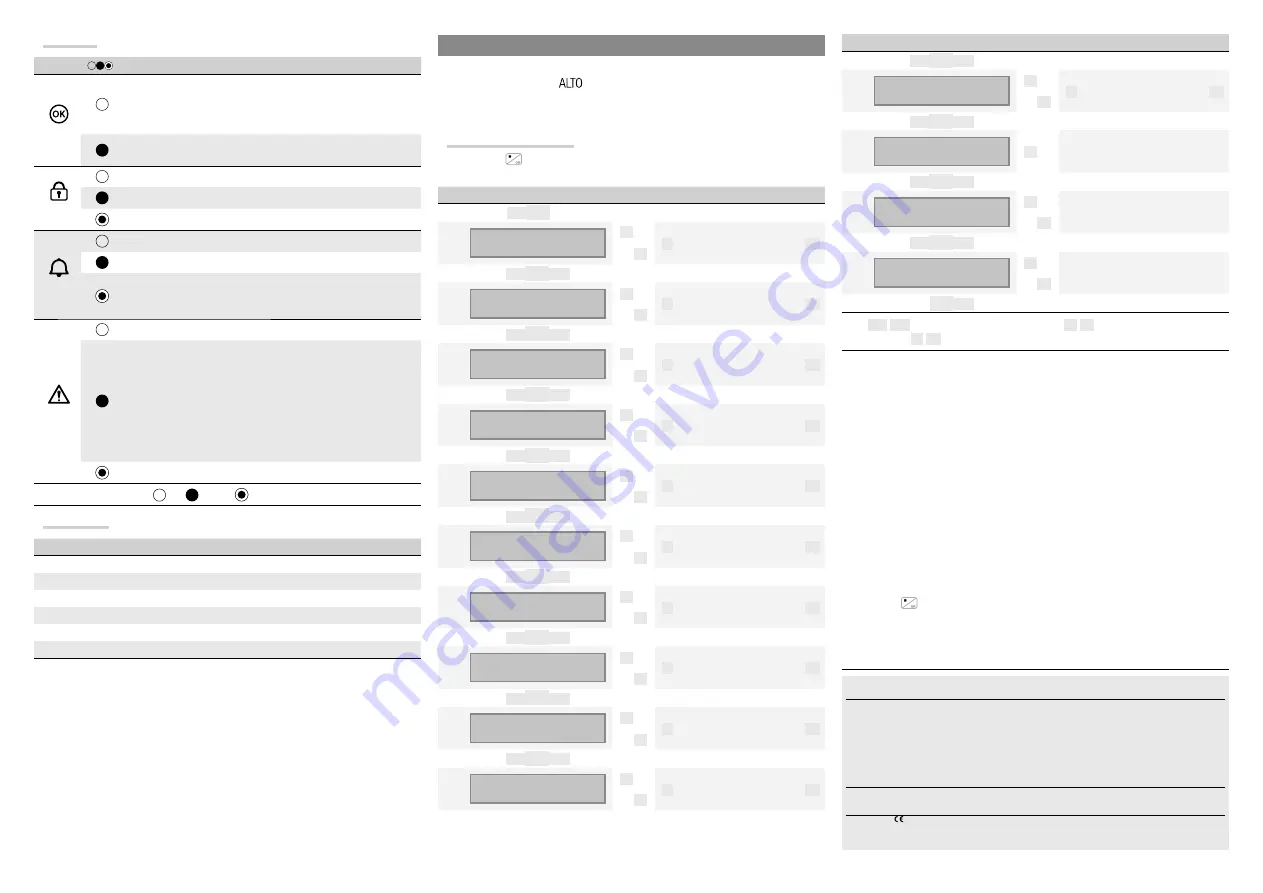
Selections and adjustments
Hold down the
button for about 5 seconds to enter the Keypad Menu (this menu is
independent from the control panel menu), from which it is possible to:
Menu Items
Values
[▲]
[▼]
KEYPAD
LANGUAGE
[*]
->
[-]
ITALIANO / ENGLISH /
FRANÇAIS / ESPAÑOL /
PORTUGUÊS
[+]
<-
[#]
[▲]
[▼]
DISPLAY
CONTRAST
[*]
->
[-]
▌▌▌▌▌▌▌▌▌
[+]
<-
[#]
[▲]
[▼]
DISPLAY
BRIGHTNESS
[*]
->
[-]
▌▌▌▌
[+]
<-
[#]
[▲]
[▼]
DISPLAY
BRIGHTNESS
[*]
->
[-]
▌▌▌
[+]
<-
[#]
[▲]
[▼]
ON KEYBOARD
LIGHTING
[*]
->
[-]
▌▌▌▌
[+]
<-
[#]
[▲]
[▼]
ON KEYBOARD
LIGHTING
[*]
->
[-]
▌▌▌
[+]
<-
[#]
[▲]
[▼]
STATE LED
BRIGHTNESS
[*]
->
[-]
▌▌▌▌
[+]
<-
[#]
[▲]
[▼]
STATE LED
BRIGHTNESS
[*]
->
[-]
▌▌▌
[+]
<-
[#]
[▲]
[▼]
TEMPO
DISPLAY ON
[*]
->
[-]
10 s
[+]
<-
[#]
[▲]
[▼]
BUZZER
[*]
->
[-]
ENABLED
/
DISABLED
[+]
<-
[#]
Menu Items
Values
[▲]
[▼]
TAMPER
[*]
->
[-]
ENABLED
/
DISABLED
[+]
<-
[#]
[▲]
[▼]
KEYBOARD
CLEANING
[*]
->
Cleaning keypad
30 s
[▲]
[▼]
LEARNING
N°-- SN.xxxxxxxx
[*]
->
N°-- SN.xxxxxxxx
<-
[#]
[▲]
[▼]
KEYBOARD
VERSION
[*]
->
CAME
v. x.xx
<-
[#]
[▼]
[▼]
Key:
[▲]
[▼]
to navigate between menu items;
[*]
[#]
to enter and exit from
selected item;
[-]
[+]
to change value.
Note:
the keyboard language can be diff erent from the language of the control unit
(default: Italian);
<
adjusts the brightness of the keypad (display, keypad, and status icons
separately) that can be turned off , turned on, or turned on at maximum brightness or at
minimum brightness. When off , bringing your hand near the proximity sensor, toggles the
keypad to full brightness level. After a set time (see
) brightness drops to minimum
level and, after an extra 5 seconds, the keypad switches off ;
sets the stand-by time from 5 to 30 seconds (default: 10), before switching to
minimum brightness and rebooted after every activation of the proximity sensor or button
pressing;
default: enabled;
default: disabled;
allows you to clean the keypad by blocking all functions for 30 seconds, after which it
will automatically be reactivated;
once self-learning has been launched from the control panel (see Installation Manual),
pressing the
button on the keypad engages communication with the control panel.
Following the self-learning procedure, the display will show the number of the keypad
previously confi gured in the control panel, for example, N ° 04 SN.xxxxxxxx (SN is an
8-digit production serial number);
displays the version of fi rmware installed on the keyboard.
Decommissioning and disposal
- Before proceeding, it is always advisable to check specifi c
regulations in force in the place of disposal. Packaging components (cardboard, plastic, etc.) can be
disposed of together with normal household waste without any diffi
culty, by simply separating the
diff erent types of waste and recycling them. Other components (control boards, transmitter batteries,
etc.), on the other hand, may contain pollutants. They should therefore be removed and handed over
to companies authorised to recover and recycle them.
DISPOSE OF PROPERLY!
The data and information provided in this manual are subject to change at any time without prior
notice.
Declaration
- Came Cancelli Automatici S.p.A. declares that this device complies with the es-
sential requirements and other relevant provisions established in Directive 1999/5/EC.
Reference code for requesting a true copy: DDC RA W006.


