Page
9
- Manual:
FA00744-EN
- ver
.
1
- 04/2017 - © C
AME S.p.A. - The data and information shown in this manual ar
e t
o be consider
ed subject t
o change at any time and without the need for any advance warning.
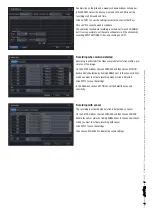
Open the browser (Internet Explorer, Mozilla Firefox), key in the IP
ADDRESS and press send.
If the http port is not the default one (80), indicate after the IP
address the number of the http port
(for example: http://IP PUBBLICO:81).
To access the display remotely enter USERNAME and PASSWORD
where required.
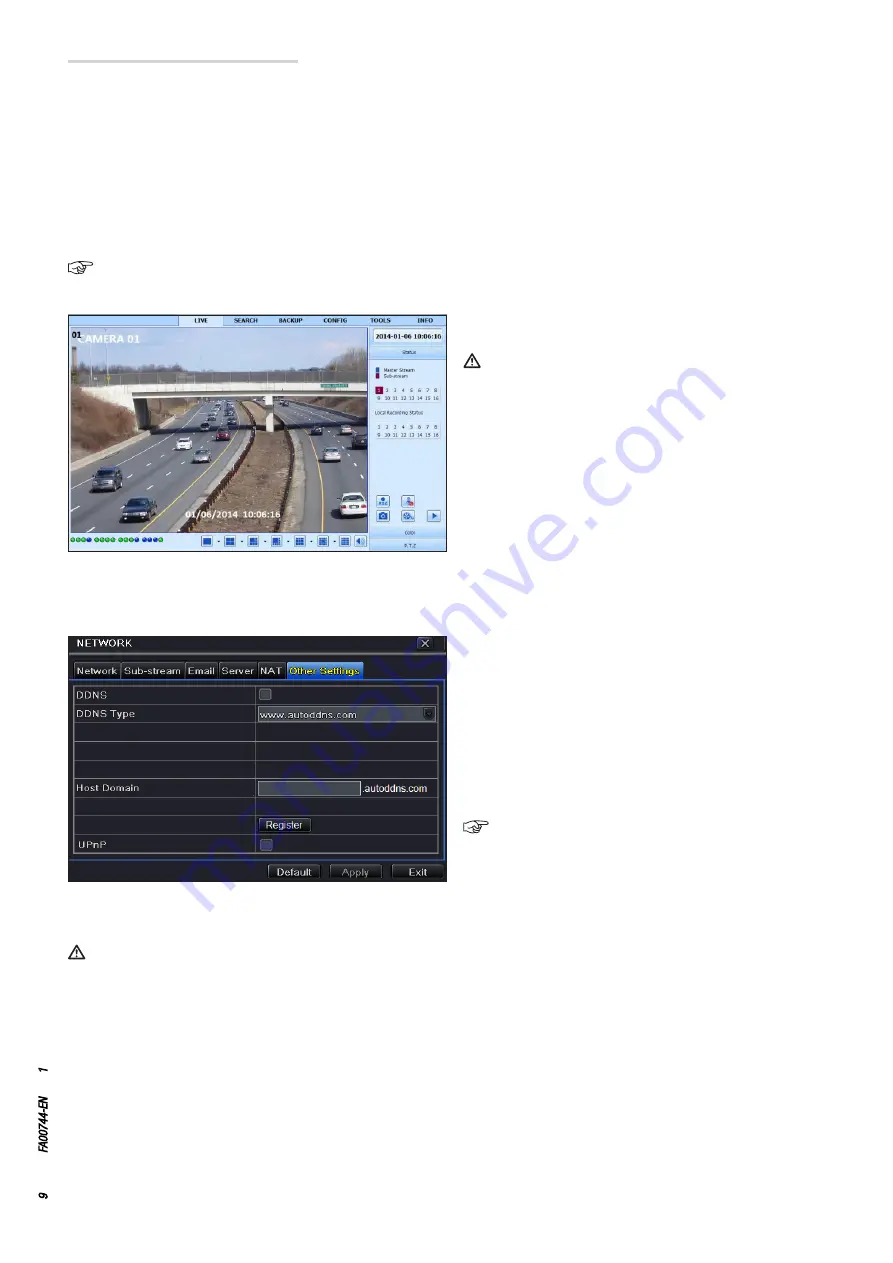
Setting up DDNS
name followed by the name of the domain (eg: came.autoddns.com) and press send. Remote access can also take place via NVMS1000 software
(for PC) or NVMS1200 software (for MAC OS).
If the http port is not the default one (80), indicate after the IP address the number of the http port
(for example: http://came.autoddns.com:81).
It is possible to set up the DDNS with a dynamic public IP.
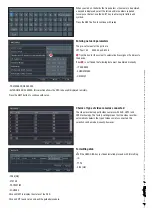
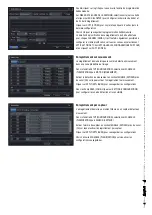
1. Access Main Menu
⇨
Setup
⇨
Network
⇨
Other Settings.
2. Enable DDNS and select "www.autoddns.com" in the DDNS
Type drop-down menu. Enter the Host name you want and press
REGISTER; if it is not accepted, retry with another, less common,
Host name. Once registration has been carried out, save the
settings by clicking the APPLY button.
At this point, it is possible to access the DVR remotely using the
domain name via WAN.
This step is not necessary if the P2P (NAT) function is enabled
in the DVR.
Open the browser (Internet Explorer, Mozilla Firefox), key in the Host
Access to the DVR via WAN
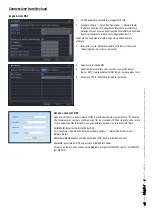
On the SETUP menu, choose the NETWORK icon.
Insert the data required in the relevant fields:
IP ADDRESS, SUBNET MASK, GATEWAY.
Use the DHCP protocol to automatically address the DVR from the router.
Carry out forwarding (data transfer) of the IP ADDRESS, HTTP ports and SERVER PORT on the VIRTUAL SERVER of the ROUTER or of the virtual
server.
Set up the firewall so as to allow access to the DVR.
This step is not necessary if the UPnP function is enabled in the DVR and the ROUTER.


