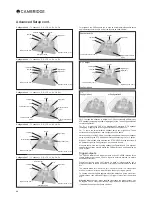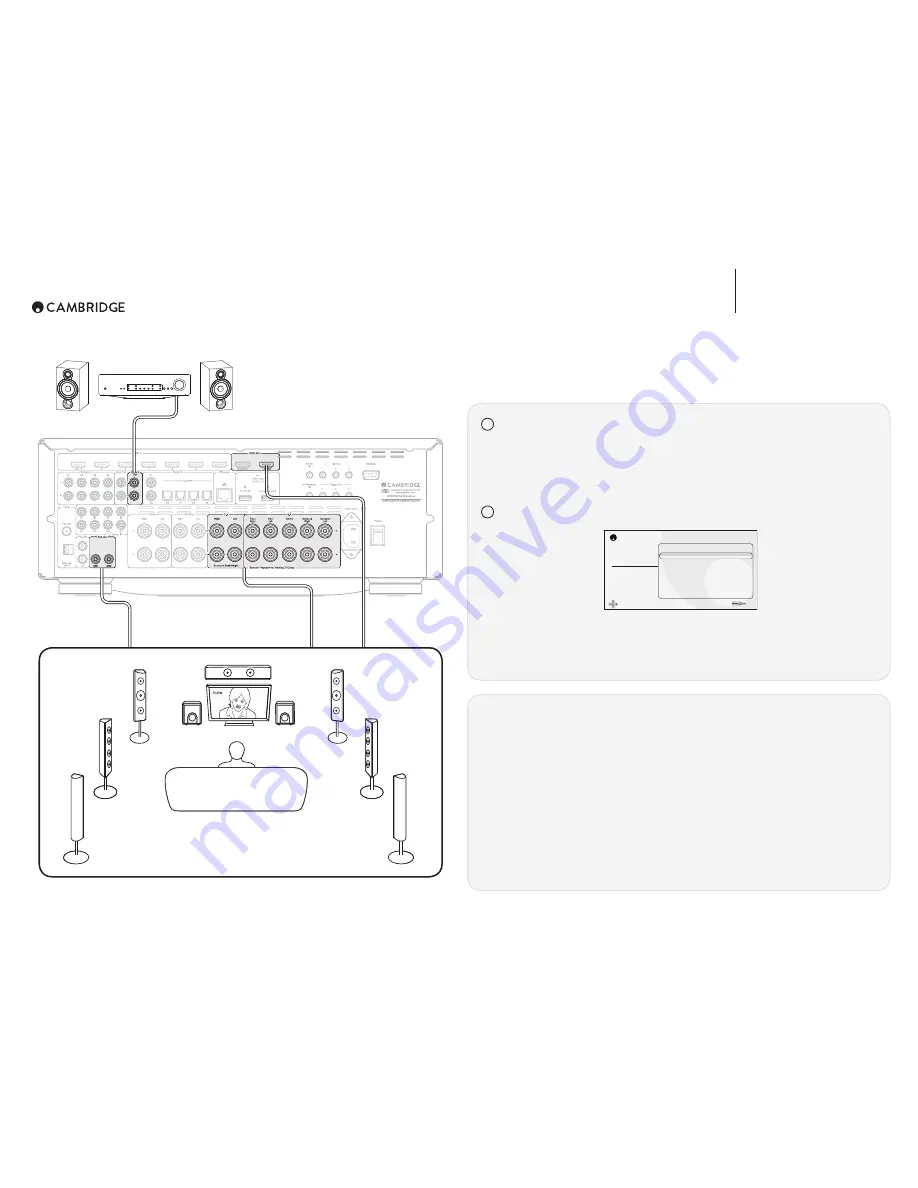
ZONE 2
SETUP GUIDE
CX
R200
5
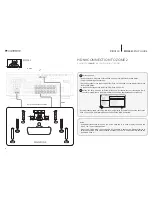
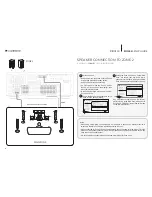
ZONE 2
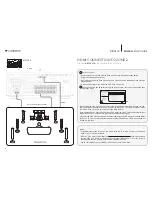
Up to 7.2 speaker connection
HDMI
MAIN ZONE
1
Switch on Zone 2:
– Using the remote: Press and hold the Zone 2 button, then press the Standby button
– Using the Cambridge Connect app
– On Front panel: press the Zone 2 button (Zone 2 will be shown on the display), then press the
Standby button
– In the Zone 2 Settings menu within the OSD: Zone 2 Power On
2
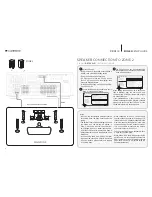
The Zone 2 source can be selected using the remote control, front panel, app and the Zone
2 Settings menu.
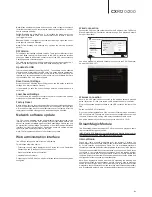
CXR Setup Menu
Speaker Setup
Input Setup
Zone 2 Settings
Network Setup
General Settings
HDMI Output Setup
Advanced Setup
Zone 2 Power
Zone 2 Source
Zone 2 Power On Volume
On
Source 3
- 30 dB
>OLUZL[[PUN[OLAVUL:V\YJL[VHU`ZV\YJL[OH[PZKPɈLYLU[MYVT[OLTHPUaVULVUS`ZV\YJLZ
with a 2CH PCM (stereo) audio signal are output to Zone 2.
If the selected Zone 2 Source has a multi-channel audio signal (eg. BD player/5.1 satellite signal)
this cannot be output to Zone 2 if the Follow Main feature is not being used.
Notes:
0UAVUL[V^H[JOSPZ[LU[VHKPɈLYLU[ZV\YJL[V[OL4HPUAVUL[OLU[OLAVULZV\YJLT\Z[
be stereo.
;OL-4(4;\ULYHUK:[YLHT4HNPJ:V\YJLZHYLZ[LYLVHUKJHUHS^H`ZILWSH`LKPUAVUL
If a source is set to use audio from an analogue input, or a digital input as 2CH PCM, then this
JHUHSZVILWSH`LKPUAVUL^OPSZ[HKPɈLYLU[ZV\YJLPZILPUNWSH`LKPU[OL4HPUAVUL
(ZV\YJL\ZPUNH\K40VYHKPNP[HSPUW\[T\Z[ILZL[[V*/7*4[VILWSH`LKPUAVUL
^OPSZ[HKPɈLYLU[ZV\YJLPZWSH`PUNPU[OL4HPUAVUL
>OLUAVULPZ6U[OL/+40V\[W\[PZHSZVZL[[VAVUL0[PZUV[WVZZPISL[V\ZL[OL[^PU
HDMI outputs for dual (mirrored) displays when Zone 2 Power is On (unless using the Follow
Main feature).
0[PZUV[WVZZPISL[VJVUÄN\YL[OLZLJVUKZ\I^VVMLYV\[W\[MVYAVUL\ZL
;OL;=ZV\YJL(9*PZVUS`H]HPSHISLPUAVUL^OLUZL[[V-VSSV^4HPU
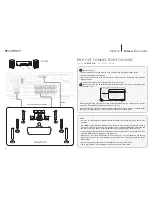
PRE-OUT CONNECTION TO ZONE 2
PLAYING
DIFFERENT
AUDIO IN EACH ZONE.
Summary of Contents for CXR120
Page 1: ...CXR120 200 AV RECEIVER...
Page 18: ...CXR120 200 AV RECEIVER...
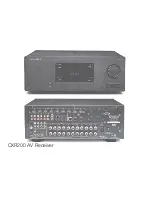
Page 59: ...CXR200 AV Receiver...
Page 60: ......
Page 61: ......
Page 62: ......

