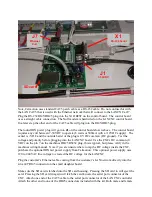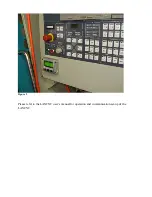
connectors have been provided. Choose one as appropriate. In most cases, it is best to simply
pull the serial connector in from its mounting assembly and connect inside the pendant as shown
below.
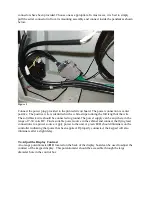
Figure 1
Connect the power plug provided to the printed circuit board. The power connection is center
positive. The positive wire is identified with a white-stripe running the full length of the wire.
The solid black wire should be connected to ground. The power supply can be anywhere in the
range of 7-30 volts DC. Find a suitable power source in the cabinet and connect the flying lead
connections to a power source. Apply power to the unit. A green LED should illuminate on the
controller indicating that power has been applied. If properly connected, the keypad will also
illuminate after a slight delay.
To Adjust the Display Contrast
An orange potentiometer (
R2
) located on the back of the display board can be used to adjust the
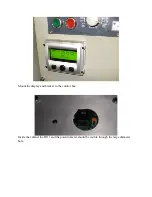
contrast of the keypad display. This potentiometer should be accessible through the large
diameter hole in the control box


