Caliber RCD110 Instruction Manual Download Page 9

7. RADIO OPERATIONS 

11) RADIO SIGNAL STRENGTH METER (RSLM) 

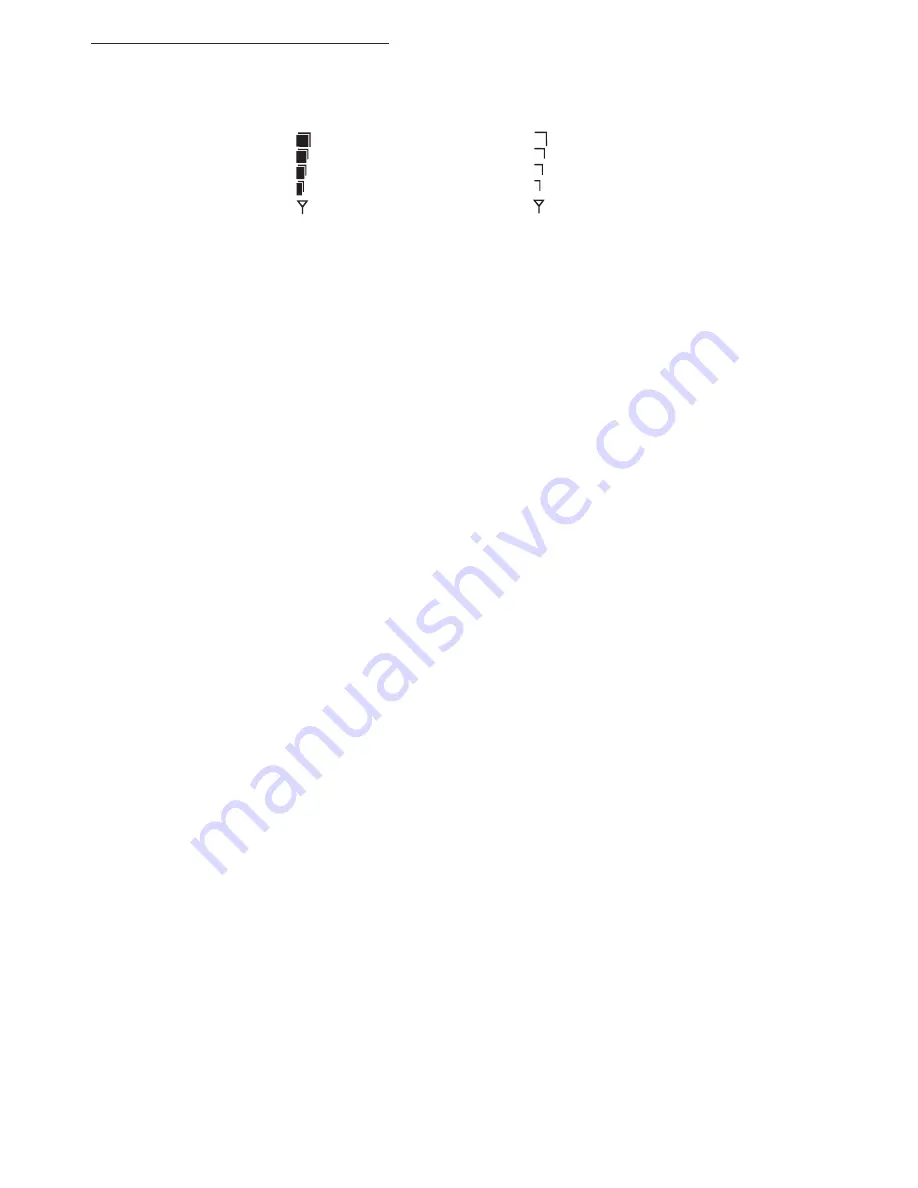
This is use to indicate the signal strength of current radio station broadcast. When you choose 
RADIO mode, it will show on the display.

4)   STATION PRESET BUTTONS (M1-M6)

1.Press these buttons briefly to recall the stored stations in the selected band.
2.Presetting stations manually, Press the BAND button to select the band for the station to be 

preset. Use Tuning Up/Down to tune in the stations to be preset. Press the Preset button at 
which you want to store the station for at least 2 second. The preset number will appear on the 
display accompanied by a beep, this indicate that the station has been stored into memory. 

E - 8

5)   TUNING / SEEK UP AND TUNING / SEEK DOWN BUTTONS

1.Press these buttons briefly will operate AUTO SEARCH tuning mode, the radio will tune up or 

down to the next station and remain on the frequency.    

2.Press these buttons more than 2 seconds, operate as MANUAL SEARCH buttons, under this 

mode the tuning frequency will advance up or down rapidly when the button is pressed. If the 
buttons are not pressed within  3 seconds, they will return to auto search mode. 

8)   BAND BUTTON (BAND)


9)   AUTO MEMORY STORE/PRESET SCAN BUTTON (AS/PS)

1.PRESET SCAN: Press AS/PS button briefly to enter Preset Scan mode, it will scan all the 

preset stations in the memories, you can hear that it will stay on each station for about 5   
seconds.

2.AUTO MEMORY STORE: Press AS/PS button for couple of seconds to enter Auto Store mode, 

this feature will automatically scan the current band and enter up to 6 strongest stations into 
the 6 preset memories. To stop Auto Store & Scan, press the AS/PS button again.

Press this button short to change between BAND FM1, FM2, FM3  & AM / MW  bands. 

Best reception

Worst reception

Summary of Contents for RCD110

Page 1: ...BUTTON 4 PRESET MEMORY BUTTONS 5 ENCODER TUNING UP DOWN TRACK UP DOWN BUTTON 6 POWER MUTE BUTTON 7 MODE BUTTON 8 BAND BUTTON PTY BUTTON 9 AUTOMATICALLY STORE PRESET SCAN AS PS BUTTON 10 DISPLAY BUTTON...

Page 2: ...kers Do not stick paper or tape on the disc P 2 Before playing clean the discs with an optional cleaning cloth Wipe each disc from the centre out P 4 Do not use solvents such as benzine thinner commer...

Page 3: ...angle exceeds 30 from horizontal the unit might not give its optimum performance Avoid installing the unit where it would be subject to high temperature such as from direct sunlight or from hot air f...

Page 4: ...2 4 3 2 5 a Frame b Insert fingers into the groove in the front of frame and pull out to remove the frame When re attaching the frame point the side with a groove down wards and attach it c Insert th...

Page 5: ...ase and be careful not to drop it or subject it to strong shocks When the release button is pressed and the D C P is unlocked the car s vibrations may cause it to fall To prevent damage to the D C P a...

Page 6: ...CK WHITE BLACK VIOLET WHITE GREY B1 B5 B4 B3 B2 B8 GREEN B7 B6 A5 A4 PIN BLACK A8 RED A7 BLUE LEFT FRONT SPEAKER LEFT REAR SPEAKER LEFT REAR SPEAKER RIGHT REAR SPEAKER RIGHT FRONT SPEAKER LEFT FRONT S...

Page 7: ...t will automatically switch to radio mode Press this button to view Clock Programme Type PTY and Frequency of the station in listening DUAL COLOR ILLUMINATION BUTTON DISP Press DISP button more than 3...

Page 8: ...P User has 5 seconds to use the encoder volume knobto adjust the desired Treble level range from 6 to 6 User has 5 seconds to use the encoder volume knob to adjust the Balance between the right and le...

Page 9: ...O SEARCH tuning mode the radio will tune up or down to the next station and remain on the frequency 2 Press these buttons more than 2 seconds operate as MANUAL SEARCH buttons under this mode the tunin...

Page 10: ...urrent station it is shown on the display AF Alternative Frequencies List The list s of Alternative Frequencies give information on the various transmitters broadcasting the same program in the same o...

Page 11: ...to skip to previous skip Press and hold Track Up Down Button to fast forward or fast reverse CD player starts when you release the button E 11 9 CD OPERATIONS 13 CD SLOT Insert the disc into CD slot T...

Page 12: ...drive device available with all the future technology especially those USB drive device which require to install a driver Always choose a compatible USB drive device which is compatible with this uni...

Page 13: ...P3 disc playback Please refer to section CD operations MP3 operations 1 Please make sure to insert the SD card in the correct direction orientation as indicated in picture P 9 Wrong insert will cause...

Page 14: ...ay shows MP3 T enter the desired track number directly then press MP3 ENTER BUTTON to confirm The distribution of the number are listed as follow SEARCH TRACK NUMBER BY USING ENCODER VOLUME KNOB Rotat...

Page 15: ...BUTTON to select the desired directory The display will show To select the tracks under the selected directory by Rotate ENCODER VOLUME KNOB ROTATE ANTI CLOCKWISE First then press MP3 ENTER BUTTON to...

Page 16: ...B at S N 30 dB 25 dB at 1KHz 50 dB 13 SPECIFICATIONS CD PLAYER REMARK Specifications subject to change without notice RADIO SECTION FM System Usable disc Sampling frequency No of quantization bits Fre...

Page 17: ...n Leave the player to off for an hour or so then try again Volume is in minimum Adjust volume to a desired level Wiring is not properly connected Check wiring connection The operation keys do not work...

Reviews: