background image

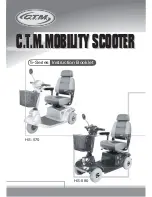
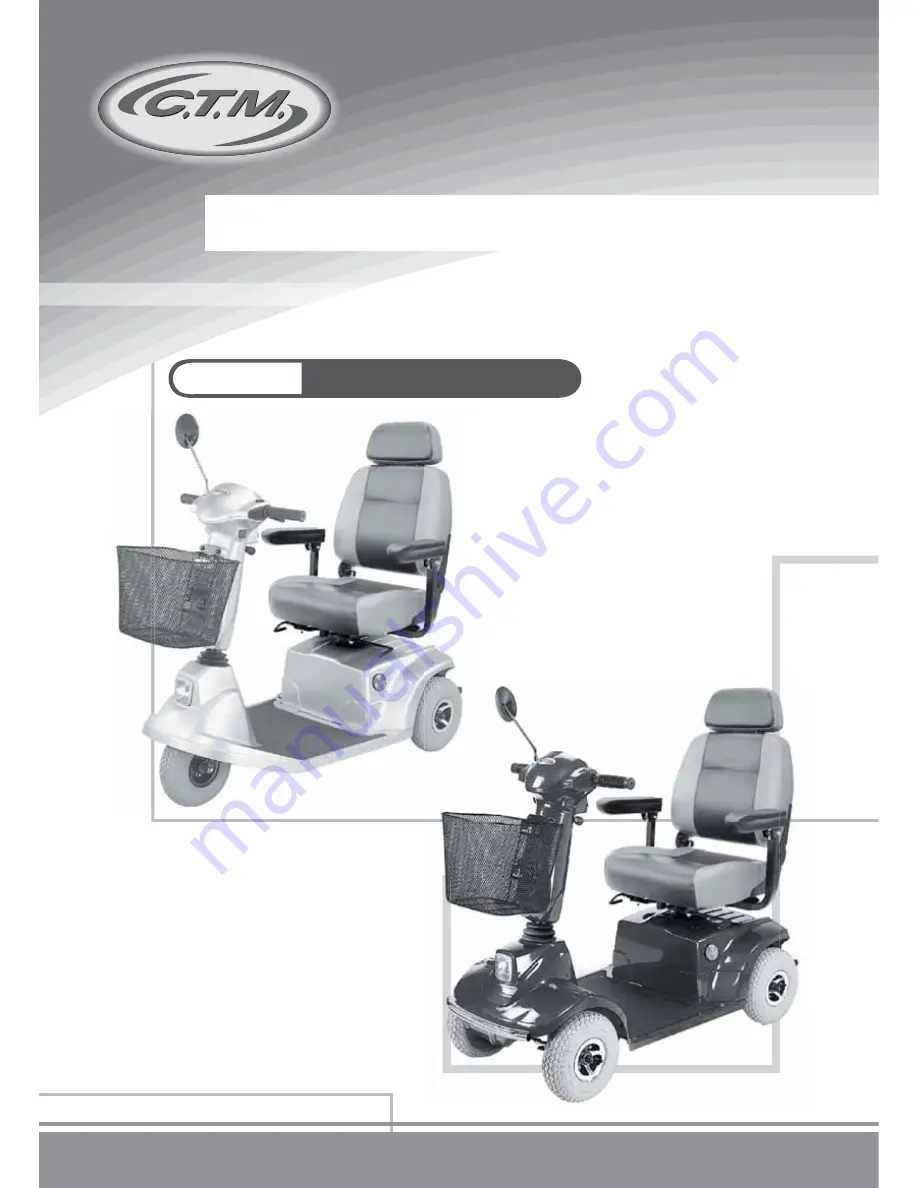
C.T.M. MOBILITY SCOOTER

C.T.M. MOBILITY SCOOTER

C.T.M. MOBILITY SCOOTER

5-Series

Instruction Booklet

HS-570

HS-580

Summary of Contents for 5 series

Page 1: ...C T M MOBILITY SCOOTER C T M MOBILITY SCOOTER C T M MOBILITY SCOOTER 5 Series Instruction Booklet HS 570 HS 580...

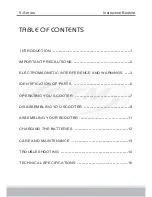
Page 2: ...ANT PRECAUTIONS ELECTROMAGNETIC INTERFERENCE AND WARNINGS IDENTIFICATION OF PARTS OPERATING YOU SCOOTER DISASSEMBLING YOU SCOOTER ASSEMBLING YOUR SCOOTER CHARGING THE BATTERIES CARE AND MAINTENANCE TR...

Page 3: ...gratulations on purchasing your new C T M Mobility Scooter It is designed to provide you with transportation indoors and outdoors We pride ourselves on providing safe and comfortable products Our goal...

Page 4: ...extreme care crossing roads Do not drive on slopes exceeding a 1 in 4 and take extreme care when turning on slopes Do not use full power when turning sharp corners Take great care and use low speeds f...

Page 5: ...elease its brakes move by itself or move in unintended directions It can also permanently damage the motorized scooter control system The intensity of the interfering EM energy can be measured in volt...

Page 6: ...ings listed below should reduce the chance of unintended brake release or motorized scooter movement which could result in serious injury 1 Do not operate hand held transceivers transmitters receivers...

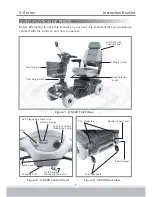
Page 7: ...er Self Diagnosing Flash Unit Horn Thumb Lever Charging Port Main Switch W Headlight Control Battery Gauge Speed Controller Rabbit And Turtle Figure 1 HS 580 Front View Figure 2 HS 580 Control Panel F...

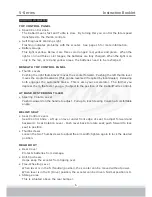
Page 8: ...Releasing both engages the automatic brake This is also your accelerator The further you depress them the faster you go Subject to the position of the Rabbit Turtle control AT BASE OF STEERING TILLER...

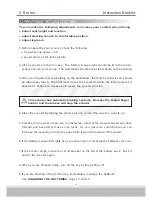
Page 9: ...umb control levers should be within easy reach The right lever moves the scooter forward the left one moves it backward When you release both levers the scooter will stop 4 Steer the scooter by turnin...

Page 10: ...d control in proximity of the turtle This enables driver control as the closer the speed control is set toward the turtle the slower it will become However this scooter will not self accelerate down h...

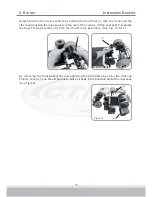
Page 11: ...t off See Fig 4 gently lift rear storage cover B See Fig 5 Unscrew controller wiring harnesses C See Fig 6 Remove rear shroud off of the scooter D See Fig 7 Figure 4 Figure 4 Figure 5 Figure 5 A B Fig...

Page 12: ...the scooter Lift the seat post to separate the Rear Frame Assembly H from the Front Frame Assembly See Fig 10 11 By removing the front basket K and adjusting the tiller down by using the Steering Col...

Page 13: ...n first making sure that the locking pins are removed 3 Slide the two sections of the unit together until the front half reaches its limit 4 Insert the two locking pins into their corresponding holes...

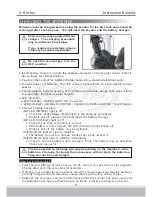
Page 14: ...of the battery charger cable into a standard electrical outlet 3 Turn the power on Normally The LED Power Light will turn on when electric current passes 4 Charging starts During charging LED Charge w...

Page 15: ...the electrical parts Polish with an automotive liquid polish Maintaining Your Scooter All maintenance and repair of your scooter should be done by an authorized dealer The following areas required per...

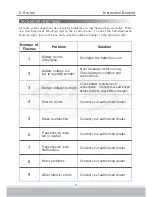
Page 16: ...r Contact your authorized dealer Contact your authorized dealer Contact your authorized dealer Contact your authorized dealer Battery voltage too low to operate scooter Short in motor Brake malfunctio...

Page 17: ...will not move when key is turned on 1 Check Power Reserve Indicator on the control panel It should be lit in the green yellow and red zones 2 Check Self Diagnostic Warning Light It should be steady I...

Page 18: ...er Electronics 48 8 24 43 7 10 10 185 2 lbs 5 mph 300 lbs 1 6 12 degree 2 42 5 N A Electro Mechanical 18 500W 3400r p m 2 12V 36Ah 55 lbs 18 6 Miles 5A Off Board On Off Key Switch Battery Level Indica...

Reviews: