Super USB WiFi Antenna 3
Page 7
Windows 2000 – 7 Installation
Windows Vista
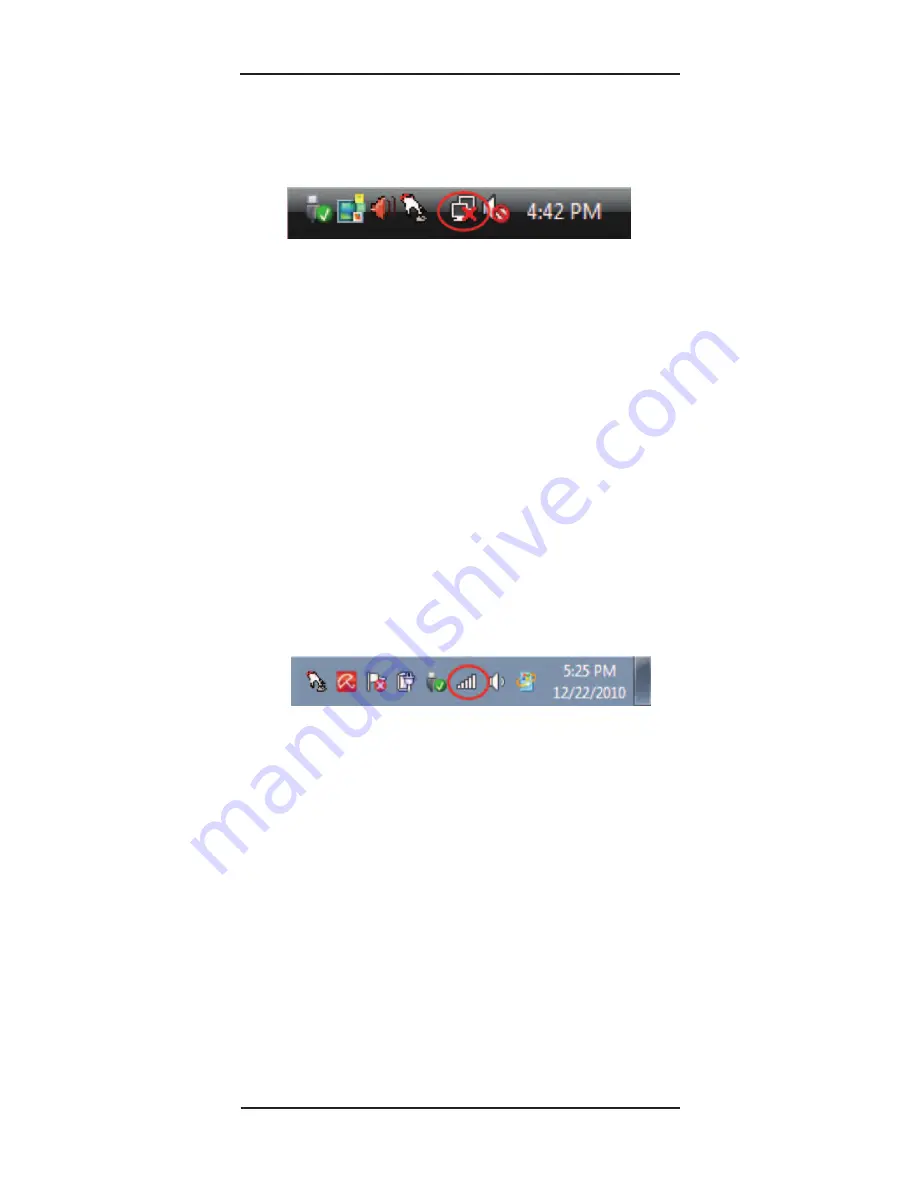
1. Left click the icon below. A small window will appear
titled "Wireless Network Connection Status".
2. Left click "
Connect to a Network
".
3. Left click the network of your choice from the list,
then left click "
Connect
".
4. Once connected to the network, you will be able to
access the internet using your default web browser
(provided that the network offers internet access).
Note:
If the network site shows “Security-enable wireless
network”, you are required to enter the correct key to
make a successful connection. If the network site shows
"Unsecured Wireless Network" then you will not need to
enter a key before connecting. Successful connection to
a wireless network usually requires a minimum of 2 bars
of signal.
Windows 7
1. Left click the icon below. A small window will pop up
showing wireless networks that can be detected.
Windows 2000
Note:
Since Windows 2000 does not have its own built-in
wireless utility, you will be required to install the Ralink
WLAN Utility from the CD. Refer to the full userʼs manual
supplied on the CD for more assistance.
2. Left click the network of your choice from the list,
then left click "
Connect
".
3. Once connected to the network, you will be able to
access the internet using your default web browser
(provided that the network offers internet access).
Note:
If you have built-in WiFi in your computer, you may
have to scroll down the list of networks to see the addi-
tional ones that your new antenna can detect. Successful
connection to a wireless network usually requires a mini-
mum of 2 bars of signal.


