Section 5
– Initial Setup
JEM Section 5
- 3 -
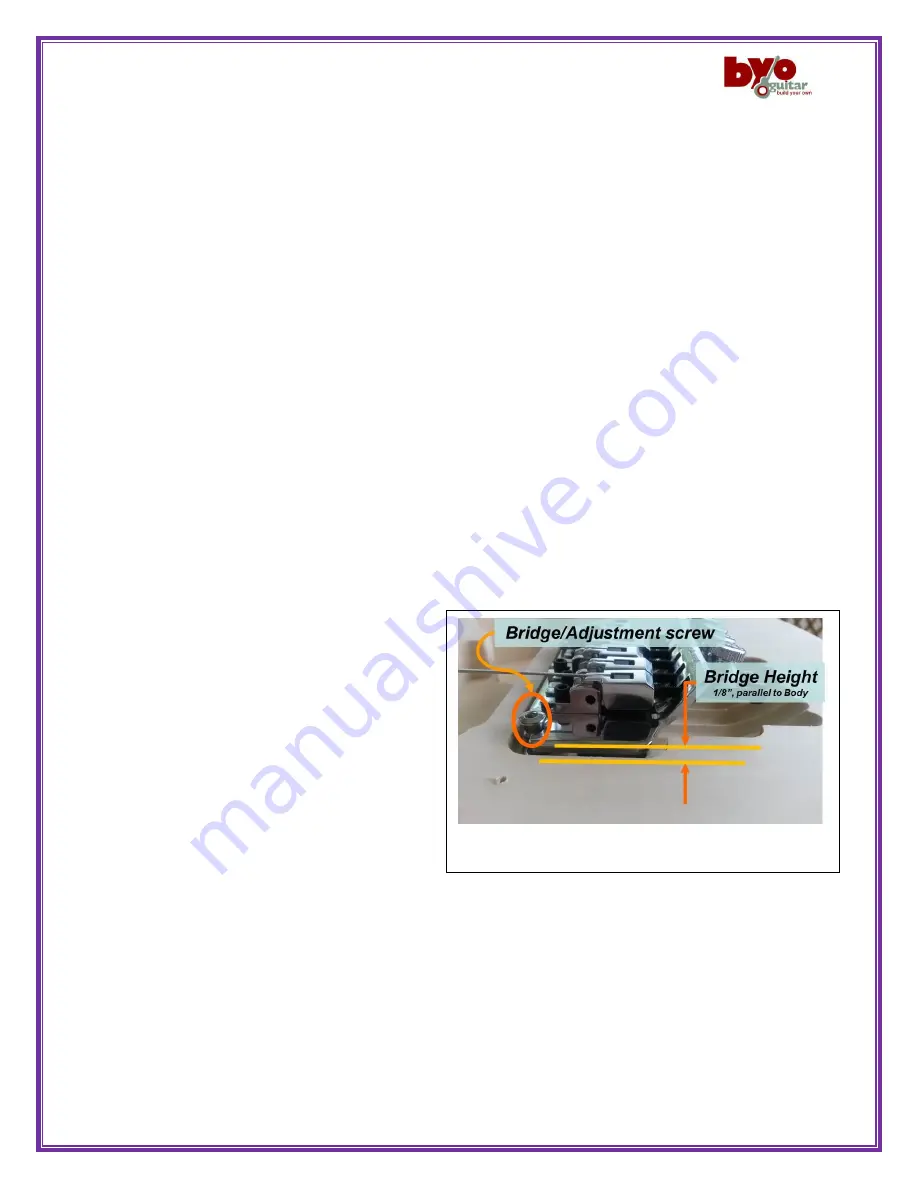
Fig 5.4 Action Adjustment
because it contains anti-rust and anti-corrosive properties) every time you change
strings. Use a Q-tip with oil rather than straight from the can.
5.3
Re-check the Bridge Alignment
As part of the Assembly section, the height and floating position of the Bridge were set up. In this step
will recheck the Bridge and adjust if necessary.
1.
Tune the guitar to pitch (…again)
2.
Check the angle of the Bridge base relative to the Body: is it tilting toward the Body or lifting up
from the Body?
3.
If the Bridge Base is parallel to the Body and is approximately 1/8” above the Body, continue to
step 5.4.
4.
Remove the cover from the claw pocket in the back of the Body.
5.
Adjust the Bridge mounting screws to the 1/8” height.
6.
Adjust the screws in small increments to lower the Bridge (tighten), or to raise the Bridge
(loosen). Adjust the screws equally.
7.
Retune the guitar and check again – repeating steps 5-7.
8.
Replace claw pocket cover.
5.4
Adjusting the Action (string height)
This will adjust the height of the strings over the 12
th
fret. Minor adjustments are made by raising or
lowering the bridge which was previously set to 1/8” above the Body. As this is a matter of personal
preference, this initial adjustment will give a place to start. There should be a gradual increase in height
from the first string to the sixth string.
Adjusting saddle height is very easy on the JEM
guitar. Since the bridge can only be adjusted at
each end, there is no need to adjust each saddle
individually.
1.
Check and, if necessary, adjust the low
(thick) E string height at the 12
th
fret to
2/64”. Do this by adjusting the height of
the bridge at the thick E string end (Fig.
5.4). This is done by rotating the Bridge
insert adjustment counter-clockwise to
raise the bridge or clockwise to lower it.
Adjust the height until string doesn’t buzz on any fret from being too low, but low enough that
you can play up and down the neck easily. There’s usually a sweet spot where you can just start
to detect some buzzing and you can leave it just a tiny bit higher than that. Be careful if you use
a tool as it is easy to slip and damage the finish on your guitar.
2.
Now do the exact same procedure for the high (thin) E string using the other adjustment screw
to 3/64
th
over the 12
th
fret.


