background image

For any help concerning set up and use of your TV please call the Customer Helpline: 0345 604 0105


12

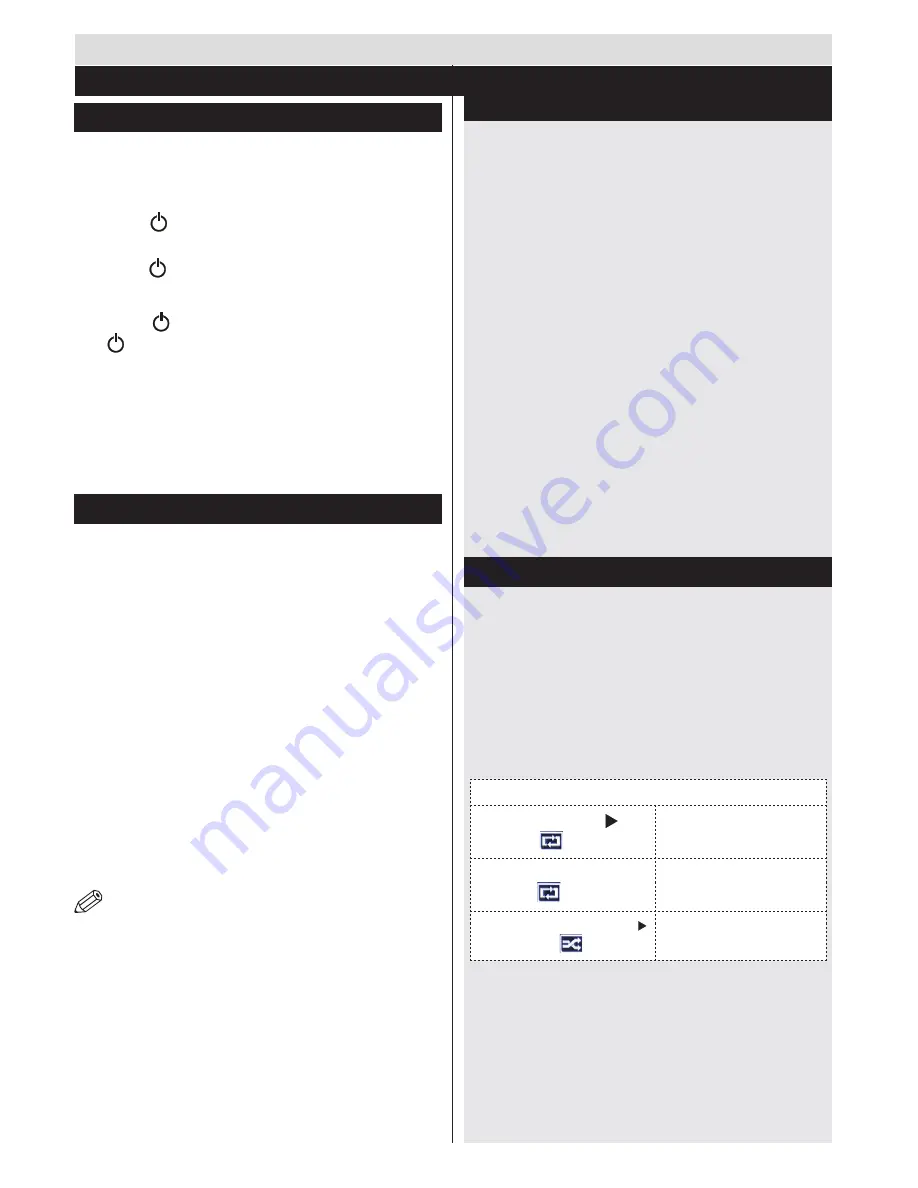
Switching On/Off

To Switch the TV On

Connect the power cord to the 220-240V AC, 50 Hz. 
To switch on the TV from standby mode either:
Press the “ ” button , 

P+

 / 

P-

 or a numeric button on 

the remote control.
Press the “ ” button on the side of the TV.

To Switch the TV Off

Press the “ ” button on the remote control or press 

the “ ” button on the TV. The TV will now switch to 

standby mode.

To power down the TV completely, unplug the 

power cord from the mains socket.

Note: When the TV is switched to standby mode, the standby 

LED can blink to indicate that features such as Standby Search, 

Over Air Download or Timer is active. The LED can also blink 

when you switch on the TV from standby mode.

First Time Installation

When  turned  on  for  the  first  time,  the  language 

selection  screen  is  displayed.  Select  the  desired 

language and press OK.
The  First  Time  Installation  (FTI)  screen  will  be 

displayed  next.  Set  your  preferences  using  the 

navigation buttons and when finished, press OK to 

continue.
You can activate 

Store mode

 option to be available in 

More

” menu and your TV’s settings will be optimized 

for best display quality. A confirmation screen will be 

displayed. Select 

YES

 to proceed. 

If  Home  Mode  is  selected,  Store  mode  will  not  be 

available after the First Time Installation. Press 

OK


button to continue.

Aerial Installation

If you select 

AERIAL

 option from the 

Search Type

 screen, 

the television will search for digital terrestrial TV broadcasts.

NOTE: You can press MENU button to cancel.

After all the available stations are stored, the Channel 

List will be displayed on the screen. If you like how the 

channels are sorted according to the LCN (*), please 

select “Yes” and than press 

OK

.

Press 

MENU

 button to quit channel list and watch TV.

(*) LCN is the Logical Channel Number system that 

organizes available broadcasts in accordance with a 

recognizable channel sequence (if available).

Media Playback via USB Input

You can connect a 2.5” and 3.5” inch (hdd with external 

power supply) external hard disk drives or USB memory 

stick to your TV by using the USB inputs of the TV.

IMPORTANT!

  Back  up  your  files  before  making 

any connections to the TV. The Manufacturer will 

not be responsible for any file damage or data loss. 

Certain types of USB devices (e.g. MP3 Players) 

or USB hard disk drives/memory sticks may not be 

compatible with this TV. 

While formatting a USB hard disk that has 1TB (Tera 

Byte)  or  more  file  capacity,  you  can  experience 

problems with the formatting process. 
Quickly plugging and unplugging USB devices, is a 

very hazardous operation. This may cause physical 

damage to the USB player and the USB device itself. 

Do not pull out the USB module while playing a file.
You can use USB hubs with your TV’s USB inputs. 

External power supplied USB hubs are recommended 

in such a case. 
It  is  recommended  to  use  the  TV’s  USB  input(s) 

directly, if you are going to connect a USB hard disk. 

Media Browser Menu

You  can  play  photo,  music,  and  movie  files  stored 

on a USB disk by connecting it to your TV. Connect 

a USB disk to one of the USB inputs located on the 

side of the TV. Pressing the MENU button while in the 

Media Browser mode will access the Picture, Sound 

and Settings menu options. Pressing the MENU button 
again will exit from this screen.


You can set your Media 

Browser preferences by using the System>Settings 

Menu.

Loop/Shuffle Mode Operation

Start playback with


and 

activate 


T V  p l a y s  n e x t  f i l e  a n d 

l o o p   t h e   l i s t .

Start playback with


OK


and 

activate 


T h e   s a m e   f i l e   w i l l 

b e   p l a y e d   i n   a   l o o p 

( r e p e a t ) .

Start  playback  with


OK/


and activate  

T h e   f i l e   w i l l   b e 

p l a y e d   i n   a   s h u f f l e .

Getting Started 

First Time Installation - USB Connections

Summary of Contents for ELED55240FHDCNTD

Page 1: ...Instructon Manual ELED55240FHDCNTD...

Page 2: ...onnections 11 First Time Installation USB Connections 12 TV Menu Features and Functions 14 General TV Operation 17 WIRELESS DISPLAY 19 Using DLNA Network Service 19 Internet Browser 22 Software Upgrad...

Page 3: ...the device is not used as intended or unauthorized modifications have been made To operate your LED TV in extreme ambient conditions may cause the damage of the device WARNING Never let people includi...

Page 4: ...ing loss please take care Wall Mounting optional To prevent injury this TV must be securely attached to the wall in accordance with the installation instructions if the option is available Cleaning Be...

Page 5: ...the TV set NOTE The TV set should be stored in a dry and dust free room Symbols in this Instruction Book The following symbols are used in the Instruction Book as a marker for restrictions and precau...

Page 6: ...parts including that lost remote control Any other technical issues you may need assistance with Call us today 0345 604 0105 Local call rates applies Lines open 9am 8pm Monday to Saturday and 10am 4pm...

Page 7: ...switched to stand by mode automatically because there was no signal for a long time Press OK to continue The Auto TV OFF option in Settings Other Settings menu is set to Off by default If this settin...

Page 8: ...e Lift the cover on the back of the remote upward gently Install two AAA batteries Make sure to match the and ends of the batteries in the battery compartment observe the correct polarity Replace the...

Page 9: ...utton is pressed the TV returns to television broadcasting When you press the button again the digital teletext screen will be displayed Specification TV Broadcasting PAL B G D K K Receiving Channels...

Page 10: ...e press again to superimpose the teletext over a normal broadcast picture mix 21 Media browser Opens the media browsing screen 22 EPG Electronic programme guide Displays the electronic programme guide...

Page 11: ...tomer Helpline 0345 604 0105 10 1 Stand is placed on a flat surface fig 1 2 The product is held over the stand so that it coincides with the stand mounting point and then it is left to be mounted with...

Page 12: ...he back of the TV before mounting on the wall Insert or remove the CI module only when the TV is SWITCHED OFF You should refer to the module instruction manual for details of the settings Each USB inp...

Page 13: ...ist and watch TV LCN is the Logical Channel Number system that organizes available broadcasts in accordance with a recognizable channel sequence if available Media Playback via USB Input You can conne...

Page 14: ...OK to read instructions To close the E Manual screen press the Exit button Note The contents of the E Manual may vary according to model CEC and CEC RC Passthrough This function allows to control the...

Page 15: ...ode with SCART PIN8 high voltage low voltage switching Film Mode Films are recorded at a different number of frames per second to normal television programmes Turn this feature on when you are watchin...

Page 16: ...ange depending on the country selected Preferred and current settings will be available Current settings can be changed only if the broadcaster supports Parental Enter correct password to change paren...

Page 17: ...ble or disable the virtual remote feature FollowMe TV Enable or disable this feature FollowMe TV to DMR Enable or disable this feature CEC With this setting you can enable and disable CEC functionalit...

Page 18: ...l In EPG menu using this option you can switch to the selected channel CONNECTIVITY FUNCTIONS Wired Connectivity To Connect to a Wired Network You must have a modem router connected to an active broad...

Page 19: ...sage environment The Wireless feature of TV supports 802 11 a b g n type modems It is highly recommended that you should use the IEEE 802 11n communication protocol in order to avoid any possible prob...

Page 20: ...on section for more information on the process If the TV does not function using the wired connection check the modem router If the router does not have a problem check the internet connection of your...

Page 21: ...s will be displayed in a manner similar to the template below Note on PIP Window If you switch to portal mode while watching TV channels current programme will be displayed on the PIP window You can c...

Page 22: ...CT and the RED button together for about two seconds until the red light on the SKY remote blinks twice 5 Key in 0065 on your SKY remote The light on the SKY remote should blink twice 6 Press the STAN...

Page 23: ...st enter any URL in the address bar You can search keywords by clicking the search button in the address dialog box or another way to navigate to pages is by clicking on links on web pages and these w...

Page 24: ...ur PC Run Nero MediaHome by double clicking on the shortcut icon Software Upgrade YourTV is capable of finding and updating automatically via the Aerial Cable Satellite signal or over the Internet Sof...

Page 25: ...r of the source equipment PC Input Typical Display Modes The following table is an illustration of some of the typical video display modes Your TV may not support all resolutions Your TV supports up t...

Page 26: ...0P 50fps Other 1080P 30fps50Mbit sec mp4 mov MPEG1 2 Layer 3 AAC HEAAC AC3 EAC3 LPCM ADPCM H 264 1080Px2 25fps 1080P 50fpsOther 1080P 30fps50Mbit sec avi MPEG1 2 4 Xvid H 264 VC1 WMV3 Sorenson H 263 M...

Page 27: ...th E As the colours of the wires in the power cable may not correspond with the coloured markings identifying the terminals in your plug and proceed as follows The green yellow wire must be connected...

Page 28: ...ase follow the local laws or regulations for disposal These symbols indicate that equipment with these symbols should not be disposed of as general household waste If you want to dispose of the produc...

Page 29: ...spare parts including that lost remote control Any other technical issues you may need assistance with Call us today 0345 604 0105 Local call rates applies Lines open 9am 8pm Monday to Saturday and 10...

Page 30: ...t be correctly installed and operated in accordance with the instructions contained in this manual It must be used solely for domestic purpose The guarantee will be rendered invalided if the product i...

Page 31: ...Brand BUSH Product No 10098413 Model No ELED55240FHDCNTD Energy efficiency class A Visible screen size diagonal approx inch cm 55 inches 140 cm On mode average power consumption Watt 86 Annual energy...

Page 32: ...For any help concerning set up and use of your TV please call the Customer Helpline 0345 604 0105 31 BUSH ELED55240FHDCNTD 125 86 55 140 50319681...

Page 33: ...50319680 Home Retail Group 489 499 Avebury Boulevard Saxon Gate West Central Milton Keynes MK9 2NW...

Reviews: