background image


14 


DAB/FM/Bluetooth clock radio 

 
-


Set  Time/Date:

  Select  ‘Set  Time/Date’  and  press  the  <SCROLL/SELECT>  dial  to 

open the menu. Use the rotary dial to set the hour then press the dial in to confirm. 
Repeat the process for the minutes, day, month and finally the year. Once “year” has 
been entered, press the <SCROLL/SELECT> dial. The radio will display the time and 
date you have entered on the front display. 
 

4.


Press the <BACK> button multiple times to exit settings mode. 


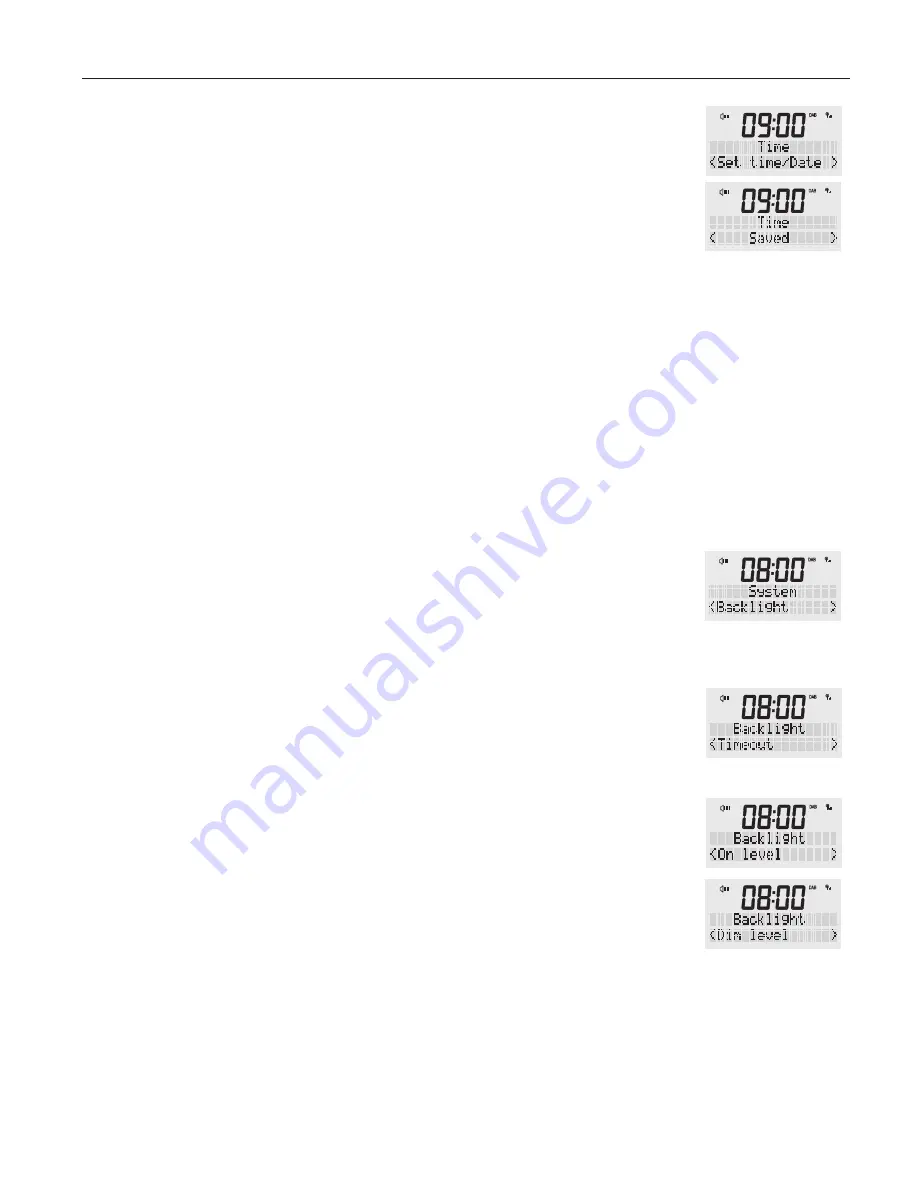
BACKLIGHT 

Set the brightness at the screen in ‘Standby’ mode or ‘ON’ mode.   
NOTE: While using the buttons and the dial on your radio the screen brightness will be 
on maximum. Once no buttons are pressed and after the set “Timeout” the radio will 
revert to your preferred backlight level. 
Press the power button to turn your radio ON. 
1.


Press and hold the <MENU / INFO> button, release once an option is available on 
the display. Turn the rotary dial until ‘System’ appears in the display and confirm by 
pressing <SCROLL/SELECT>. 
 

2.


Scroll  through  the  ‘System’  menu  and  turn  the  rotary  button  until  you  reach 
‘Backlight’ and confirm by pressing the <SCROLL/SELECT> button. 
 

3.


You can set settings for ‘Timeout’, ‘On level’, ‘Dim level’   

 
Timeout:

 This is the time after which your screen will change brightness.   

Turn  the  rotary  dial,  choose  from  below  options  and  confirm  by  pressing  the 
<SCROLL/SELECT> button. 

Timeout options: On, 10, 20, 30, 45, 60, 90, 120, 180 

sec


On level: 

This is the brightness level that will be displayed when the radio is “ON”

There  are  five  brightness  options  to  the  display,  from  ‘1’  (lowest)  to  ‘5’  (strongest). 
Using  rotary  dial,  choose  between  ‘1’  to  ‘5’  and  confirm  by  pressing  the 
<SCROLL/SELECT> button. 

Dim level: 

This is the brightness level that will be displayed when the radio is “OFF” or 

in Standby

There  are  five  brightness  options  to  the  display,  from  ‘1’  (lowest)  to  ‘5’  (strongest). 
Using  rotary  button,  choose  between  ‘1’  to  ‘5’  and  confirm  by  pressing  the 
<SCROLL/SELECT> button. 
 
4.


Press the <BACK> button multiple times to exit settings mode. 


Summary of Contents for BCR40DABT BLK

Page 1: ...USER MANUAL DAB FM Radio Bluetooth NFC Connect Fast Charge USB Port DIGITAL ALARM CLOCK RADIO BCR40DABT WD BCR40DABT BLK ...

Page 2: ......

Page 3: ...FM clock radio Standby mode 5 DAB mode 5 FM mode 7 Aux in mode 8 Bluetooth NFC mode 9 Alarm setting 10 How to set preset in DAB or FM 11 Snooze Function 11 Setting Time 13 Backlight 14 Factory Reset 15 System setting 12 Trouble shooting and error messages 16 Technical Specifications 17 Cleaning and Care 17 ...

Page 4: ...n accordance with this user manual When installing the product leave sufficient space for ventilation Do not install in bookcases built in cabinets or the like Do not install near any heat sources such as radiators heat registers stoves or other appliances including amplifiers that produce heat Do not apply excessive force to the front or top as this could ultimately overturn the product Do not sh...

Page 5: ...on in Bluetooth mode in Bluetooth mode 4 ALARM button 11 Antenna 5 BACK button FORWARD button in Bluetooth mode 12 USB output 5V 2A 6 MENU INFO button 13 Headphone jack 3 5mm 7 VOLUME button Scroll SELECT rotary dial 14 Audio IN AUX IN 8 POWER button 15 DC input 5V 3A Accessories 1 x Power adaptor 1 x Instruction manual 1 x Warranty booklet ...

Page 6: ...e etc 1 Press POWER to turn on Then press the MODE button to select DAB MODE on the display Note If no DAB reception is currently available change the position of your device or adjust the aerial Press and hold the MENU INFO button to enter the menu Turn the rotary button to select Full scan and press the SCROLL SELECT button to confirm this will start a new search 2 In DAB mode turn the rotary bu...

Page 7: ...a particular channel frequency This can be useful for adjusting your antenna to achieve the best possible reception and scanning a particular channel to update the station list Press and hold the MENU INFO button release once an option is available on the screen Turn the rotary dial to select Manual tune and press once to confirm Then turn the rotary dial again to select a particular frequency opt...

Page 8: ...to select Yes and press SCROLL SELECT dial to confirm FM RADIO MODE This allows you to tailor the DAB FM radio with a variety of options to suit you 1 Press POWER to turn on And press the MODE button to select FM on the display 2 Press the TUNE button and turn the rotary dial to search through the entire frequency band then press SCROLL SELECT dial to confirm Or for an automatic search press and h...

Page 9: ...weak stations this may result in poor quality audio and static The audio quality can be improved using mono Press and hold the MENU INFO button release once an option is available on the screen Turn the rotary button to select Audio setting and press once to confirm Then select Stereo allowed or Forced mono and press SCROLL SELECT dial to confirm OPERATION IN VARIOUS MODES AUX IN This mode allows ...

Page 10: ... and music devices It features Bluetooth version 4 0 It also works with devices featuring other Bluetooth versions that support e g Wireless stereo listening A2DP Advanced Audio Distribution Profile Wireless music control AVRCP Audio Video Remote Control Profile PLAYBACK DEVICES WITH NFC Your radio has an NFC touch point to enable quick and easy Bluetooth pairing with other NFC enabled devices In ...

Page 11: ...OLL SELECT to confirm 5 Next the Minute part will flash Turn the rotary button to set the minute for the alarm then press SCROLL SELECT to confirm Note If your time is set to 24hr mode in the menu settings move straight to point 6 However if your time is set to 12hr mode AM PM you will need to turn the rotary button to select the desired preference then press SCROLL SELECT to confirm 6 Use the rot...

Page 12: ...ton to move back through the settings if a change needs to be made TURNING THE ALARM S ON OFF This function allows you to turn off on individual alarms with a simple press of a button 1 Press the POWER button to switch off the clock radio Standby mode 2 Press the ALARMS button With each press you can select between Alarm 1 On Alarm 2 On Alarm 1 Off Alarm 2 Off Alarm 1 On Alarm 2 Off Alarm 1 Off Al...

Page 13: ... Press SCROLL SELECT to retune the radio to the selected radio station Note If you choose a preset that has not been stored Empty will be shown on the LCD display SYSTEM SETTINGS For additional system setting in DAB and FM radio mode whilst the unit is ON you can press and hold the MENU INFO button Turn the rotary button to select the following choices and press the SCROLL SELECT button to confirm...

Page 14: ...Using the rotary dial scroll through the System menu until you reach Time and confirm by pressing the SCROLL SELECT button 3 Choose the required sub menu and confirm by pressing the SCROLL SELECT button Set 12 24 hour mode Use this menu to change the clock from 12 to 24 hours display Select Set 12 24 hours and press the SCROLL SELECT dial to open the menu Use the SCROLL SELECT dial to select from ...

Page 15: ... rotary dial until System appears in the display and confirm by pressing SCROLL SELECT 2 Scroll through the System menu and turn the rotary button until you reach Backlight and confirm by pressing the SCROLL SELECT button 3 You can set settings for Timeout On level Dim level Timeout This is the time after which your screen will change brightness Turn the rotary dial choose from below options and c...

Page 16: ...LL SELECT to enter Restarting After which the radio will perform a reset and restart Note Factory reset will erase all station lists setting and station presets previously stored SOFTWARE VERSION You can check the current software version here Press the power button to turn your radio ON 1 Press and hold the MENU INFO button release once an option is available on the display Turning the rotary dia...

Page 17: ...isplayed and also ensure that the device you are trying to pair has Bluetooth switched on Ensure that you are within range of the radio for Bluetooth functionality less than 10 meters line of sight Ensure that any previously paired devices have been disconnected If possible turn off other nearby Bluetooth devices or disable their Bluetooth functionality No Sound Adjust the volume using the rotary ...

Page 18: ... O N General messages D I L A V N I _ T S I L TECHNICAL SPECIFICATION ITEMS SPECIFICATIONS Description DAB FM Bluetooth NFC Digital alarm clock radio Audio Output 1W RMS Frequency ranges Bluetooth FM 87 5 108MHz DAB 174 240MHz Version 4 0 A2DP AVRCP LCD display High resolution display Power Supply Power input DC5V 3A AC adapter power input 100 240V 50 60Hz 0 5A max Only use the provided adaptor US...

Page 19: ......

Page 20: ...r failure and for compensation for any other reasonably foreseeable loss or damage You are also entitled to have the goods repaired or replaced if the goods fail to be of acceptable quality and the failure does not amount to a major failure For Customer Service and to register your Warranty visit www bushaustralia com au MAR16 BRC40DABT WD BLK ...

Reviews: