background image

15

 7. Operating with the touch screen

Navigation is done using different buttons. With the end button you can cancel actions or go back one 
step. When you press and hold the home button you will go directly back to the main menu. Actions 
are confirmed or executed with the call button. 

Use the horizontal buttons to navigate within the menus.

If you operate the system with the touch screen then it gets dirty over time. As a result the readability 
of the information on the display and the input functionality is impaired. Please clean the display as re-
quired with a damp, lint-free cloth. Please do not use any liquid cleaners. 

 8. Establishing a 

Bluetooth

 connection

first time, you have to activate the 

Bluetooth

 function of your mobile phone and search for 

Bluetooth


devices. In this case, search for a device labelled „CC 9058“.If several devices were identified, please 
select the HFCK and enter the 

PIN number „1234“

. The 

Bluetooth

 connection (pairing) will then be 

established between your mobile phone and the HFCK. It is possible that you will also have to click on 
‚connect‘  or  ‚allow  data  transfer‘  on  your  mobile  phone  if  you  want  to  be  able  to  make  
a connection.

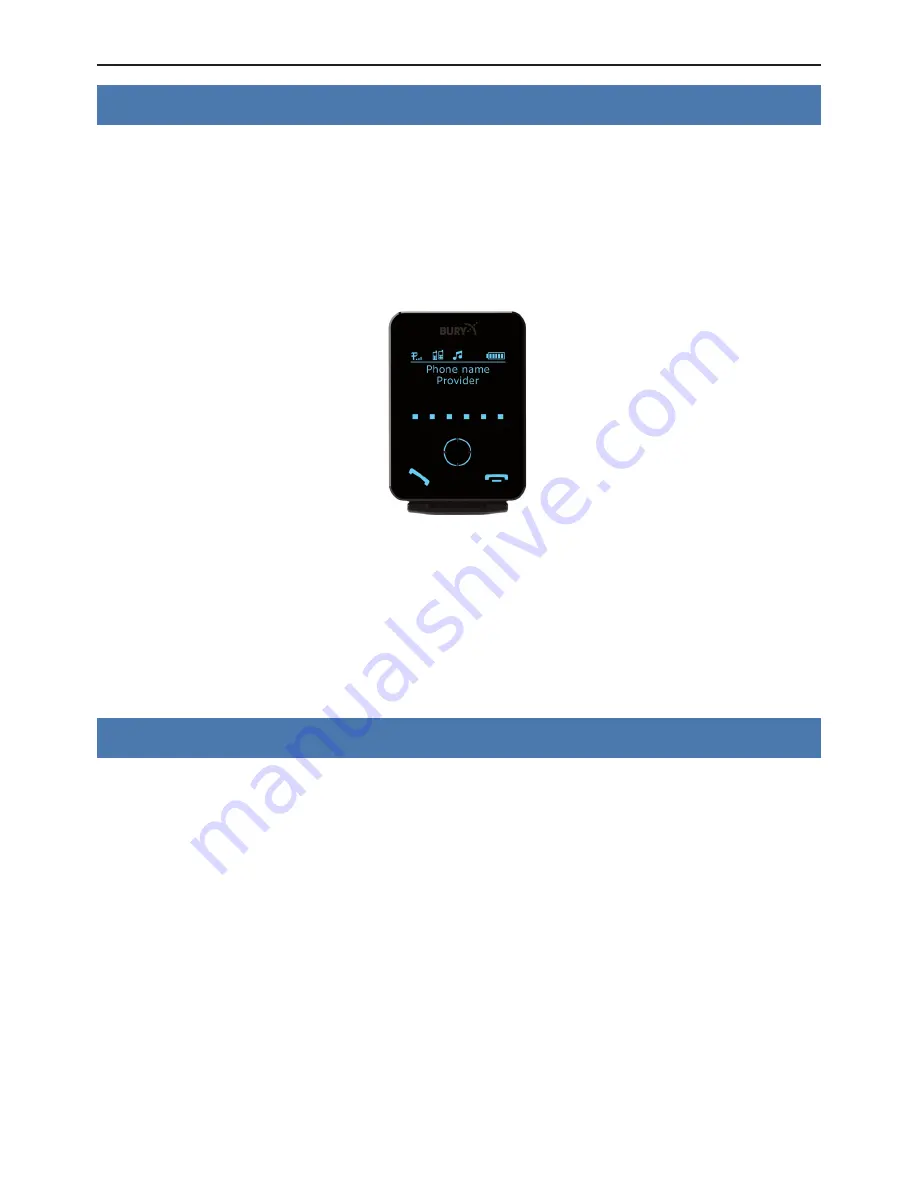
With a connection which has successfully been made, the name of the coupled mobile telephone and 
of the provider will be shown. Depending on the amount of stored data, this can take a few seconds. 
If the synchronisation of the phone book is interrupted, e.g. though an incoming call, it is possible that 
all entries will not be transmitted. If this happens, the phone book should once again be manually 
synchronised. 

Main menu with connected phone 

Summary of Contents for CC 9058

Page 1: ...CC 9058 Installation and operating manual...

Page 2: ......

Page 3: ...ions at electronic box 9 Operating guidelines 14 6 Using the hands free car kit for the first time 14 7 Operating with the touch screen 15 8 Establishing a Bluetooth connection 15 9 Menu navigation 17...

Page 4: ...ts of the device in the vehicle so that your field of vision is not impaired and the components are not mounted in the im pact zone of the passenger compartment or in the airbag inflation zones The re...

Page 5: ...ults Do not commission the device if you detect or assume a defect In this case contact a Bury specialised dealer or our hotline Improper repair efforts can be dangerous for you Therefore only skilled...

Page 6: ...4 Installation of the hands free car kit 3 Scope of supply 8 11 9 10...

Page 7: ...play with cradle and mount screws for the holder and rubber cover adhesive tape 3 Microphone 4 ISO cable harness 5 Extension cord 6 AUX In cable 7 Micro USB charging cable 8 Quick user guide Accessori...

Page 8: ...suited for placing through small openings in the dashboard area This facilitates a practically invisible installation of the cable Take the length of the cable into account and make sure that it is of...

Page 9: ...7 Example of installation 1 1 2 3 4 5 6 1 2 3 4 5 6 Example of installation 2...

Page 10: ...of the insula tion can be caused by friction rubbing Step 4 Install the electronics box at a convenient place in the vehicle This can e g be behind the radio in the glove box or in the centre console...

Page 11: ...nnection for AUX IN cable for inputting of music 5 DISPLAY Connection for display if present 6 REMOTE CONTROL Connection for remote control with 3 buttons display if present 1 CHARGING PORT An extensi...

Page 12: ...for that purpose Toggling between the installation options 1 2 and 3 is done in the menu You must open the options in the menu in order to toggle between the installation options Menu Settings Audio...

Page 13: ...his function is also supported by the radio The mute signal is then fed to the radio via the yellow cable of the ISO cable harness The cable is labelled with mute and must be connected to one of the t...

Page 14: ...r radio connection to the car radio 1 Mute 3 2 Mute 2 3 Mute 1 4 Ignition 5 Antenna 6 Illumination 7 Power 8 Ground 12V Power 12 24V Ignition Ground Line out 1 Line out 2 1 Line L Phone L 1 Line R Pho...

Page 15: ...is where you plug in the microphone jack 4 LINE IN AUX IN socket for music 5 MULTIFUNCTION DISPLAY Please plug the 5 pole plug of the monitor connection cable into this jack 6 RJ45 socket for possibl...

Page 16: ...ivated when you have started the vehicle After this you have to select the menu language You can change the menu language by going to Settings in the Menu and selecting the desired language using the...

Page 17: ...Bluetooth function of your mobile phone and search for Bluetooth devices In this case search for a device labelled CC 9058 If several devices were identified please select the HFCK and enter the PIN...

Page 18: ...ns and operation of your mobile phone please refer to the operating guidelines of your mobile phone Depending on the manufacturer and type this can differ considerably between phones Note If the recha...

Page 19: ...sferred first names and surnames of con tacts may be switched In case you have assigned several phone numbers to one contact of your contact list after the synchronisation of the FSE this contact will...

Page 20: ...set tings Version info With the Switch phones function you can change the priorities of both connected telephones Both mobile phones are disconnected and are then connected again the other way round...

Page 21: ...hone the same number Should another phone ring during the call then the incoming call can be rejected by pressing the end button on the phone Note For some mobile combinations in multipoint mode it ca...

Page 22: ...ss menu the intensity of the light diodes in the display can be changed Use the horizontal buttons for this You can select the Menu language upon commissioning following software updates or after load...

Page 23: ...ontacts already saved in your address book not on your SIM card Please note Copy your contacts from your SIM card into your tele X X phone address book Then only use contacts from your ad dress book W...

Page 24: ...unc tion via CC 9058 Please make sure that you repeat the smartphone s precise voicetag which you can find in the your smartphone s operating instructions Using the voicetag in addition to making call...

Page 25: ...s number the device will read out this number 05732xxxxx If the caller has hidden their number then the device says Unknown caller Briefly press down on the end call button to refuse the call The devi...

Page 26: ...to the hands free car kit It is activated by long pressing the middle functional button on the hands free car kit Playing music mutes the car radio Handling music playback is controlled with the exter...

Page 27: ...fault please exercise your rights of purchase If subsequent to agreement with your contractual partner the product is to be sent directly to the manufacturer then please send it along with a detailed...

Page 28: ...t to the R TTE 1999 5 EC regulation The hands free device cigarette lighter plug has e1 type approval pursuant to guideline 2009 19 EC Electromagnetic compatibility in vehicles You can request a confo...

Page 29: ...sented for repair may be replaced by refurbished goods of the same type rather than being repaired Refurbished parts may be used to repair the goods Upon validation of your warranty claim PTP will sen...

Reviews: