


Plus-X 300 Installation and Operation Manual Rev C
5
command channel on the Plus-X 300 must be configured within the ARC Plus for the
Plus-X device to register as online in the ARC Plus system.
7. Configure labels, limits and alarms for the newly added Plus-X 300 channels in the same
way as you would configure labels, limits and alarms for normal ARC Plus channels.
8. Lastly, you will need to calibrate the Plus-X 300 channels. If you have not already
connected the input connector blocks, do so now. Then click the
Calibration
icon in the
AutoLoad Plus toolbar to complete the calibration process.
Restoring Factory Configuration
To reset the unit to its default configuration, press the front panel
Config
button three times.
The Power LED will blink to confirm the configuration has been reset. Note that the restoring
default con
figuration will reset the unit’s password to
password
and revert the IP address to
192.168.0.100.
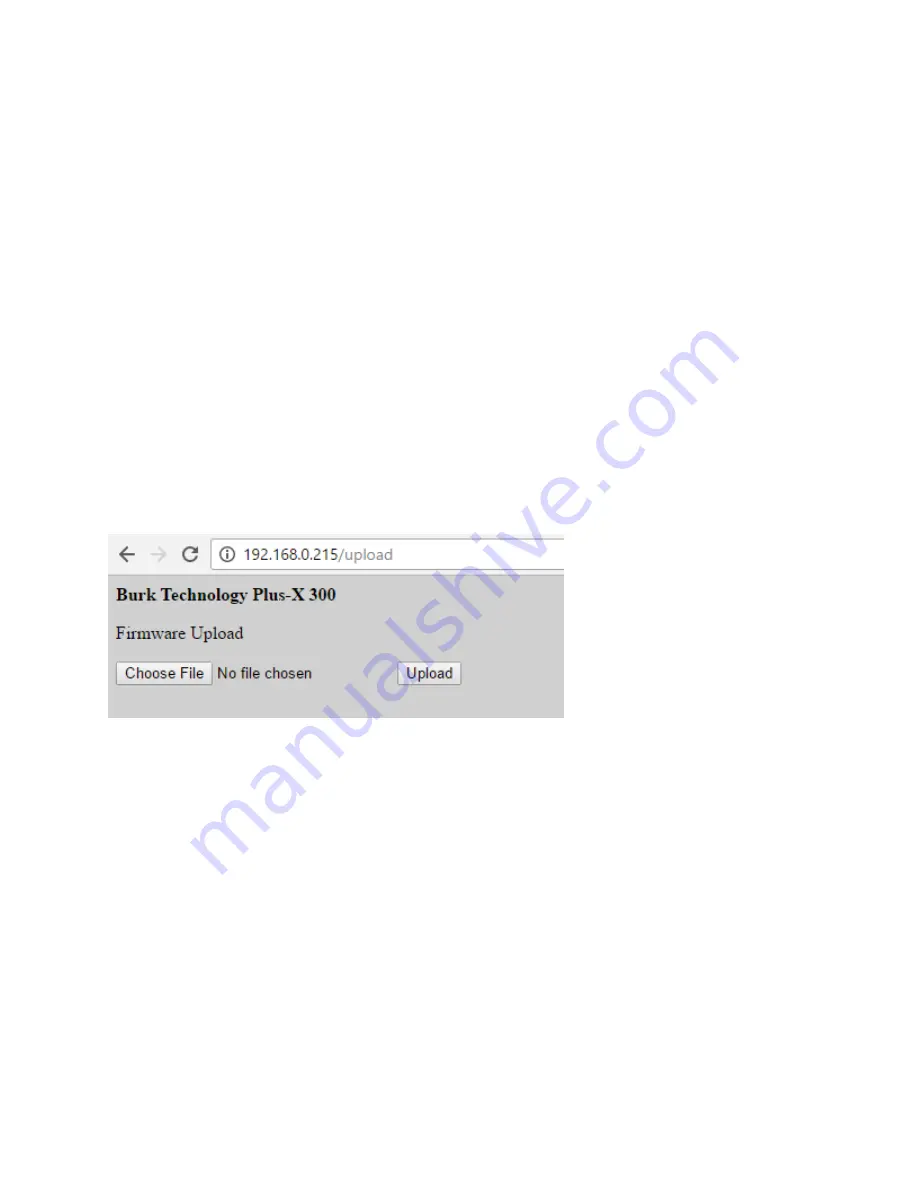
Uploading New Firmware
After logging into the Plus-X 300 web interface, edit the URL in your web browser to
[address]/upload, where [address] is the IP address assigned to the Plus-X 300. This will take
you to the upload page.
Click the Choose File button to select the firmware file, then click Upload to load the new
firmware. The Plus-X 300 will reboot after the firmware upload is complete.
Operation
Taking Readings & Issuing Commands
Once you have added Plus-X 300 channels to the ARC Plus, they appear on the ARC Plus front
panel, AutoPilot software, Web Interface and RSI speech interface just as any other ARC Plus
channel. They can be used in macros and custom views. The Plus-X 300 is responsible for
reporting the raw sample values to the ARC Plus, while the ARC Plus applies the calibration
constant, limits and alarm settings.
Maintenance Mode
Maintenance Mode is a safety feature that prevents command execution while personnel are
performing work at the remote site. Maintenance Mode on the Plus-X 300 can be activated by


