19
Instruction manual
© 22.02.2017 Bungard GmbH & Co. KG
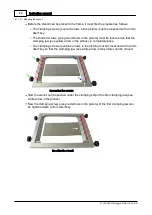
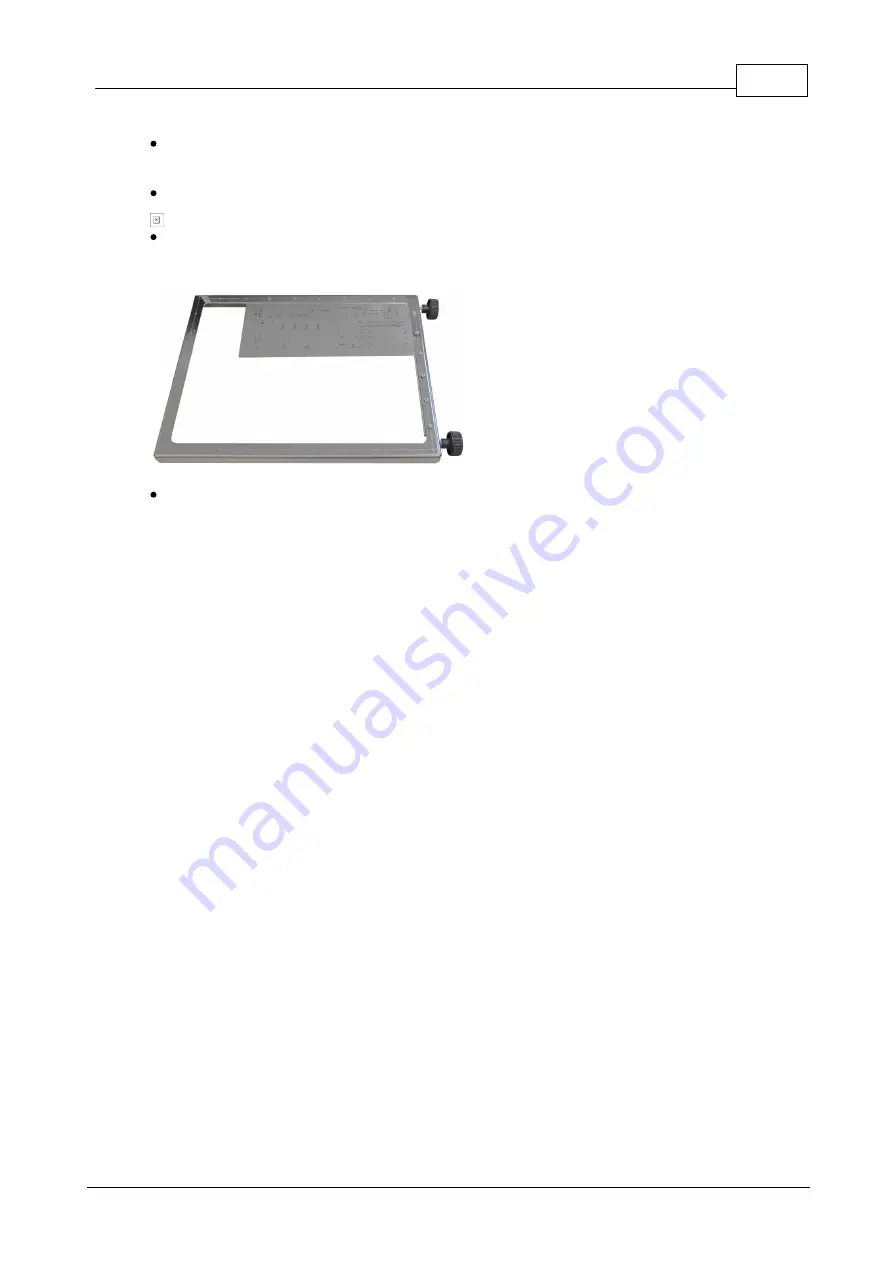
4.7.1.1.1 Assembling the stencil
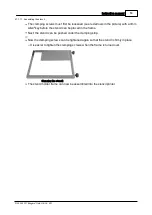
The clamping screws must first be loosened (see red arrows in the picture) with a 3mm
Allen
®
key before the stencil can be placed in the frame.
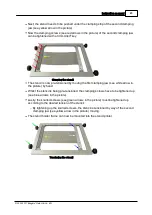
Next, the stencil can be pushed under the clamping strip.
Now the clamping screws can be tightened again so that the stencil is firmly in place.
o
It is easier to tighten the clamping screws when the frame is turned over.
Clam ping the s tencil
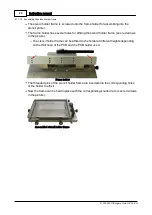
The stencil holder frame can now be assembled into the stencil printer


