August 2018
Bullhorn RM4150/RM4151 Installation & Configuration Quick Reference Guide
For additional assistance, contact the American Innovations Technical Services team at [email protected] or 512-249-3400 (toll-free: 800-229-3404).
2 of 3
4
3
The following procedure includes general steps for configuring the RM4150/RM4151 for service using
Bullhorn Tools. Before beginning the configuration steps, ensure that
Bullhorn Tools is installed on
your laptop. The software can
be downloaded from the
Downloads
page on Bullhorn Web Help
(
www.bullhornsys.com/wiki/support-files.aspx
).
Instructions are also in the
RM4100 Series User
Guide
.
1
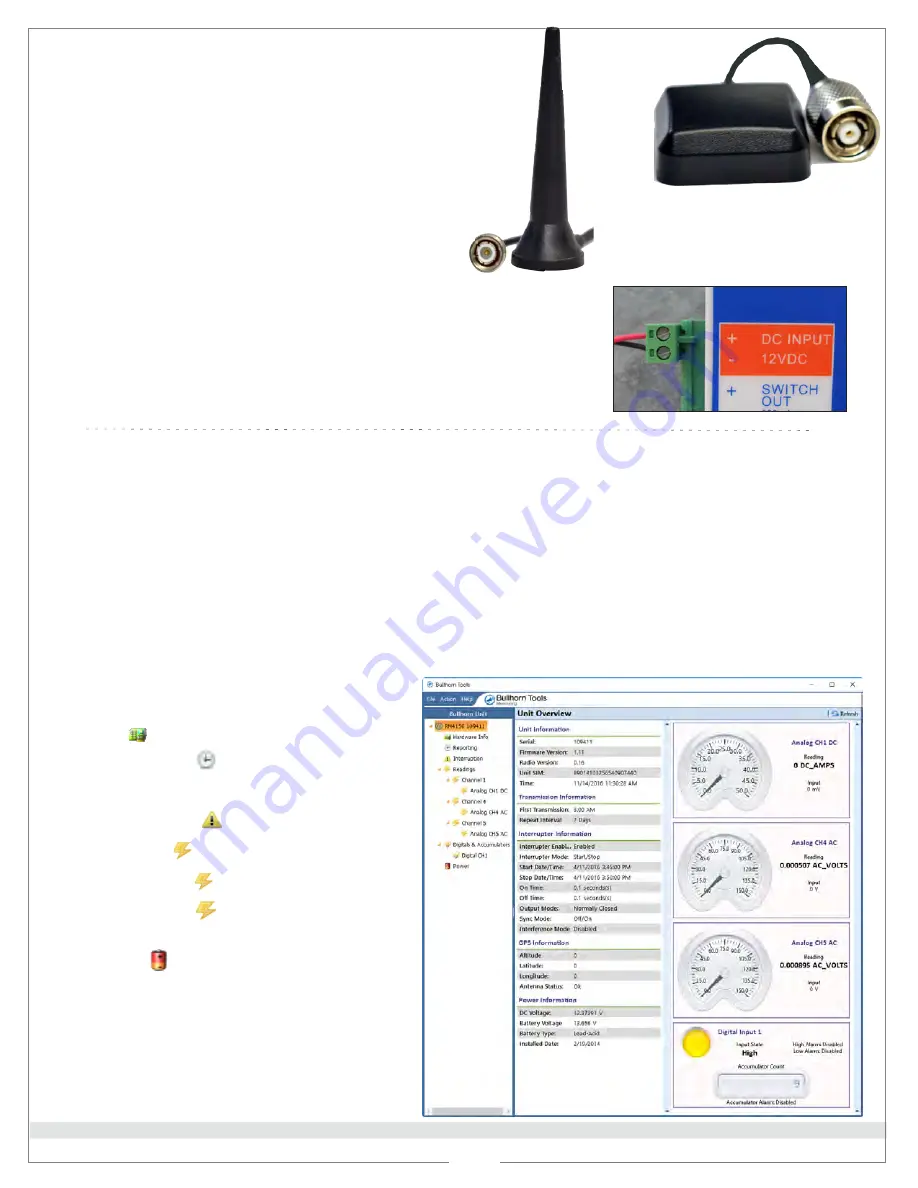
Attach
GSM antenna
cable
to GSM antenna port.
2
Attach
GPS antenna
cable
to GPS antenna port.
3
Place antennas on a metal surface outside the
rectifier and clear of any obstructions. The base
of each antenna is magnetized to ensure stability.
4
Install
power supply
:
a
Connect power supply
to
DC INPUT
connection on unit.
b
If using an AC/DC power supply, connect AC
input cable of the
power supply
to a 100-240 V
AC supply/outlet or to an AC breaker.
c
If using a DC/DC power supply, connect DC
input cable of the power supply to a 9-36 V DC
supply/outlet or to a DC breaker.
5
Power on the unit.
Configure RM4150 or RM4151 for Service
GSM Antenna
DC INPUT
1
Connect a USB cable to the unit’s
USB CONFIG
port and then to your laptop.
2
Start
Bullhorn Tools
. The
PACKET
light flashes to indicate that a start-up packet has been sent to your Bullhorn
Web account
.
4
Exit Bullhorn Tools and disconnect USB
cable.
Bullhorn Tools Unit Overview
3
If
not
using a saved Template:
a
Verify
Unit Information
and
Hardware Info
.
b
Configure
Reporting
settings.
Note:
Click
Save
after each change.
c
Configure
Interruption
settings
.
d
Enable
Readings
.
e
Configure channel settings
.
f
Configure
Digitals & Accumulators
settings.
h
Set
Power
(battery) date and type.
Install Antennas and Power Supply
GPS Antenna


