


BTech DMR-6X2 CodePlug Programming Guide
V-1.00/1.00
Page 22 of 30
©
2017/8
Trygve Svärd KD0PNQ
FINAL STEP - WRITE YOUR CODEPLUG TO YOUR RADIO
The DMR-6X2 radio comes with the necessary programming cable. Most computers
will load the necessary driver automatically when inserted into the USB port and radio
for the first time. Per note on page 1, update the read and write speed of the driver.
Always save your code plug for future use prior to loading
to your radio.
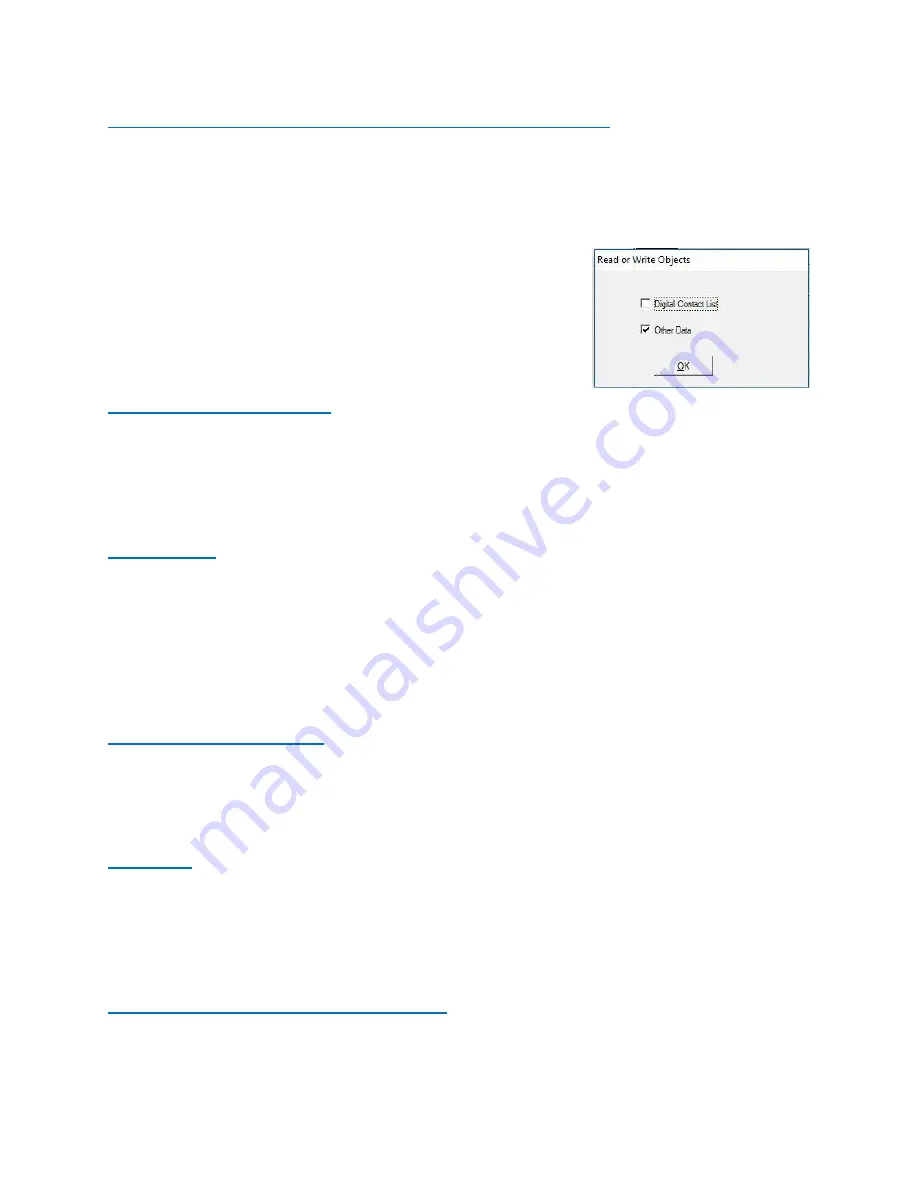
Select Program / Write to Radio from the top selection
dropdown. When writing the code plug to the radio, you
should only select “Other Data”.
2.0 TOOL Pull-down Menu
The pull-down TOOL menu offers several unique features such as listening to all
recorded information, importing and exporting file data to an excel format for separate
programming, mode function, extended settings, firmware updating, adding a boot
image, and default channel settings.
2.1 RECORD
There is a Record option available on the DMR-6X2. This option can be activated via a
preprogrammed button, or via a keypad Menu/Tool/Record option.
When selected, the radio can record up to 8 hours of ‘on the air’ conversations (on
transmission at a time).
Recordings can also be played back directly from the radio using a Menu/Tool/Record.
2.2 IMPORT and EXPORT
This feature allow importing to an excel spreadsheet each of the programming features
so that all the features of excel can be used to build and enhance a CodePlug. Some
details are described above in the Contact Information section.
2.3 MODE
The Mode Selection allows the CPS software not to check for Channel names and
Contact names to be identical. This feature has been requested by the California
Amateur clubs due to the amount of repeaters they cover. Add a check to allow same
Contact and Channel numbers.
2.4 EXTENDED TG FUNCTION SETTING
This menu is available under the TOOL pull-down
as “Extended”, and define which parts of the Talk
Group information in Step 1 above will be displayed
on the LCD display screen during reception of a
call. If nothing is selected, then the Name of the TG
is displayed at the bottom of the screen. If any of
the items in this menu are selected, those fields will
be displayed at the bottom of the LCD


