


Replacing the print ribbon and smartcard
The print ribbon and the smartcard work
together, and the fax will not work without the
smartcard. The print ribbon prints onto paper
and the smartcard monitors how much ribbon
has been used.
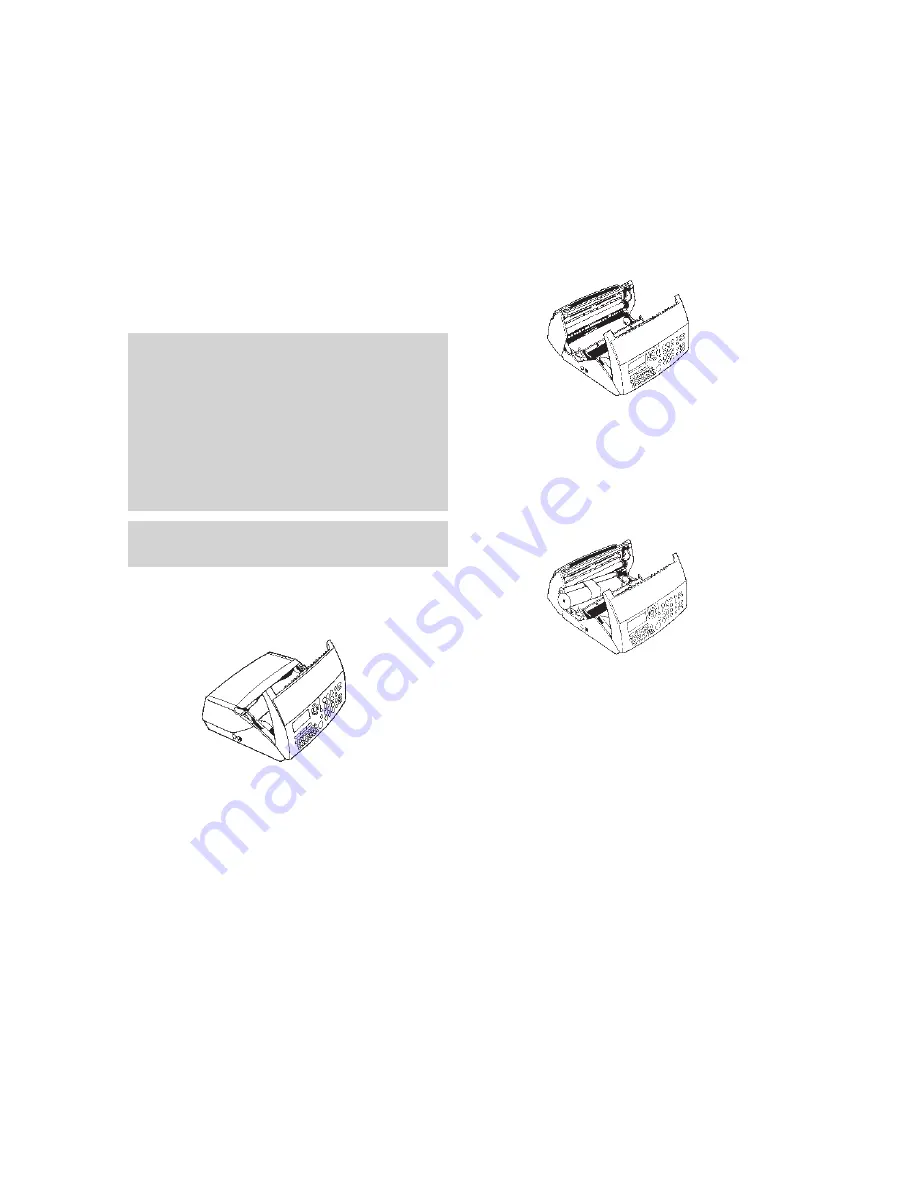
Replacing the print ribbon
1
Pull the front cover towards you until it
clicks and holds itself open.
2
Press on the two green catches to release
the rear cover and tilt it backwards.
Remove the old ribbon.
3
Without removing the clear securing band
and with the green end of the spool on the
left, place the ribbon roll into its housing
under the rear cover Push the right-hand
end of the spool against the spring and lower
the green end into place.
4
Remove the clear securing band by pulling
the coloured tab. For the starter ribbon that
comes with the new machine, remove the
foam packing piece.
66
Warning
Use only print ribbons that match the supplier’s
specifications. Using other types may result in
damage to the main machine and invalidate the
manufacturer’s warranty.
Documents printed by your machine may be read
from the used print ribbon. If certain documents are
to be kept confidential, you may want to remove the
print ribbon whenever the machine is unattended.
Print ribbons
To obtain new print ribbons call
0800 590009
.
The consumables (ink ribbon and smartcard) are already installed in the machine. You will need to
change these consumables when they become worn. To do so, refer to the instructions in the
following paragraphs.
Help
If you have any problems using your DECTfax, this section
will give you the most common, easy-to-follow solutions.


