4
5
2 INSTALLATION INSTRUCTIONS
GENERAL
Open the box carefully and remove all packaging.
The following material is included:
1. CLS-E NG Yoke
2. USB Cable
3. Power supply with cable
4. This manual
MOUNTING & OPERATING CONDITION
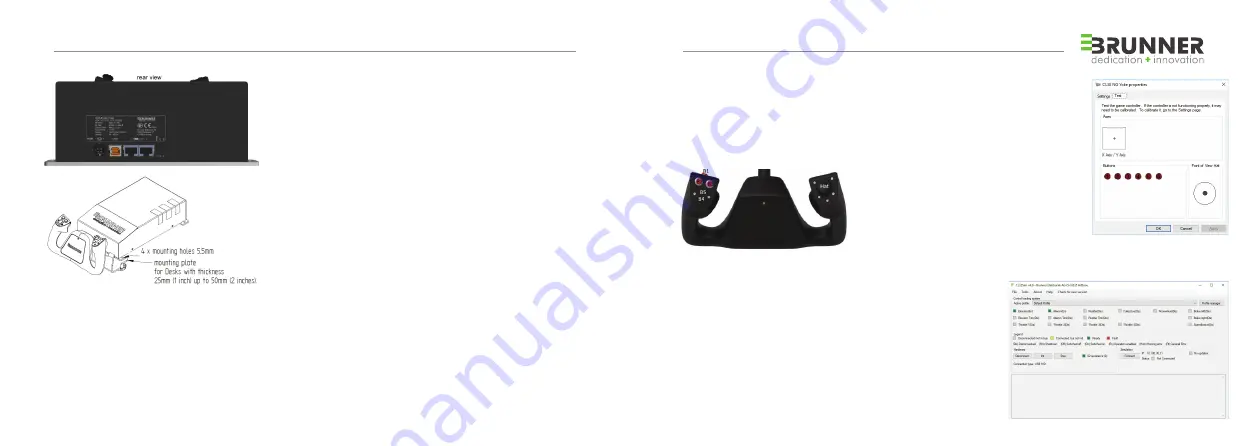
1. The unit must be mounted with 4 Screws or optionally
available clamp securely on a fl at surface before operating.
2. Keep a minimum of 5 cm distance around the unit from any part.
3. Keep environmental temperature below 40°C max.
4. Use only in dry environment.
FIRST START / ELECTRICAL CONNECTION
1. Connect the provided power supply to Power Plug.
2. Connect the CLS-E NG Yoke with your computer via the
provided USB cable. See Chapter 5 Wiring Diagram on page 27
3. Connect the delivered AC main power plug to the Power Supply
and connect the power cable to the AC-power outlet.
The calibration and initialization sequence will start automatically.
Axis are moving across their range.
DO NOT DISTURB THIS SEQUENCE UNTIL THE YOKE IS CENTERED!
THIS SEQUENCE IS REPEATED EVERY TIME WHEN POWER IS APPLIED.
3 SOFTWARE INSTALLATION
USB DRIVER
The USB Driver is installed automatically when power is applied the fi rst time. CLS-E NG Yoke
must show up in your Windows Device Manager as Game Controller «CLSE NG Yoke»
(standalone mode). Optionally assign functions to Button 2 & 3. Button 4 & 5 is mapped
to “Trim”, Button 1 is mapped to “Trim Reset” in standalone mode as default
CLS2SIM (Version 4.9 or later)
For enabling additional Control Loading Features
Download and install CLS2Sim (Win32 application)
from http://www.brunner-innovation.swiss/media
If the optional CLS2Sim Soft ware is installed all axes
are mapped by the Soft ware itself.
IN THIS CASE THE USB X-AXIS (ROLL) AND Y-AXIS
(PITCH) MAPPING FOR THE CLS-E NG YOKE MUST BE DISABLED IN THE
SIMULATION SOFTWARE.
DUAL YOKE SETUP / SYNCHRONIZATION
In case of using 2 CLS-E NG Yokes (MCC Confi guration), connect a standard
RJ45 Cat5 Ethernet cable on the “CANopen” connector between the units
(Chapter 5 “Wiring Diagram”, Page 27).
All necessary settings for self-synchronization are done automatically at the
fi rst power up of the 2 devices.
Read the manual and help fi le in CLS2Sim for additional information.
In case of trouble or questions, please contact us at


