Scanning
21
3
h
The application will search your network and display a list of available machines. Tap your machine in
the list.
i
Do one of the following:
To change other scan settings, see
on page 26. After changing the settings, go to
step
If you do not want to change any settings, press the Back button and go to step
j
Tap
Scan
.
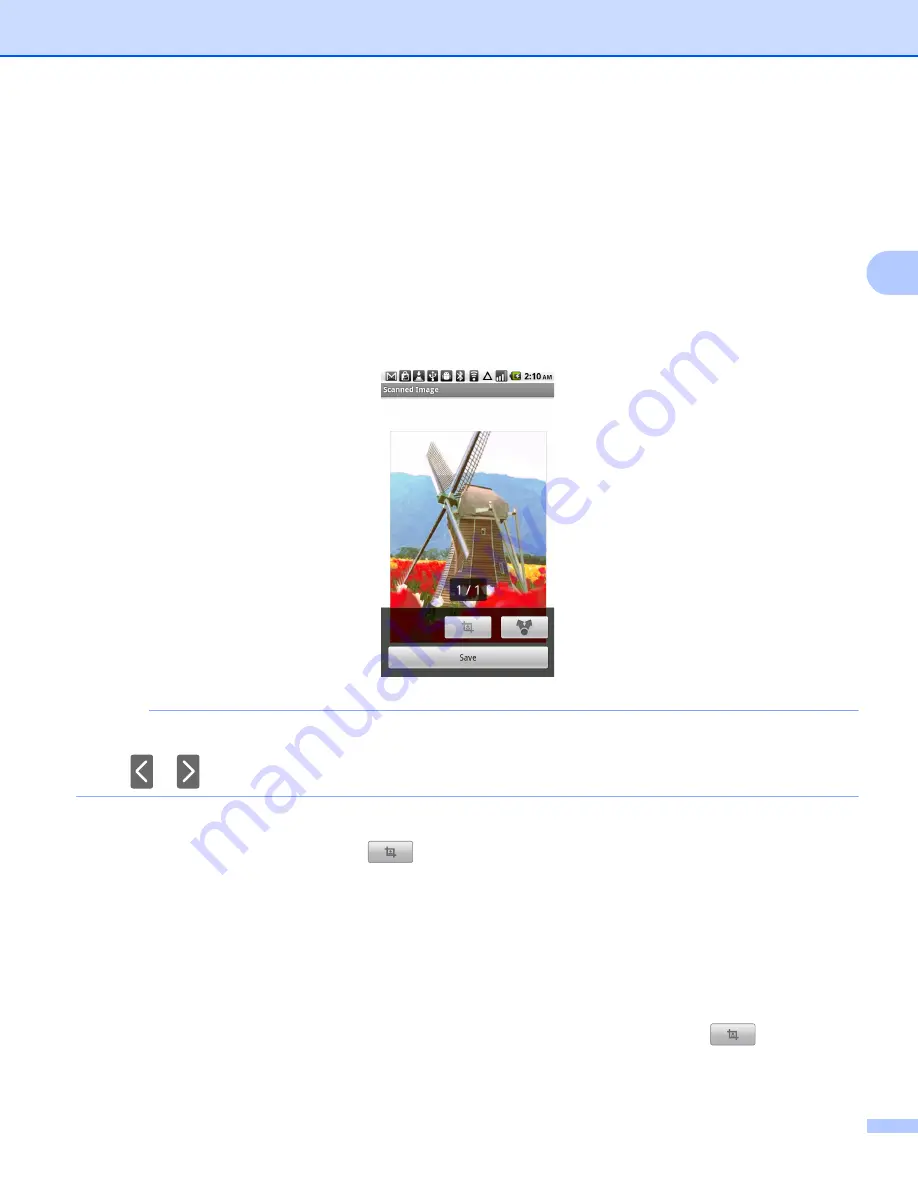
The machine will start to scan the document. The scanned image will then be displayed on the screen.
Confirm the scanned image.
NOTE
• Tap the screen to hide or show the operation buttons.
• Tap
or
to view the previous or next page.
k
Do one of the following:
To crop the scanned image, tap
and then go to step
If you do not want to crop the scanned image, go to step
.
l
The area inside the box will be cropped.
To change the size of the box, drag the edge of the box.
To move the position of the box, tap inside the box and drag the box.
When finished, tap
Done
.
m
Confirm the cropped image. To start over and select the size of the box again, tap
and then go
back to step
.
Summary of Contents for ImageCenter ADS2500W
Page 1: ...Mobile Print Scan Guide for Brother iPrint Scan Version G ENG ...
Page 5: ...Section I For Android DevicesI Introduction 2 Printing 6 Scanning 20 ...
Page 31: ...Section II For iOS Devices II Introduction 28 Printing 32 Scanning 58 ...
Page 80: ...Section III For Windows Phone Devices III Introduction 77 Printing 81 Scanning 88 ...
Page 95: ...www brotherearth com Visit us on the World Wide Web http www brother com ...


