


UTILITY STITCHES
——————————————————————————————————————————————————
122
5
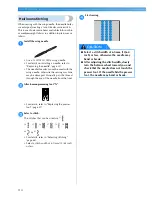
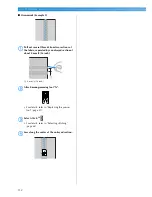
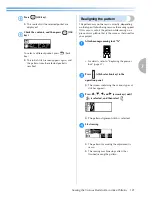
Check the sewn pattern.
If the part of the pattern indicated in the
illustration is sewn uniformly, the pattern is
correctly aligned.
If the pattern is not sewn correctly, following
the steps below to adjust the sewing.
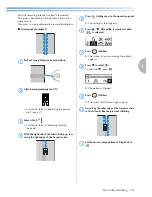
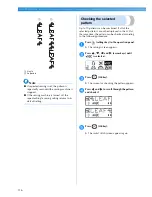
6
Press
(settings key) in the operation panel.
X
The settings screen appears.
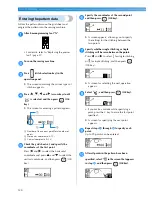
7
Press
,
,
and
(arrow keys) until
is selected.
8
Press
(OK key).
X
The screen for adjusting the pattern appears.
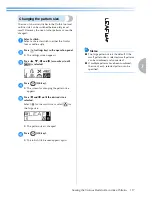
9
Press
(–) or
(+).
X
Make the necessary adjustments according
to how the pattern is sewn.
Press
to increase the adjustment setting.
Press
to decrease the adjustment setting.
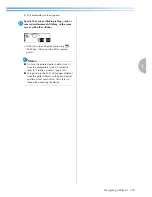
0
Start sewing again, and then check the
pattern.
Continue adjusting the pattern until it is sewn
correctly.
a
When the pattern is sewn correctly, press
(OK key).
X
The initial stitch screen appears again.
Summary of Contents for 885-S61
Page 50: ...GETTING READY 44 ...
Page 72: ...SEWING BASICS 66 ...
Page 152: ...APPENDIX 146 Z zipper stitching 85 89 ...
Page 153: ......
Page 154: ......
Page 155: ......


