SEWING BASICS
28
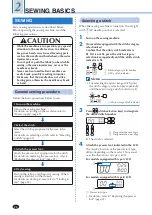
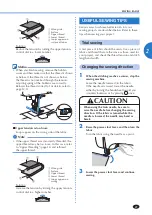
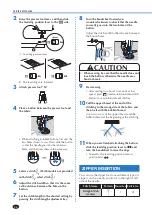
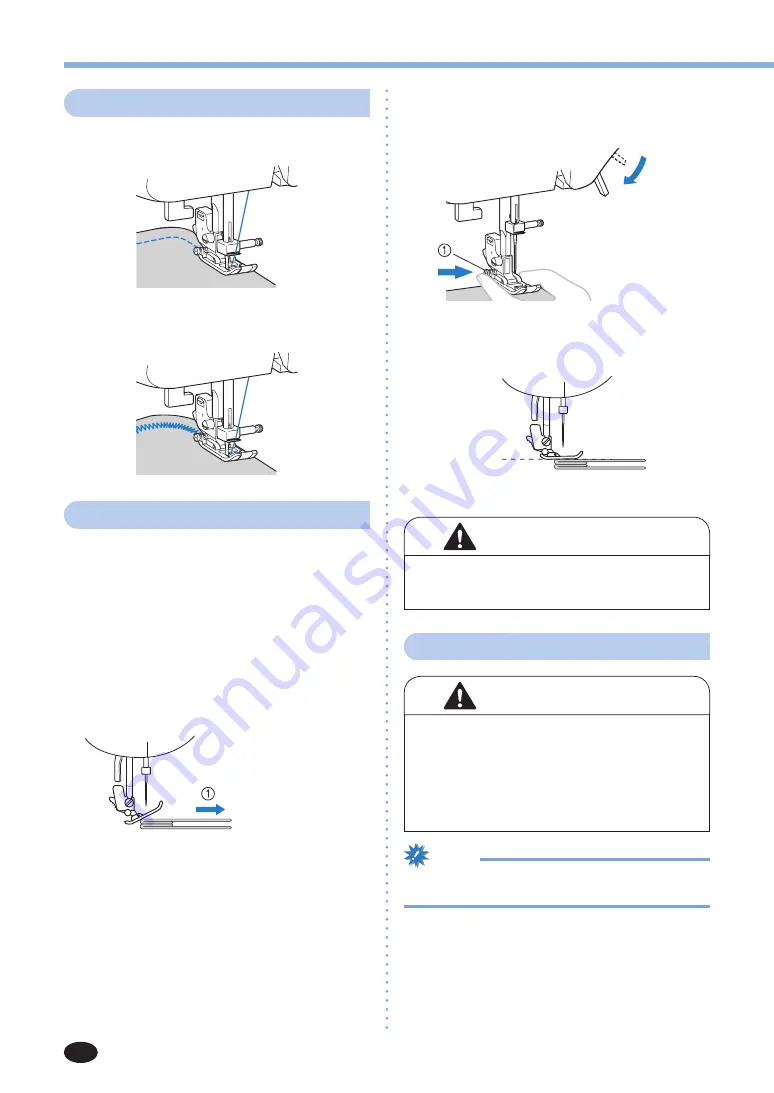
Sewing curves
Stop sewing, and then slightly change the sewing
direction to sew around the curve.
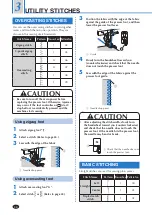
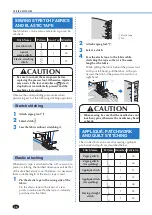
When sewing along a curve while using a zigzag
stitch, select a shorter stitch length in order to obtain
a finer stitch.
Sewing thick fabrics
■
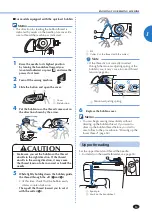
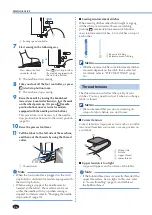
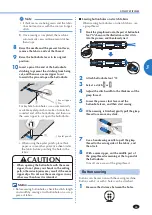
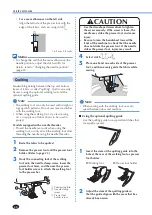
If the fabric does not fit under the presser foot
If the fabric does not fit easily under the presser
foot, raise the presser foot lever even higher to
bring the presser foot to its highest position.
■
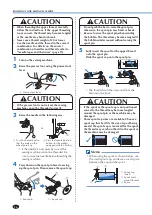
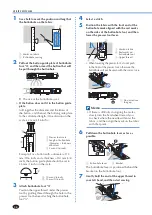
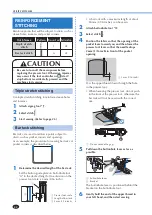
If thick seams are being sewn and the fabric
does not feed at the beginning of stitching
The fabric may not feed when thick seams are
being sewn and the presser foot is not level, as
shown below. In this case, use the presser foot
locking pin.
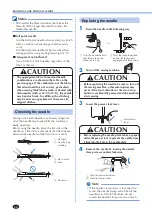
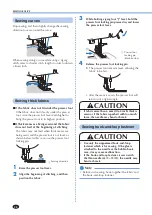
1
Sewing direction
1
Raise the presser foot lever.
2
Align the beginning of stitching, and then
position the fabric.
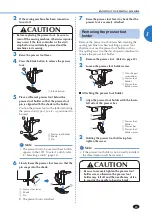
3
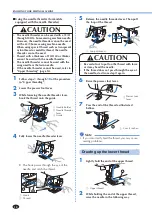
While holding zigzag foot “J” level, hold the
presser foot locking pin pressed in, and lower
the presser foot lever.
1
Presser foot
locking pin
(black button)
4
Release the presser foot locking pin.
X
The presser foot remains level, allowing the
fabric to be fed.
• After the seam is sewn, the presser foot will
return to its original angle.
CAUTION
• If fabric more than 6 mm (15/64 inch) thick is
sewn or if the fabric is pushed with too much
force, the needle may bend or break.
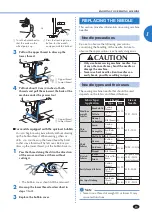
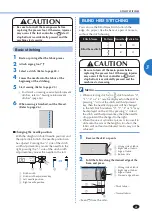
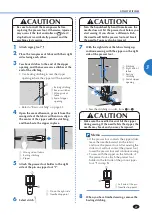
Sewing hook-and-loop fastener
CAUTION
• Use only the ungummed hook-and-loop
fastener which is for sewing. If the glue is
attached to the needle or the bobbin hook
race, it may cause malfunction.
• If the hook-and-loop fastener is sewn with
the thin needle (65/9 – 75/11), the needle may
bend or break.
Note
• Before start sewing, baste together the fabric and
the hook-and-loop fastener.
Summary of Contents for 885-E33
Page 2: ......


