


Brocade VDX 6740 Hardware Reference Manual
41
53_1002829_02
Power supply replacement in a Brocade 6740T and 6740T-1G
5
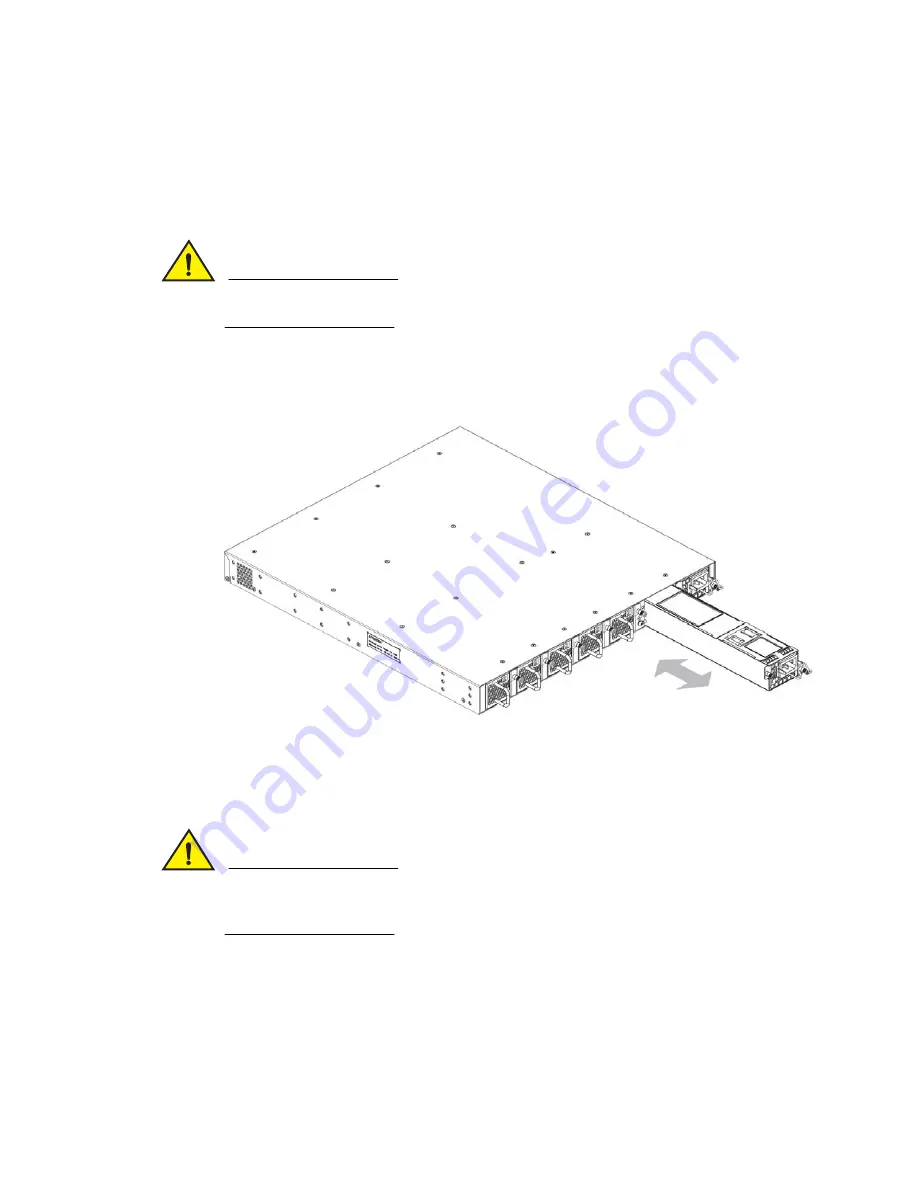
5. Remove the power supply from the chassis by grasping the edges of the power supply and
pulling it out from the chassis.
6. Install the new power supply in the chassis:
a. Orient the power supply with the power plug receptacle on the right, as shown in
Figure 16
.
CAUTION
Do not force the installation. If the power supply and fan assembly does not slide in easily, ensure
that it is correctly oriented before continuing.
b. Gently push the power supply into the chassis until it is firmly seated.
c. Secure the power supply to the chassis by tightening the two captive screws using the
Phillips screwdriver.
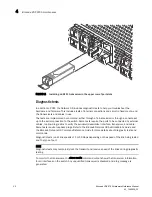
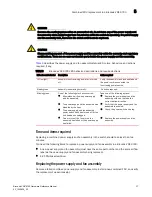
FIGURE 16
Inserting the power supply in the Brocade VDX 6740T and Brocade VDX 6740T-1G
7. Plug the power cord into the power supply to power on the unit.
The power supply will immediately attempt to power up.
CAUTION
If you observe that the switch has powered down approximately two minutes after a power supply
replacement, it is likely because the new power supply has a mismatched airflow. Check your
console for error messages.
8. Verify that the LED on the new power supply displays steady green while the switch is operating
(refer to
Table 7
).
If the LED is not steady green, ensure that the power supply is securely installed and seated
properly.
You can enter one of the following commands at the command line prompt to display the power
supply status: