User Manual
BritePort 8012-V1
21
4.
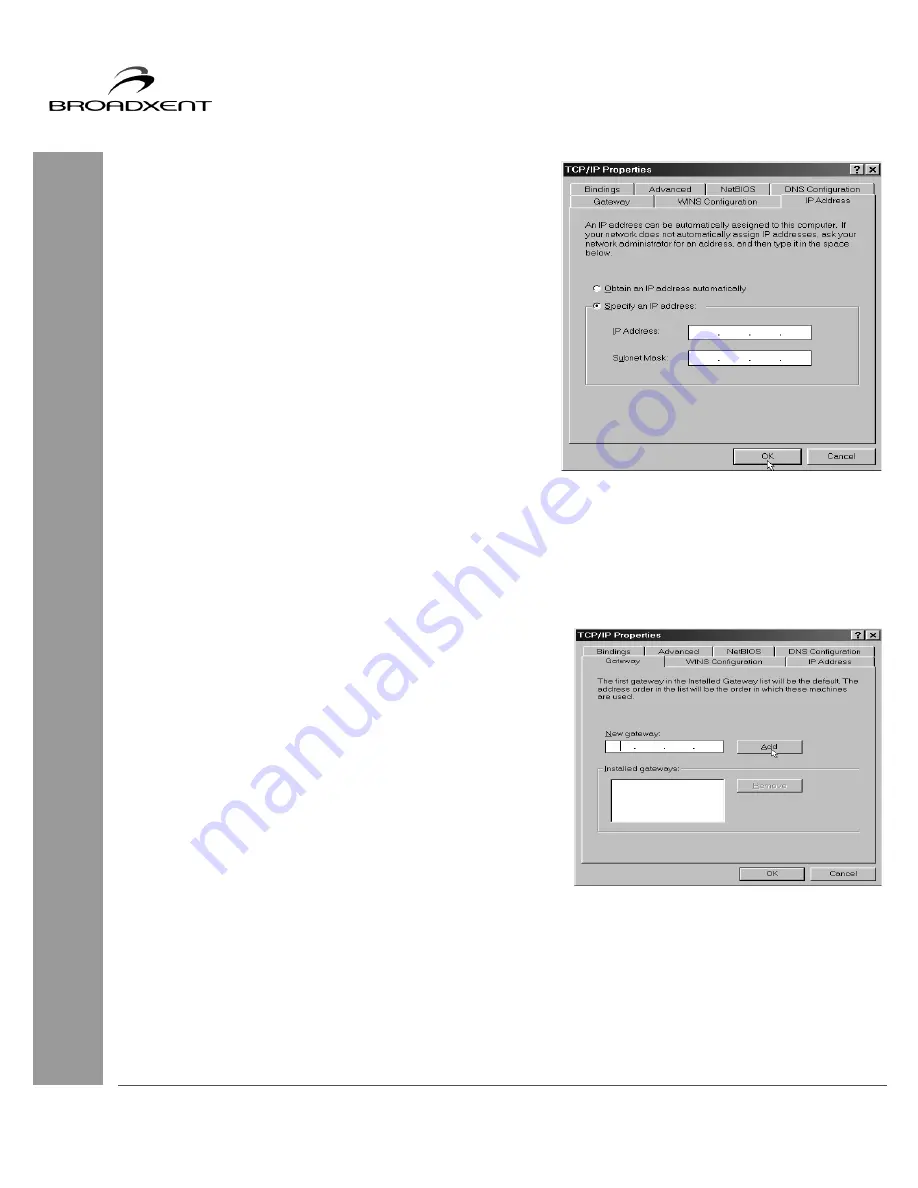
The “TCP/IP Properties” dialog box similar to
Figure 4-4 appears. Click the IP Address tab.
(a) For Dynamic IP Address:
If your service provider uses Dynamic Host
Configuration Protocol (DHCP), then in Figure 4-4
select the option Obtain an IP address
automatically and click OK. The “System Setting
Change” window appears (Figure 4-7) that prompts
you to restart your computer so that the new settings
take effect. Click Yes to restart your computer. This
completes the Ethernet configuration, therefore skip
the remaining steps.
(b) For Static IP Address:
If your service provider does not use DHCP, then in
Figure 4-4 select the option Specify an IP Address.
Fill the IP Address and Subnet Mask fields
according to the values provided by your service
provider and click the Gateway tab.
5.
In the TCP/IP dialog box with the Gateway tab
selected (Figure 4-5), in New gateway field enter the
Gateway address provided by your DSL service
provider and then click Add. Click the DNS
Configuration tab.
Figure 4-4
Figure 4-5


