SA
-
STAG8-2U144, SA
-
STXG8-2X144, SA
-
STAG8-5U840
4
Security Analytics Gen14 Dell Storage Quick Start Guide
Broadcom reserves the right to make changes without further notice to any products or data herein to improve reliability, function, or design. Information furnished by Broadcom is believed to be accurate and reliable. However, Broadcom does not assume
any liability arising out of the application or use of this information, nor the application or use of any product or circuit described herein, neither does it convey any license under its patent rights nor the rights of others. (2020.10.02, 17:22:01)
5 — Power On the System
When powering on Sensor Systems, make sure that
components are powered on in the following order:
1. Power on any expansion enclosures (SA
-
STXG8-2X144).
Wait until the expansion enclosures’ drive lights are lit
(solid) before proceeding.
2. Power on the storage arrays (SA
-
STAG8-2U144 or
SA
-
STAG8-5U840). Wait until storage arrays’ drive lights
the are lit (solid) before proceeding.
3. Power on the server (SA
-
SRVG8-20 or SA
-
SRVG8-40).
4. Once all components are powered on, verify the following:
For the SA
-
STAG8-2U144 and SA
-
STXG8-2X144, the
System Power LED
turns green.
For the SA
-
STAG8-5U840, the
Power On/Standby
LED
turns green.
6 — Configure Network Settings
for the Storage Array
1. Connect an Ethernet cable to the storage array’s
Network
port on
Controller A
. Connect the other end of
the cable to a laptop with an IP address of 10.0.0.1/24
and a default gateway address of 10.0.0.2.
2. Select the
User Language
and click
Get Started
.
3. Enter a
Username
and
Password
and click
Apply and
Continue
. The Username will be required when
configuring the storage array’s disk and filesystem for
Capture and Indexing.
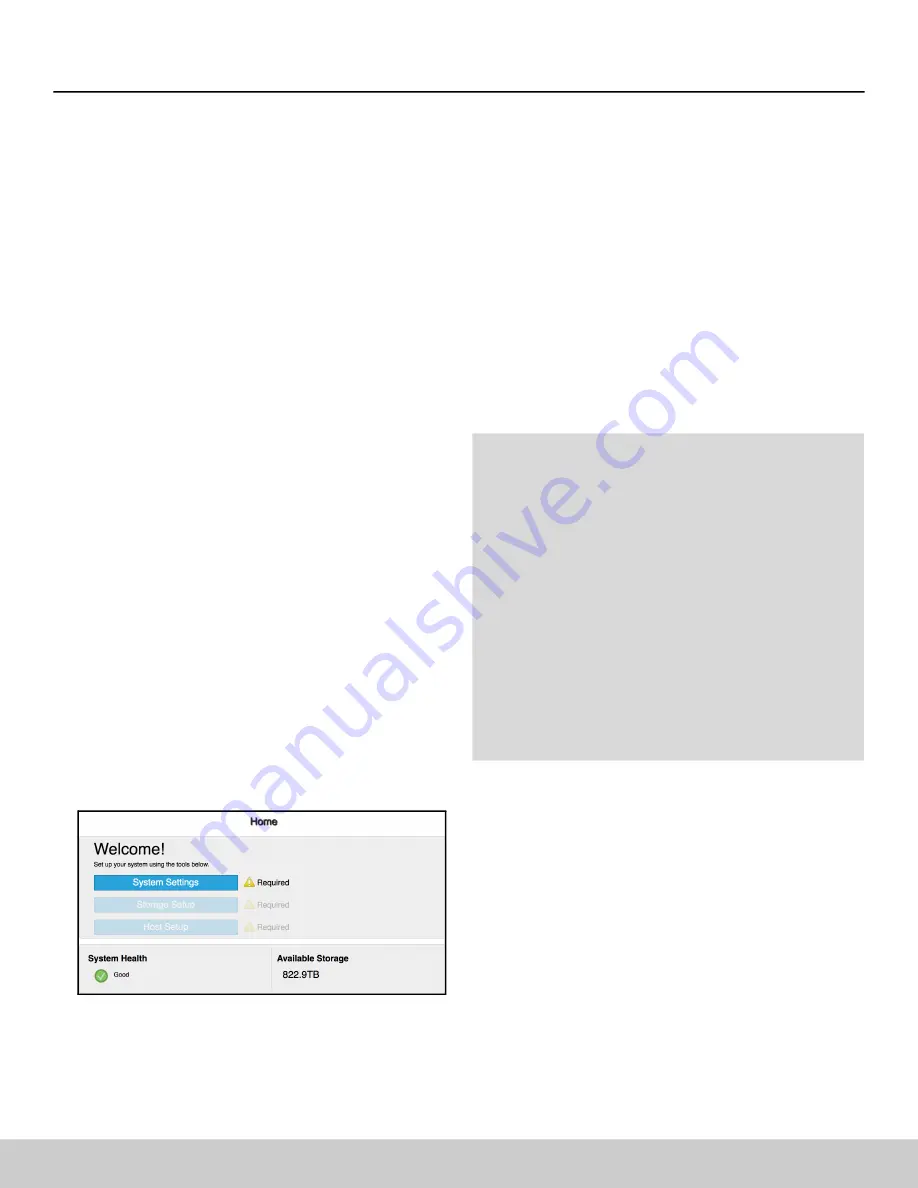
4. When prompted with the Welcome screen, click
System
Settings
.
5. Configure the Controller A settings for
IP Address
,
IP
Mask
, and
Gateway
.
6. Configure the Controller B settings for
IP Address
,
IP
Mask
, and
Gateway
.
7. Click
Apply
and
Close
and proceed to configuring the
storage array from the Security Analytics server’s CLI.
7 — Next Steps
If you have not done so already, configure the Sensor
(server) per the instructions in the
Security Analytics
Gen14 Dell Server Quick Start Guide
, available at:
Configure the storage array’s Capture and Indexing
volumes from the Sensor’s CLI. For instructions, see the
Security Analytics Gen14 Dell Configuration Guide
,
Symantec Technical Support
For Symantec Technical Support, case management,
licenses, and product downloads, go to
Security Analytics Help and Documentation
For Security Analytics help, in the web UI, select
Settings > Help >
[language].
For Security Analytics software documentation, go to
and type “Security” in the
search field, then click
Security Analytics
.
Storage Documentation
For Symantec storage array documentation, go to
and type “Appliances” in the
search field, then click
Hardware Appliances
.
For Dell PowerVault storage documentation, go to
and navigate to your storage
model (
PowerVault ME4012
,
ME4084
, or
ME412
).


