G730-Install-IG100 Installation Guide
Brocade
®
G730 Switch Hardware Installation Guide
NOTE
The illustrations in the rack installation procedures show a 1U device, but the instructions are the same for a 2U
device. The illustrations in the rack installation procedures are for reference only and may not show the actual
device.
Complete the following tasks to install the device in a four-post rack:
1.
Attaching the Front Brackets to the Rear of the Device
2.
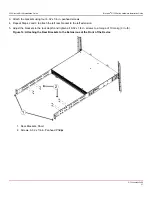
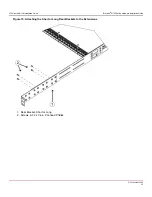
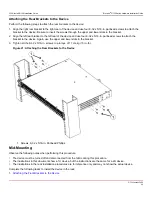
Attaching the Extensions to the Front of the Device
3.
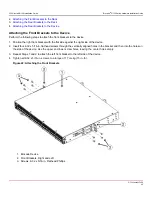
Installing the Device in the Rack
4.
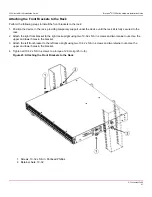
Attaching the Rear Brackets to the Extensions at the Front of the Device
5.
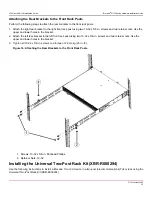
Attaching the Rear Brackets to the Front Rack Posts
Attaching the Front Brackets to the Rear of the Device
NOTE
In this installation, the brackets are named as listed in the parts list even though the installation of the brackets is
reversed from the flush-front installation.
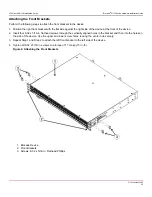
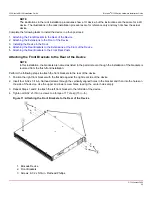
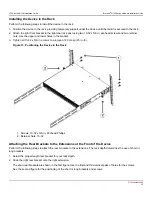
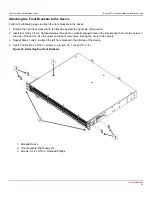
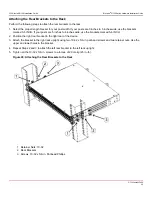
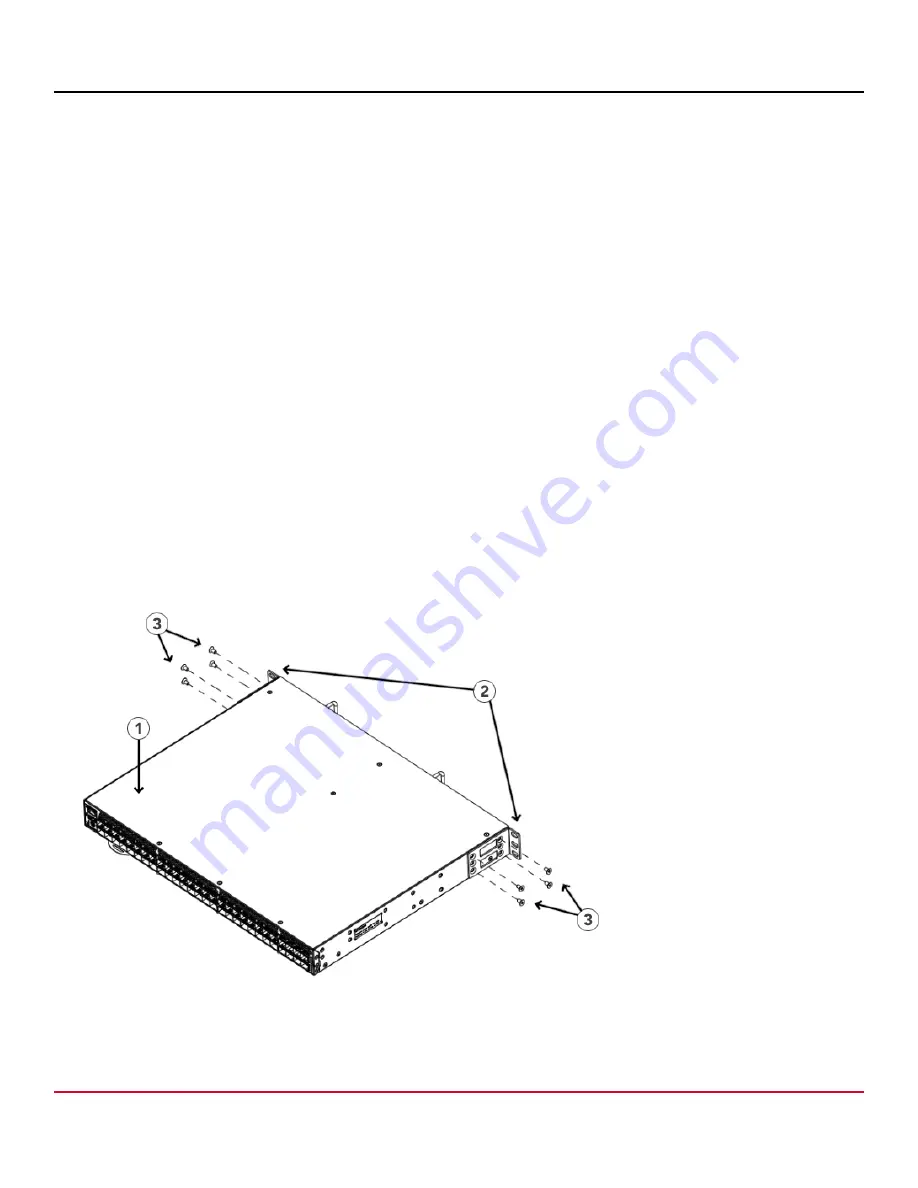
Perform the following steps to attach the front brackets to the rear of the device:
1. Position the right front bracket with the flat side against the right rear side of the device.
2. Insert four 8-32 x 5/16-in. flathead screws through the vertically aligned holes in the bracket and then into the holes on
the side of the device. Use the upper and lower screw holes, leaving the center holes empty.
3. Repeat Steps 1 and 2 to attach the left front bracket to the left side of the device.
4. Tighten all 8-32 x 5/16-in. screws to a torque of 17 cm-kg (15 in.-lb).
Figure 11: Attaching the Front Brackets to the Rear of the Device
1. Brocade Device
2. Front Brackets
3. Screws, 8-32 x 5/16-in. Flathead Phillips
G730-Install-IG100
28
Summary of Contents for Brocade G730
Page 94: ......

