Instructions for Installation & Use - Series No. 40/A/2013
Instructions for Installation & Use - Series No. 40/A/2013
38
39
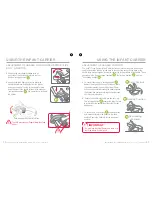
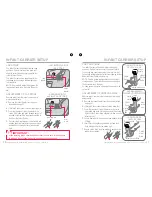
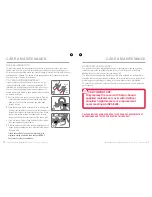
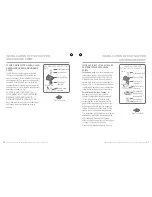
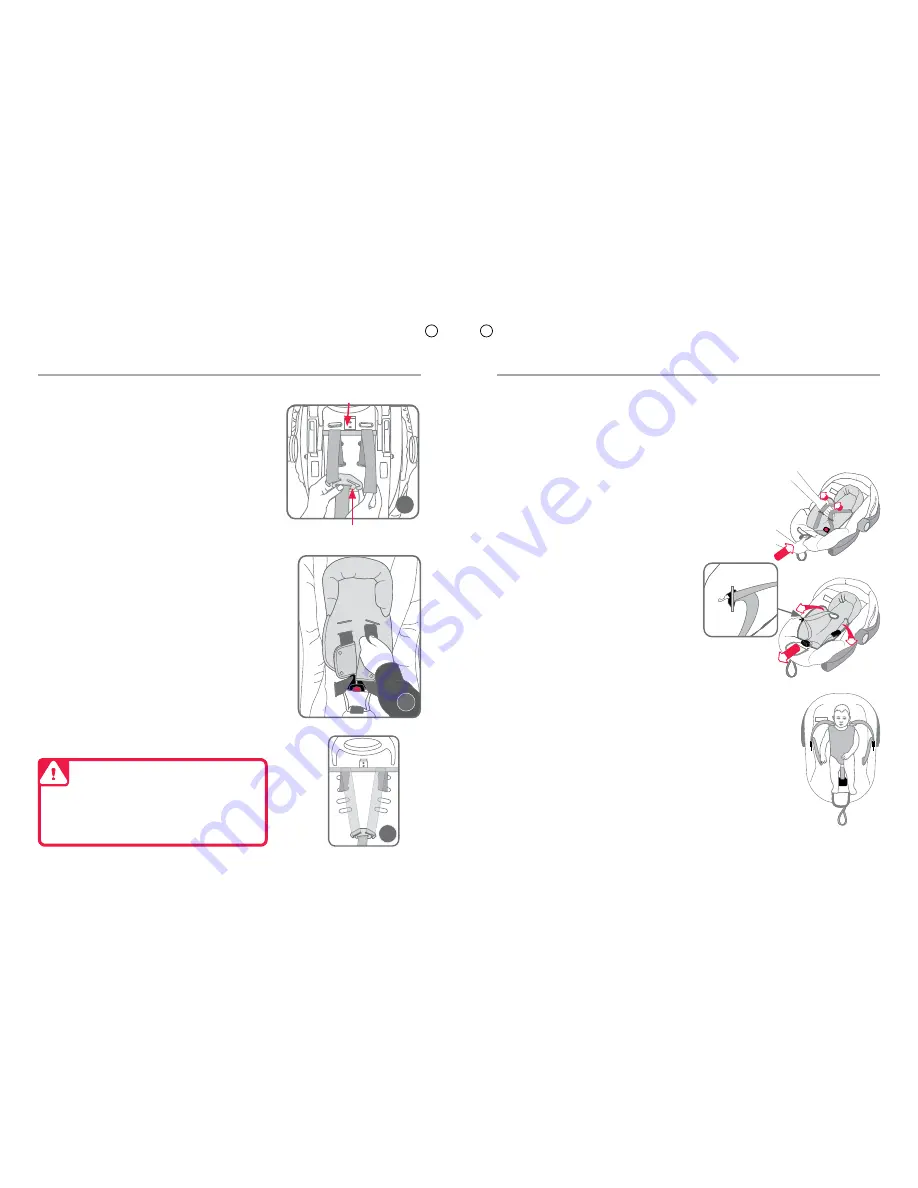
ADJUSTING THE
SHOULDER STRAPS
Remove infant from the infant carrier prior to making
adjustments.
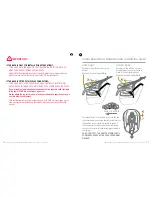
A. At the rear of the Infant Carrier, remove one of the
harness shoulder straps from metal strap connector
by slipping strap through open slot. The metal strap
connector is shown in diagram right.
B. Pull the shoulder strap through slot to the front of the
Infant Carrier, through all the trims.
C. Pass shoulder strap back through desired slot in
padded insert cover and corresponding slot in the
shell. The slot MUST position the shoulder strap
level with or the next slot above the baby’s shoulder.
If a Padded Insert is used, that will need to be re-
positioned and the strap re-inserted when changing
the slot position.
D. Refit the shoulder strap to the metal strap connector.
Ensure webbing is installed correctly over the bar.
Repeat straps A,B and C for the other strap.
Ensure both shoulder straps use the same height
slot pairs.
Metal Strap Connector
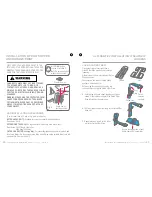
INFANT CARRIER SETUP
INFANT CARRIER SETUP
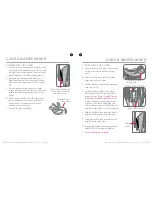
When replacing straps, cover and padded
insert, ensure none of the straps are twisted
and that all straps are secure by pulling each
harness strap.
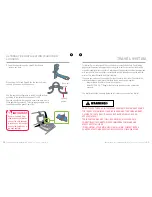
IMPORTANT :
ALWAYS OVER THE BAR
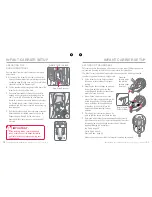
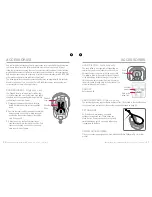
SETTING UP THE HARNESS
This section covers the setting up of the harness to fit the infant. Fitting the harness is
not required. Securing of the infant is covered later in the instructions.
The Infant Carrier is fitted with four shoulder strap positions. As the baby grows the
shoulder straps must be moved to higher slots.
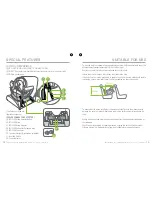
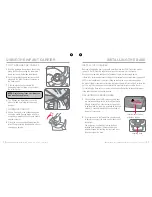
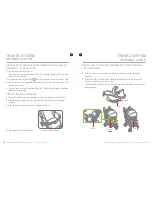
A. Sit the Infant Carrier on flat ground with
the handle rotated fully back to prevent
rocking.
B. Lengthen the harness straps by pressing
the harness adjuster (under the flap)
and pulling both shoulder harness straps
evenly. Release the buckle.
C. Move the two harness tongues to the
sides of the infant carrier and store in the
buckle tongue holder (if fitted) (holders
are on both sides of the padded insert
or the sides of the cover). Move the
harness buckle towards the harness
adjuster.
D. Place baby into infant carrier lying on its
back so that the buckle is between the legs.
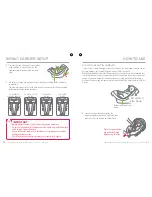
E. Determine which Infant Carrier straps require adjustment to
fit the harness correctly. Confirm crotch strap adjustment first,
followed by lap strap and finally shoulder straps. Adjust as
required following the instructions:
Lap Strap - page 36
Crotch Strap - page 37
Shoulder Strap - page 38
Always remove baby from Infant Carrier prior to making adjustments.
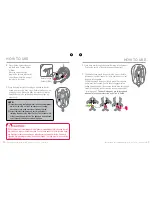
Buckle Tongue
Holder (if fitted)
Press the
harness adjuster
and pull the
harness straps
to slacken.
C
D
A

