Brickcom Economy Outdoor Bullet Series Easy Installation Manual Download Page 5


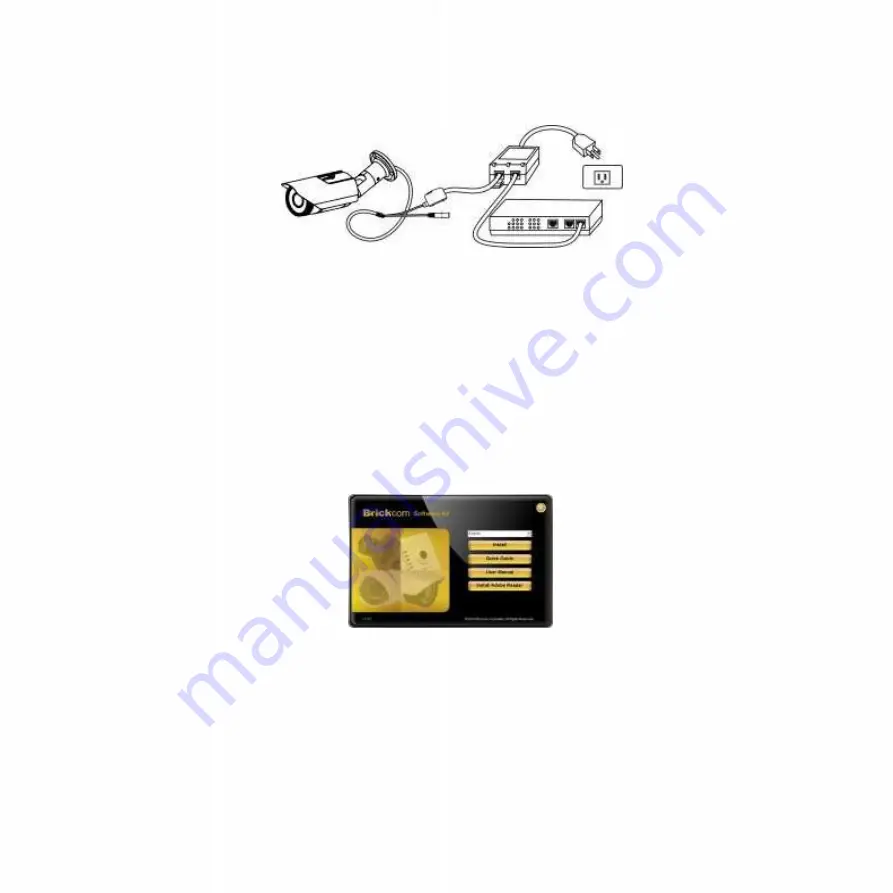
b.  If using a non-PoE switch:


i.  Use a standard RJ-45 cable to connect the camera to a PoE Injector. 

ii.  Use a standard RJ-45 cable to connect the PoE Injector to the non-PoE switch. 

iii.  Use a standard power cable to connect the PoE Injector to a power outlet. 


Step 3. Install the EasyConfig Software 

Insert the CD into the CD-ROM, and follow the instructions of the InstallShield Wizard to finish 
installation. 


Summary of Contents for Economy Outdoor Bullet Series

Page 1: ...1 Easy Installation Guide Megapixel Day Night Bullet Network Camera Economy Outdoor Bullet Series English ...

Page 2: ...ntents Please check to make sure the product package contains all the accessories listed below a Network Camera b Screw bag c Warranty Card d Dry Bag e Power Adapter Optional f Product CD g POE Optional H Terminal Block 1 ...

Page 3: ... soft material The camera may fall and be damaged A Wall Installation a Drill three holes into the wall and 2 hammer the supplied plastic anchors into the three holes 3 Use a screwdriver and the supplied screws to secure the plate to the wall b Connect the POE cable 2 ...

Page 4: ...nnector pass the RJ 45 cable from the camera through the bracket and connect it to the PoE cable RJ45 Connector Pin No Function Pin 1 Transmit Out Tx Pin 2 Transmit Out Tx Pin 3 Receive In Rx Pin 4 DC 48V Pin 5 DC 48V Pin 6 Receive In Rx Pin 7 48V_GND Pin 8 48V_GND Step 2 2 Camera Connection The Bullet Series PoE compliant The camera can be connected to a PoE enabled switch a If using a PoE enable...

Page 5: ...Use a standard RJ 45 cable to connect the PoE Injector to the non PoE switch iii Use a standard power cable to connect the PoE Injector to a power outlet Step 3 Install the EasyConfig Software Insert the CD into the CD ROM and follow the instructions of the InstallShield Wizard to finish installation 4 ...

Page 6: ...ftware and click on the camera from the survey list to connect Follow the EasyConfig software to configure the camera s IP address and EasyLinkTM settings Step 5 Installation Completed Click Live View to view the live video feed of the network camera 5 ...

Reviews: