


www.bresser.de
62
④
Click the Load icon to load a .STL model file. The model will display within the
build area.
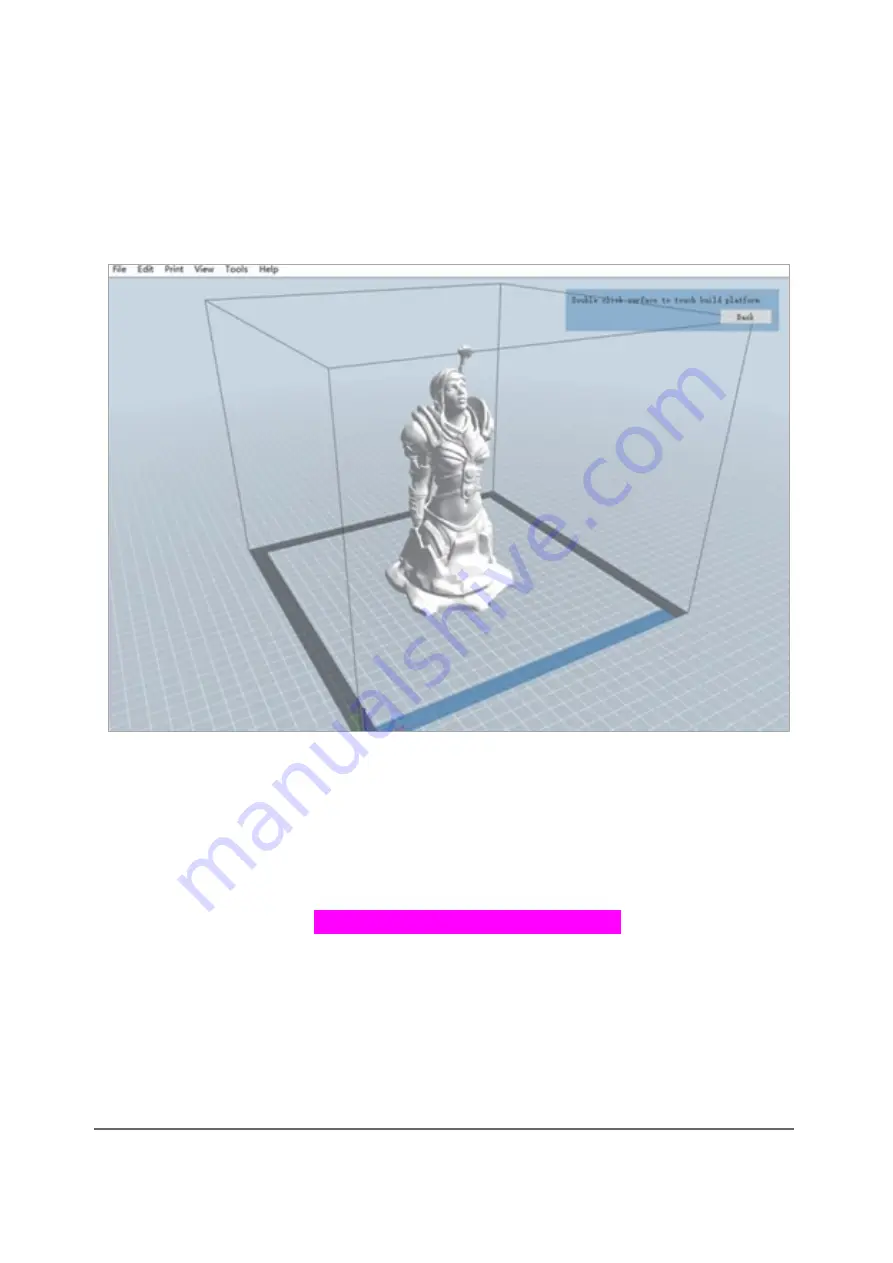
⑤
Double-click the Move icon, then click the On the Platform and Center
buttons to ensure the model is in contact with the centre of the build
platform
⑥
Click the
icon, then change the settings as appropriate for your
filament type and model.
Preview
: Check the
Preview
box if you want to preview the model after
slicing is done.
Print When Slice Done
: Because we are printing from the SD™ card, uncheck
this box to save the Gcode file to the SD card.
Machine Type
: Select
Flashforge Creator Max 3D Printer
.
Material Right
: Select the type of filament you are using.
Material Left
: Select the type of filament you are using.
Supports
: If your model has overhanging elements, enable the
Supports
option.
Raft
: It is recommended to enable the
Raft
option.
Resolution
: It is recommended to select the
Standard
option.
More Options
: It is recommended to leave them at the default values.
Summary of Contents for 2010500
Page 1: ...WIFI 3D Printer Twin Extruder Art No 2010500 Instruction Manual...
Page 8: ...www bresser de 8...
Page 40: ...www bresser de 40 The following screenshots illustrate the five basic shapes Plane Tube...
Page 41: ...www bresser de 41 Canister Lamp...
Page 42: ...www bresser de 42 Seal...
Page 66: ...www bresser de 66...
Page 67: ...www bresser de 67...


