11
by insufficient aftercare or cleaning:
or damage caused by the chemical or
electrochemical effects of water.
Under no circumstances shall the appli-
cation of this guarantee give rise to the
complete replacement of the appliance
or entitle the consumer to damages.
Braun Household, New Lane, Havant,
Hampshire PO9 2NH
www.braunhousehold.co.uk
Subject to change without notice.
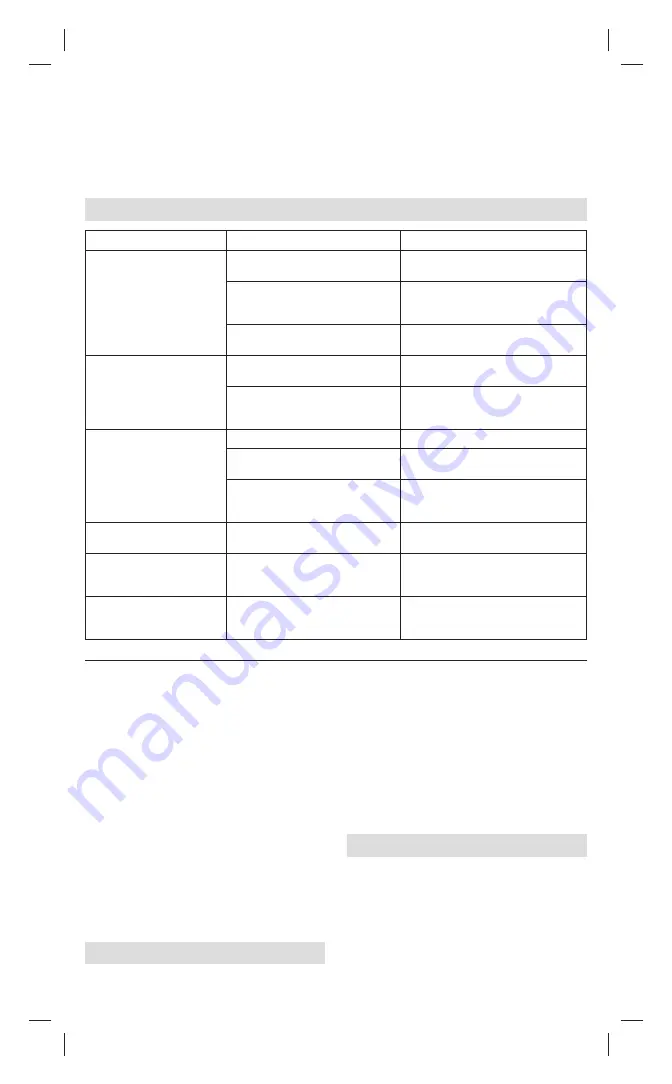
Troubleshooting Guide
PROBLEM
POSSIBLECAUSES
SOLUTION
Water droplets drip on the
fabric during ironing.
The water tank lid is not properly
closed.
Press the water tank lid and check if it
is closed.
Chemicals have been put into the
water tank.
Never put chemicals or perfumes into
the water tank. Empty the water tank,
rinse it 2-3 times.
The steam trigger is overused.
Wait at least a few seconds between
each use.
Water droplets drip from the
soleplate after the iron has
been unplugged or has been
stored.
The steam regulator is set beyond
“0” level.
Set the steam regulator to “0”.
You have put the iron in horizontal
position with water inside the tank.
Empty the water tank after ironing and
place the iron vertically on a stable
surface during the cooling down.
The iron produces little or no
steam.
The water tank is empty.
Refill the water tank.
The valve has collected too much
scale.
Clean the valve.
The iron is not hot enough to
produce steam.
Wait until the iron heats up and the
temperature control LED is
permanently on.
Flakes and white impurities
come out during ironing.
The iron has limescale formations
inside the steam chamber.
Run the descaling procedure (clean
the steam chamber and the valve).
The spray function or the
steam shot do not work
properly.
The water tank is empty.
Refill the water tank.
The LED turns permanently
on.
There is a problem with tempera-
ture probe.
Unplug and plug in again. If the
problem does not disappear contact
the Braun customer service.
Français
Avant utilisation
Lisez attentivement toutes les instructions
avant d’utiliser l’appareil.
Attention : A cause de la haute
performance de cette centrale
vapeur, veuillez vous assurer que
votre réseau électrique est adapté.
Veuillez contacter votre compagnie
électrique pour s’assurer que
l’impédance n’est pas supérieure à
0.350 Ohm.
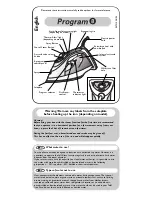
Description
1
Buse du spray
2
Couvercle du réservoir d’eau
3
Bouton du spray
4
Régulateur de la vapeur
5
Bouton vapeur turbo
6
Gâchette de jet de vapeur
7
DEL de contrôle de la température
8 Cordon
d’alimentation
9 Talon
d’appui
10 Semelle 3D
(A) Début du repassage
Remplissage du réservoir d’eau.
•
Assurez-vous que l’appareil est éteint et
débranché.
•
Remplissez le réservoir d’eau avec de
l’eau du robinet en maintenant le fer à
repasser légèrement incliné et en prenant
soin de ne pas dépasser le niveau « max ».
Si la dureté de votre eau est extrêmement
élevée, nous vous recommandons
5712710781_01_SI9_INT.indd 11
5712710781_01_SI9_INT.indd 11
08.06.20 13:34
08.06.20 13:34


