Brant Radiant Heaters DET3-20-65 Manual Download Page 40

40

DET3 

Series

3.0

 Installation


 Combustion Air Requirements 

 Gas Supply

Chart 3.7 


Manifold Pressure

Pressure Equivalents:

 1 inch W.C. equals .058 oz/sq. in. equals 2.49 mbar.

NOTE:

 Check manifold pressure at the tap on the gas valve.  Small variations in manifold pressure (actual 

vs. published) may exist due to changing atmospheric conditions.  Readings will be above atmospheric 
pressure.

IMPORTANT!

 Before connecting the gas supply to the burner control box:


•  Verify that the heater’s gas type (as listed on the rating plate) matches that of your application and  


    the installation complies with national and local codes and requirements of the local gas    

     company.
 

•  Unless otherwise noted on the rating plate, this infrared heater is designed and orificed to operate  


    on standard BTU gas. Contact the factory if utilizing non-standard BTU gas.


•  Check that the gas piping and service has the capacity to handle the total gas consumption of all  


    heaters being installed, as well as any other gas appliances being connected to the supply line.


•  Check that the main gas supply line is of proper diameter to supply the required fuel pressures.


•  If utilizing used pipe, verify that its condition is clean and comparable to a new pipe. Test all gas  


    supply lines in accordance with local codes.

To connect the gas:

The DET3 Series heater is equipped to connect to the Type 1 rubber gas connector (Included). 

Do not 

connect the main gas line directly to the heaters gas inlet without the use of the flexible 

connector. 

All piping must be installed in accordance with the requirements outlined in the National Fuel 

Gas Code ANSI/Z223.1 (latest edition) or CSA-B149.1. Support all gas piping with pipe hangers, metal 
strapping, or other suitable material. Do not rely on the heater to support the gas pipe.

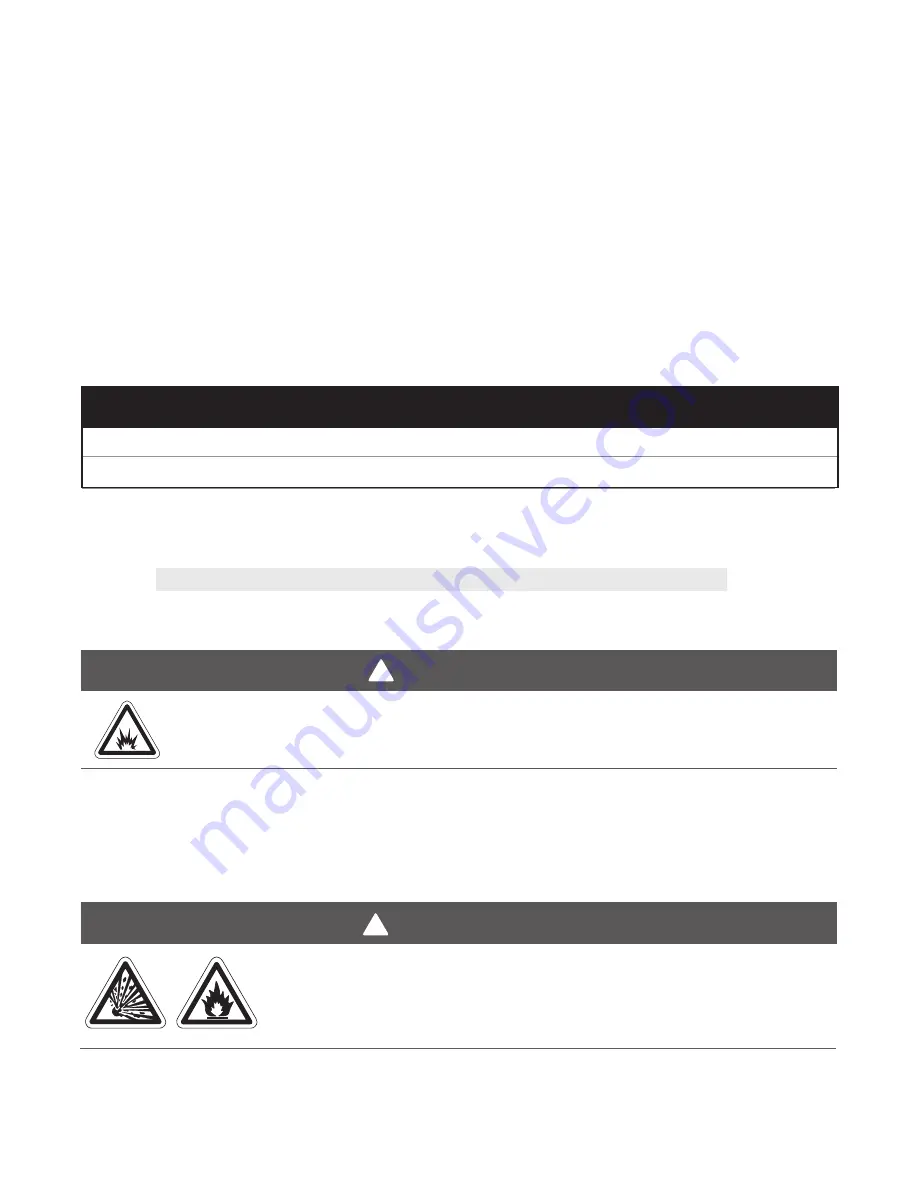
WARNING

!

Failure to install, operate or service this appliance in the approved manner may result in 
property damage, injury or death.  Only trained, qualified gas installation and service 
personnel may install or service this equipment.

WARNING

!

Always use two (2) opposing wrenches to tighten mating pipe connections to 
prevent excessive torque on the gas valve and manifold pipe. Excessive 
torque can damage the valve and/or misalign the orifice, resulting in fire, 
explosion, serious injury or death.


Natural                          3.5 Inches W.C         5.0 Inches W.C                     14.0 Inches W.C 


Liquefied  Petroleum                          10.0  Inches  W.C 

              11.0  Inches  W.C                                      14.0  Inches  W.C 


Type of Gas

Required Manifold

Pressure

Minimum

Inlet Pressure

Maximum

Inlet Pressure

Summary of Contents for DET3-20-65

Page 1: ...red clearances from the heater to the combustibles Signs must either be posted adjacent to the heater thermostats or in the absence of such thermostats in a conspicuous location Not for residential us...

Page 2: ......

Page 3: ...ion 21 Burner Control Box Suspension 23 Reflector Assembly 24 Baffle Assembly and Placement 26 Final Heater Assembly 27 Venting 28 Combustion Air Requirements 35 Separated Combustion Systems 36 Combus...

Page 4: ...ed with your tube heater Refer to the last page for a list of the kit contents for your model heater Materials not included in the heater kit contents e g screws vent material terminals etc are the re...

Page 5: ...90 14 to 25 Titan Alum HRT 40 5 5 DET3 50 125 N or LP 125 000 95 000 50 9 27 5 235 15 to 27 Alum HRT 50 6 3 DET3 50 150 N or LP 150 000 100 00 50 9 27 5 235 15 to 27 Titan Alum HRT 50 6 3 DET3 50 175...

Page 6: ...RTH HOT 120V HEATER INPUT 120V OBSERVE POLARITY Orange crescent with relay option SERVICE ACCESS PANEL CONTROLS GAS VALVE COMPARTMENT 1 Disconnect gas electricity 2 Remove four 4 thumbscrews 3 Remove...

Page 7: ...GAZ A COMMANDE MANUELLE DE L APPAREIL DE CHAUFFAGE JUSQU A CE QU IL DE TROUVE EN POSITION D ARRET OFF 2 OUVRIR LE CIRCUIT ELECTRIQUE BRANT RADIANT HEATERS LIMITED 34 SCOTT AVENUE PARIS ON N3L 3R1 TEL...

Page 8: ...s injury or death Read and understand the installation operating and maintenance instructions thoroughly before installing or servicing this equipment Applications This is not an explosion proof heate...

Page 9: ...eas heaters shall be installed at least 10 ft 3 m from above the upper surface of wings or of the engine enclosures of the highest aircraft that may be housed in the hangar The measurement shall be ma...

Page 10: ...s Building Location Installation of this tube heater is approved without modifications for elevations up to 6 000 feet 1 829 m MSL sea level in the United States Contact the factory for installations...

Page 11: ...Marshall fire insurance carrier or other qualified authorities on the installation of gas fired tube heaters for approval of the proposed installation Safety Signs and Labels It is important to provi...

Page 12: ...6 15 30 76 DET3 40 50 60 150 N P 0 24 61 24 61 6 15 81 206 45 58 147 8 20 10 25 81 206 with 1 side shield 0 42 107 8 20 6 15 81 206 with 2 side shields 0 23 58 23 58 6 15 81 206 20 ft from burner 0 11...

Page 13: ...When designing an infrared radiant heating system consider the following Has the building s heat loss been evaluated Does the design meet the needs of the space Have recommended mounting heights been...

Page 14: ...erved see Chart 3 1 Produces an uneven heat distribution Four burners 100 000 BTU each are placed in each corner Burner hotter ends direct heat to areas of highest heat demand Recommended mounting hei...

Page 15: ...may result in the heaters being mounted outside of the factory recommended mounting heights Model BTU Range Recommended Mounting Height ft Coverage Area Straight Config LxW Coverage Area U Tube Config...

Page 16: ...spacing then additional hangers P N TP 19B may be necessary The spacing between the burner control box mounting brackets and the first hanger should be approximately 2 4 0 7 m The space between the fi...

Page 17: ...7 8 5 DET3 50 50 9 609 6 2 235 lbs 8 10 6 DET3 60 60 5 725 7 2 265 lbs 9 10 7 3 0 Installation Hanger Placement and Suspension 16 in Burner Tube Figure 3 4 Heater Mounting Layout 10 ft Primary Combus...

Page 18: ...t it is securely attached NOTE Threaded rod and turnbuckles may be used 6 Attach hangers to chains Adjust chain lengths until radiant tubing is level and equal weight distribution is achieved Chains m...

Page 19: ...45 degree angle with two suspension points using two Brass Knuckles P N BK fittings 1 double loop chains and S hooks U Tubes can be mounted from a single suspension point using a Single Mounting Brac...

Page 20: ...identification tag Figure 3 9 Attach Tube Clamps Hanger Welded Seam Faces Down Swaged End Tube Clamp Radiant Tube IMPORTANT 150 000 to 200 000 BTU h models must be installed with a stainless steel tub...

Page 21: ...ards exhaust end NOTE If it is difficult to mate the tubes they may be installed incorrectly 4 Center tube clamps over the seam where two radiant tube sections connect If necessary rotate tube clamps...

Page 22: ...duction Field corrections require two 2 TR 60 packages Figure 3 12 Elbow and U Bend Clearances Dimension A U Bend can be set in both directions 12 Figure 3 13 U Bend and Elbow Dimensions Chart 3 4 Ove...

Page 23: ...w hook or other type of suspension anchor to hanging point 3 Attach S hook and chain assembly P N THCS to anchor Check that it is securely connected 4 Attach chain assemblies and S hooks to mounting b...

Page 24: ...space surrounding the heater Before you begin assembly determine if the use of reflector accessories are necessary see Chart 3 5 Figure 3 16 Reflector Assembly Reflector 4 Overlap Reflector Center Su...

Page 25: ...reflector P N RU Used over a U shaped radiant tube 3 0 Installation Reflector Assembly Reflector Accessory Description Part Number Elbow Reflector 90 bend highly polished aluminum reflector elbow desi...

Page 26: ...the baffle 90 degrees to lock the baffle sections together 5 Repeat this process with all remaining baffle sections to complete assembly Figure 3 19 Assembling the Baffles Figure 3 20 Inserting the B...

Page 27: ...bly 3 0 Installation Final Heater Assembly Stainless steel clamp location on 150 200 MBH models P N TP 220 NOTE When securing joints on reflectors which are rotated on an angle from horizontal secure...

Page 28: ...or other deficiencies that can cause hazards The vent pipe should be corrosion resistant galvanized steel of a thickness that meets the National Fuel Gas Code Minimum thickness for connectors varies...

Page 29: ...the venting system Have all vent pipe seams or connectors sealed with high temperature silicone sealant approved for at least 550 F field supplied and fastened together with at least three 3 corrosio...

Page 30: ...heaters that are Category I must be connected to a chimney or vent complying with a recognized standard or lined masonry or concrete chimney with a material acceptable to the authority having jurisdi...

Page 31: ...223 1 Gas Vent Termination criteria if roof pitch exceeds 9 12 24 in Min Double Wall B Vent Roof Heater 1 in Minimum Clearance Use Attic Insulation Shield Field Supplied Fire Stop Spacer 8 Sheet Metal...

Page 32: ...incial and local codes The venting system must be provided by the installer and should be comprised of single wall venting materials with a thickness of no less than 26 gauge All joints must be sealed...

Page 33: ...g Vents adjacent to public walkways must terminate a minimum of 7 feet above grade level The vent cap must be a minimum of 6 inches from the sidewall of the building Vent must be a minimum of 36 inche...

Page 34: ...stalled within the common portion of the vent carrying system reduces the maximum common vent capacity by 10 Refer to NFPA 54 IFEC tables 11 2 and 11 3 for capacity The vent connector capacities allow...

Page 35: ...m must follow all guidelines for Category III venting as listed on pages 28 29 The vent connector should be routed in the most direct route from the units to the common vent Where two or more vent con...

Page 36: ...fuser P N WVE GALV must be used Where unvented heaters are used natural or mechanical means must be provided to supply and exhaust a minimum of 4 CFM 1 000 BTU h input of installed heaters NOTE Gravit...

Page 37: ...ch as sawdust welding smoke etc Negative building pressure Unusually tight construction where there is an air infiltration rate of less the 0 40 air changes per hour Guidelines Figure 3 27 Horizontal...

Page 38: ...upply lines in accordance with local codes General No more than two 90 elbows are allowed Allow for expansion Use a 4 in flexible hose to connect the duct to the burner control box In humid environmen...

Page 39: ...nd local codes along with guidelines in this manual In the United States refer to the latest edition of the ANSI Z223 1 NFPA54 Standard and in Canada refer to the latest edition of the CAN CGA B149 1...

Page 40: ...ed pipe verify that its condition is clean and comparable to a new pipe Test all gas supply lines in accordance with local codes To connect the gas The DET3 Series heater is equipped to connect to the...

Page 41: ...ch material an intermediate connection device that allows for the heater expansion must be used The gas outlet must be in the same room as the appliance is installed and must be accessible It may not...

Page 42: ...use serious injury or death Test in accordance with CAN CSA codes 7 14 18 cm 36 cm 9 23 cm Correct Method Wrong Method Side View Front View Side View Front View 9 23 cm 9 14 23 cm 36 cm Correct Method...

Page 43: ...re allowances are made for this movement To ensure your safety and comply with the terms of the warranty all units must be installed in accordance with these instructions 3 0 Installation Gas Supply B...

Page 44: ...he pressure NOTE All factory installed gas connections have passed an approved leak test For leak testing on pressures above 1 2 PSI When leak testing with pressures above 1 2 PSI 14 inches W C the un...

Page 45: ...f a commercial tube heater system in residential indoor spaces may result in property damage serious injury or death All field installed wiring to the tube heater must be done in accordance with the n...

Page 46: ...thermostat is 1 F The preset differential for High fire mode is 3 F When the temperature drops below the Low Fire preset differential of the thermostat 63 F Low Fire will activate If the temperature...

Page 47: ...s installed then the following wire colors apply Neutral green Low white High black DET3 BURNER BOX Additional wire needed for thermostats that require constant power 24VAC N Low High EXTERNAL TRANSFO...

Page 48: ...sting wiring replace if necessary NOTE If any of the original wire supplied with the appliance must be replaced it must be replaced with wiring material having a temperature rating of at least 105 C F...

Page 49: ...ring HI M C C HI M C C NEUTRAL THERMOSTAT NEUTRAL VALVE GROUND HIGH VOLTAGE COM NO NC 120V 24V TRANSFORMER GAS VALVE N O PRESSURE SWITCH 120VAC BURNER Y O R LIGHT N BK BL Y W W R BK BK BL R O G Y BK B...

Page 50: ...NFPA 70 or Canadian Electrical code CSA C22 1 Part 1 9 9 The unit is properly mounted to a permanent structure able to bear the weight of the unit 9 9 The proper mounting height is observed for the ap...

Page 51: ...have all of your tools 9 9 Leave the Manual with the owner or end user High Altitude Operation High altitude operation of this tube heater is approved without modification for elevations up to 6 000...

Page 52: ...gas is heavier than air and will settle to the floor Refer to the cover page If you smell gas and on safety label affixed to the heater Do not use this appliance if any part has been under water Imme...

Page 53: ...e electrode monitors burner flame If sense of flame is lost the control immediately disrupts power to the gas valve and then re cycle the unit identical to the starting sequence If flame sense is not...

Page 54: ...t The heater will attempt to light three times In the event of a failed attempt to light gas pressure valve no flame sense etc the heater will enter a soft lockout period for 15 minutes and then attem...

Page 55: ...55 DET3 Series This page intentionally left blank...

Page 56: ...s Replace igniter Yes No Find the source of the electrical problem Check the gap on the igniter Is the gap between 3 16 in and 1 4 in No Adjust gap Yes No Yes No During the ignition trial does the gas...

Page 57: ...fter verifying the following Baffle s is in the tube farthest from the burner Heater blower squirrel cage intake and exhaust are clean and free from dirt and obstructions The 4 in dia air intake pipe...

Page 58: ...ed properly Fluctuating gas pressure No Adjust gap Does the burner stay on No Does the heater stay on until the call for heat ends Yes Yes Troubleshooting ends Is the heater properly grounded Is the p...

Page 59: ...ure 3 5 inches W C natural gas or 10 inches W C propane gas If the indicator light is not illuminated it is faulty and should be replaced If the manifold pressure ranges from 2 3 to 2 8 inches W C nat...

Page 60: ...er 1 500 hours of operation heavy duty Vent pipe system Check the outside termination and the connections at the heater Inspect the vent exhausts for leakage damage fatigue corrosion and obstructions...

Page 61: ...61 DET3 Series This page intentionally left blank 6 0 Maintenance...

Page 62: ...Tension Spring TP 17 Sight Glass Kit TP 201B V 3 Mid Burner Color Code TAN TP 19B 4 in Wire Hanger w Tension Spring TP 204 Gas Orifice Consult Factory TP 20C 10 ft Aluminum Reflector TP 212 1 2 x 3 P...

Page 63: ...2 Low BTU Burner Color Code GREEN TP 1018 APS 1 4 in Silicone Sensing Tube TP 3093 8 32 Cage Nut Qty 4 TP 1264A Differential Pressure Switch 100 to 125 MBH TP 3094 8 32 x in Black Nylon Shoulder Screw...

Page 64: ...or consequential and incidental damages is expressly disclaimed Brant Radiant Heaters Limited s liability in all events is limited to and shall not exceed the purchase price paid Warranty Disclaimer B...

Page 65: ...______________________________________________________________ ___________________________________________________________________________________ _____________________________________________________...

Page 66: ...______________________________________________________________ ___________________________________________________________________________________ _____________________________________________________...

Page 67: ...______________________________________________________________ ___________________________________________________________________________________ _____________________________________________________...

Page 68: ...ement et d entretien avant de proc der l installation ou l entretien de cet quipement INSTALLER Present this manual to the end user Keep these instructions in a clean and dry place for future referenc...

Reviews: