PCI Photon 8 Port RS232 Software Installation
Chapter 3 Page 13
Serial Solutions Installation for Windows 3.x
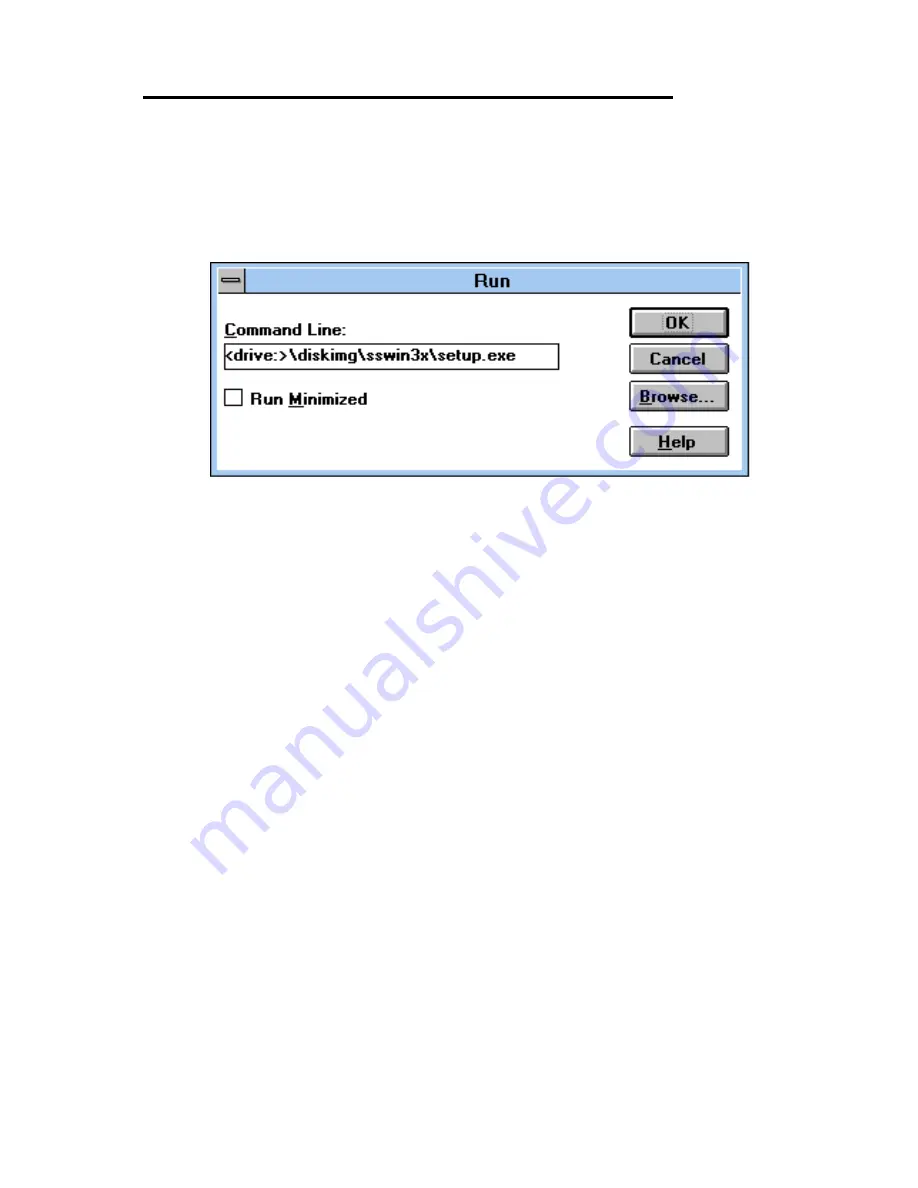
To install the software from the supplied disk, insert the
disk, from Windows Program Manager’s File menu choose
"Run" and in the Command Line entry window type
<drive:>\diskimg\sswin3x\setup.exe (CDROM) or
<drive:>\setup.exe (FLOPPY)
(where <drive:> is the path to installation disk).
Selecting the "OK" button shows the setup program main
Selecting the "OK" button shows the setup program main screen,
Figure 4-1, which will automatically select components for
installation that have not already been installed. Selecting the "Del
All" button will select all installed components for deletion and
selecting "Add All" chooses all uninstalled components for
installation. Several of the components have user selectable
parameters, e.g. target install directory, which can be changed by
clicking on the button. These options may not be changed once
the components have been installed. A README.TXT file on the
disk contains details of the latest updates to this software,
Note: If it is necessary to re-install an OLDER version of a
component then the NEWER version component must be FIRST
removed by selecting the component’s button in the "Uninstall"
column then selecting the "Continue" button.
If only logical ports COM1 to COM9 are to be used then
de-select the Comms API library option button in the "Install"
column. This library is only necessary to allow the use of logical
ports greater than COM9 e.g. COM10, COM11 etc.


