LabelMark User Guide
Note:
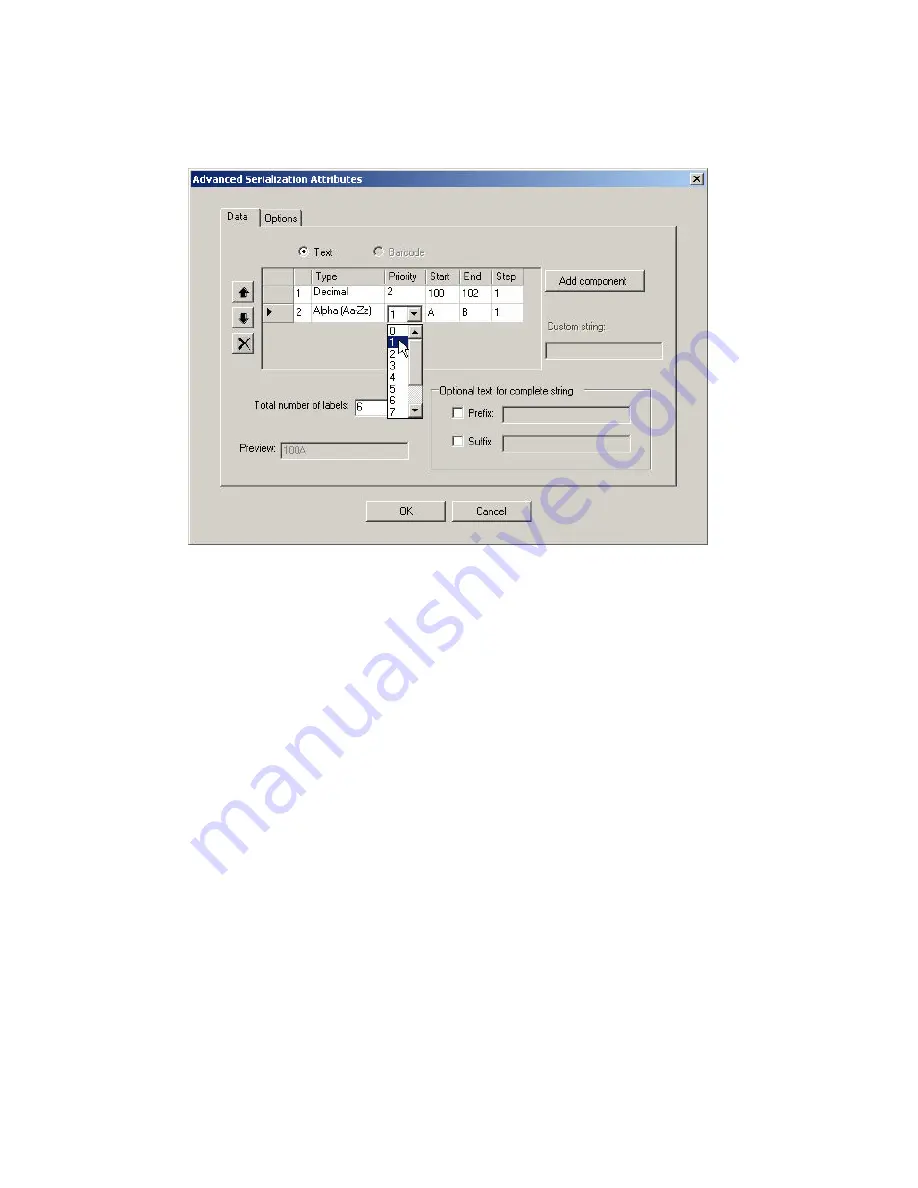
Even if you used a wizard to create the linked objects, you will not see the wizard when you
edit a linked object. You will see a multi-tab dialog box (see the advanced serialization example
below) that lets you make all the necessary changes to the objects.
3. Modify the attributes as desired and click
OK
to regenerate the import, serialization or date/time
fields.
To delete a linked object(s):
If you select a linked object and press
Delete
, the system asks if you want to
delete all items linked to those
in the current selection?
•
If you select
No
, the system deletes only the selected item.
•
If you select
Yes
, the system deletes all of the linked items.
•
If you select
Cancel
, the system deletes nothing.
To format linked objects:
1. Click one of the linked objects.
Note:
You can select and format one linked object without affecting the others.
2. Select
Edit
Select All
Linked Objects
.
3. Format the objects as desired.
32
Basic LabelMark Techniques
Summary of Contents for LabelMark 3.2
Page 1: ...LabelMark 3 2 User Guide...
Page 2: ......
Page 6: ......
Page 26: ......
Page 72: ......
Page 102: ......
Page 104: ...LabelMark User Guide 98 Symbols Guide...
Page 105: ...Symbols Guide Symbols Guide 99...
Page 106: ......


