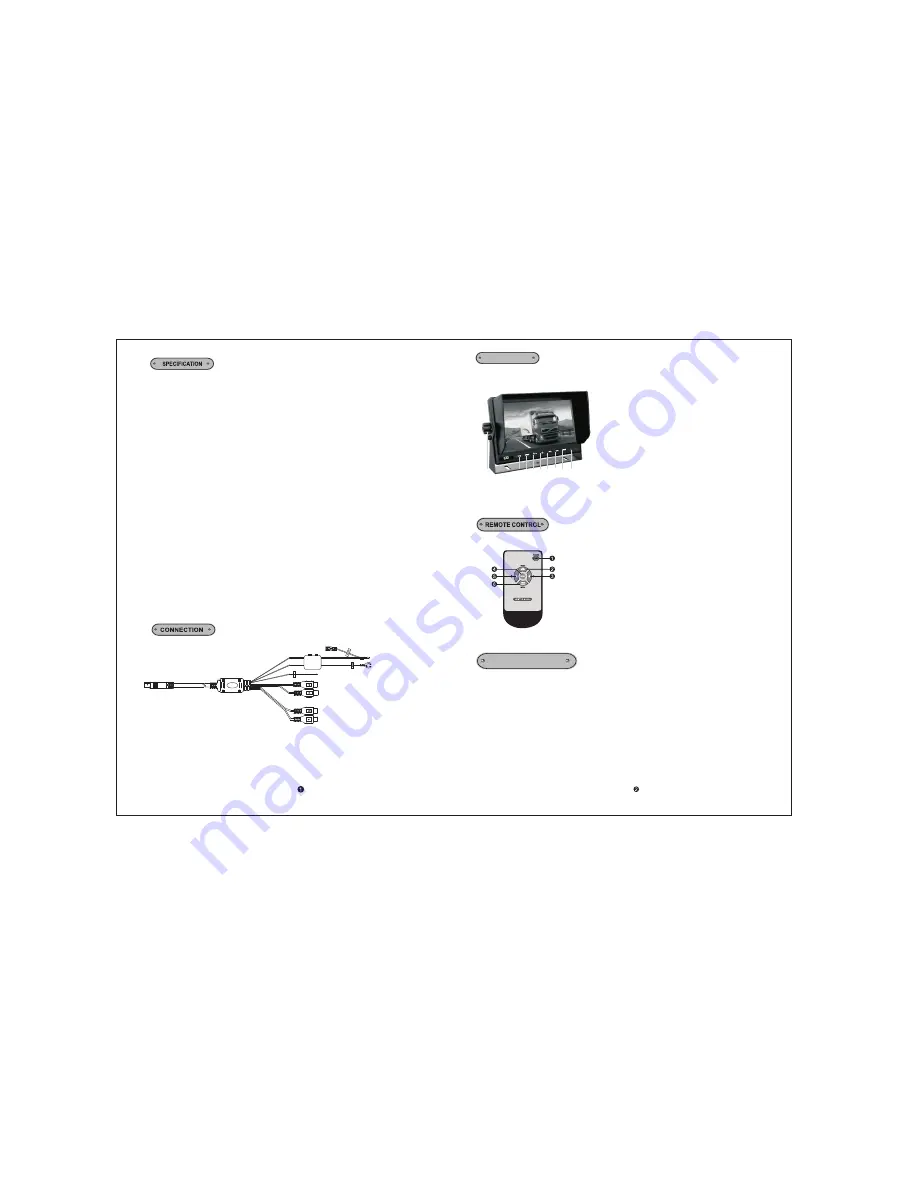
1
.
Volume
decrease
,
menu
analog
quantity decrease
/
Left option
2
.
Menu
3
.
Volume
increase, menu
analog
quantity increase
/
right
option
4
.
Power
5
.
Video
1
,
up
option
6
.
Video
2
,
down
option
7
.
HDMI
,
menu
confirmed
key
8
.
Remote
control
window
9. Bracket
knobs
Monitor
1
.
Size
:
7
"
HD
digital
panel
2
.
Screen Ratio: 16:9
3
.
Resolution
:
1024
*
R
.
G
.
B
*
600
4
.
2 AV input
5
.
1
HDMI
input
(
support
HDMI 1
.
3
version
,
1080P
)
6
.
Auto Reverse Trigger Wire
7
.
8
.
Supporting
USB2
.
0
telephone
power
charge
connector
9
.
System
:
10
.
OSD menu, remote control
11
.
Can
set
blue
/
dark
screen
without
signal
12
.
Power
off
automatically
after
15
minutes
with
no
signal
or
operation
13
.
Built
-
in
speaker
14
.
Power
supply
:
DC 12-24V
15
.
U-shape metal bracket
16
.
With
sunshade
(
removable
)
Trigger delay 0-10 seconds.
Parking guidelines can be set in the "MENU"
NTSC/PAL Auto Switch
Red: DC 12-24V input
Black: GND
Green: reversing
Yellow RCA female: AV1 video input
Yellow RCA female: AV2 video input
Red RCA female: AV2 audio input
White RCA female: AV1 audio input
1
3
2
4 5 6 7
8
9
Menu description
The image display effect for AV1/AV2/HDMI can be set separately.
The setting method is as below:
After power on, callout the menu by pressing “MENU” on the remote
control or panel, then press”UP/DOWN” to next menu option. Press
“LEFT/RIGHT” on the remote control or panel or “HDMI” on the panel
to enter into current submenu.Then press “+” and “-” to adjust the
specific numeric. Press “MENU” to exit current menu.
1.Power
2.
3.
4.Menu
5.
6.
Selecting Source. To Adjust Up
Volume Increase. To Adjust Right
Volume decrease. To Adjust Left
To Change Ratio. To Adjust Down
Summary of Contents for VTM7010HDMI
Page 1: ...V T M7010HDMI...


