www.boutiquecamping.com
|
+44 (0) 203 394 2986
|
5.
6.
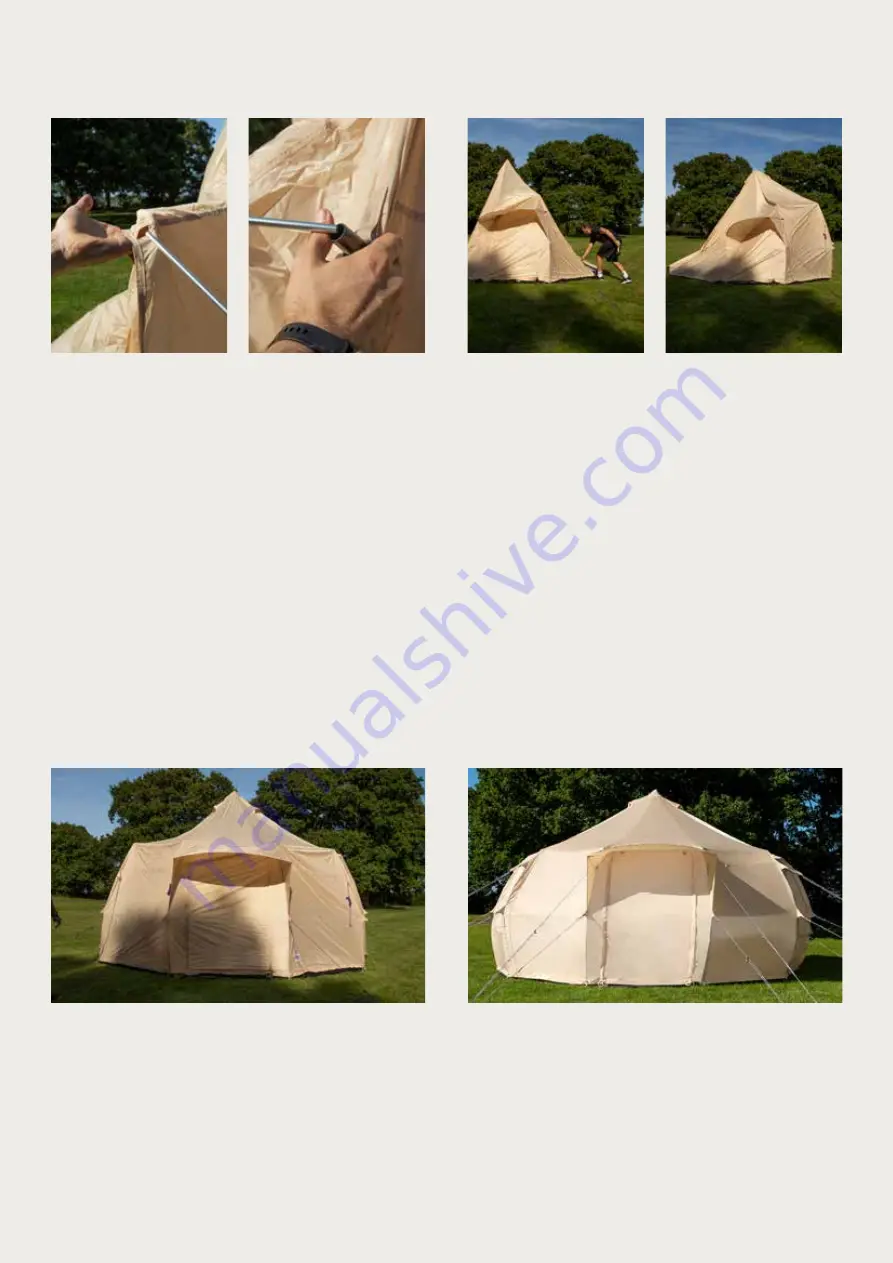
Please take the door pole (3), this will create a canopy above your door.
Connect the pole together and thread through the sleeve, once this
is completely through you can then one at a time connect the pole to
the black bracket each side. This will secure the position.
TIP: please
connect one at a time and do not force the pole into location.
The Guy ropes are already attached to the tent and there are 2 per
seam, you will need to loosen them and adjust the slider about a metre
up the guy rope. Please note you have a enough pegs to peg out each
guy rope individually, this is for extra support and strength. However if
you are in fair weather 1x peg per seam will be more than enough.
Work your way round the tent pegging the guy ropes at least 1 metre
away from the tent, but in line with the seam. From your peg placement
to the top of the tent (apex) should be one completely straight line.
Please don’t tighten your guy ropes at this stage.
TIP: Zip the door
closed, this will help to create equal tension when pegging the guy
ropes.
7.
Once you have completed pegging each of the guy ropes, You can now create the
correct shape and tension. Please note to tighten each guy rope equally.
from this
to this


