


PRECAUTIONS
1
How to Handle Discs
Safe Notes
•
Handle a disc by its edges. Do not touch the playing side.
To avoid the risk of accident and the potential violation of applicable laws, the driver should
never view video or operate this DVD player while the vehicle is moving.
The DVD video functions will only view or operate when vehicle is in park and the parking
brake is engaged.
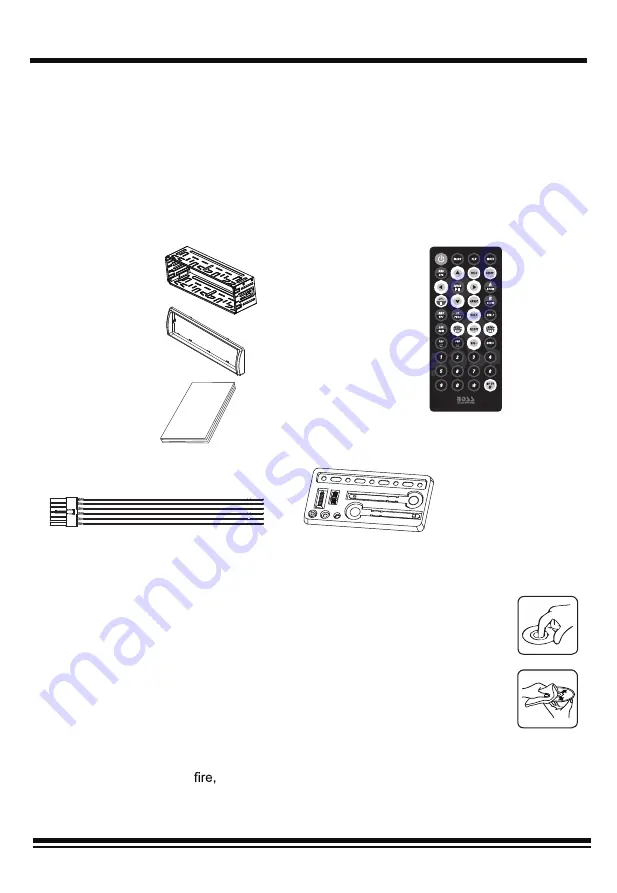
Accessories
Please check and confirm the accessories in the package before using this unit.
•
Before inserting a disc, wipe the disc outward from the disc center with a
clean, soft, dry and lint-free cloth. Do not use solvents or thinners such a
petrol/benzene or cleaners.
•
After removing a disc from the disc slot, place the disc in a sleeve or case
to keep it clean and prevent scratches.
•
Do not stick paper or tape on the disc surface. If there is glue (or adhesive)
on the disc surface, remove it before using the disc.
Lithium Battery Cell Warnings
•
Cell leakage may cause damage to the remote control.
•
Do not throw cells into
as this may cause an explosion.
•
Keep battery cells out of reach of children.
Including:
1) Meatal Mounting Strap: 1pc
2) Disassemble Keys: 2pcs
3) Tapping Screw: 1pc
4) Hex Bolt: 1pc
5) Hex Nut: 1pc
6) Plain Washer: 1pc
7) Spring Washer: 1pc
1. Mounting Sleeve
5. Remote Control
6. Metal Accessories Kits
2. Trim Ring
3. User Manual
4. 12Pin PWR/SPK Harness


