15
GENERAL OPERATION
TURN THE UNIT ON/OFF
TURNING ON THE PLAYER
Press the button on the front panel to
turn on the power. When the unit is on, it
will search the disc automatically. If there is
a disc in the disc slot, the unit will start
playback automatically. Beside this, you
should turn on the monitor that is
connected to the player.
TURNING OFF THE PLAYER
When the power is on, hold the button on
the DVD unit to for several seconds or press
button on the remote control to turn off
the power.
Note:
The unit has screen saver function
(select “ON” in Screen Saver setup). If the
playback is stopped and there is not any
button operation in 5 minutes, it will activate
the screen saver funcation automatically;
when any button for DVD function is
pressed, the screen saver function will
release automatically.
REMOTE SENSOR (IR)
Point the remote handset to the remote
sensor
IR
on the DVD unit. Receive the
signal from remote handset.
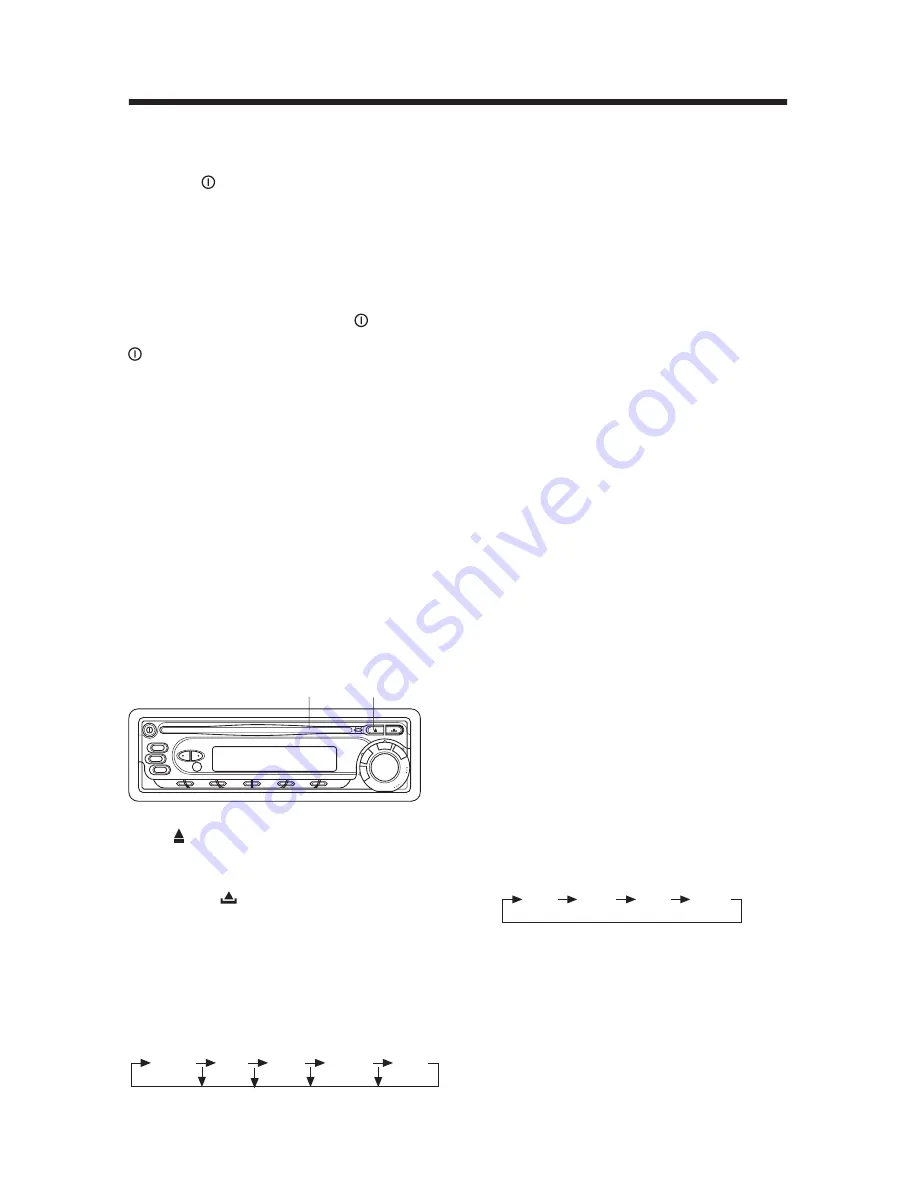
LOADING A DISC
1. Insert the disc with printed side facing
up into the disc slot.
2. The player will start playback
automatically.
EJECTING A DISC
Press (EJECT) button on the DVD unit or
on the remote control to eject the disc.
FACEPLATE RELEASE
Press
REL (
)
button on the front panel
to detach the removable faceplate.
SOUND ADJUSTMENT
Press
SEL
button on the front panel of
the unit or on the remote control to
select the desired adjustment mode.
The adjustment mode will change in the
following order:
By pressing the
VOL+/-
buttons on the
front panel or
/-
buttons on the
remote control clockwise or counter-
clockwise, it is possible to adjust the desired
sound quality.
LOUDNESS
Press and hold
BND/LOUD
button on
the front panel for several seconds or
press
LOUD
button on the remote
control to reinforce the bass output.
Press
BND/LOUD
button on the front
panel for several seconds again or press
LOUD
button on the remote control
again to release this function.
SET THE CLOCK
Press the
DSP
button on the front panel,
the clock is shown on the LCD display.
Then press
SEL
button on the front
panel or on the remote control shortly,
the hour will be flashing.
Then pressing the
VOL+/-
buttons on the
front panel or
/-
button on the
remote control to change hours. And then
press
SEL
button to confirm it. Press
SEL
button again, the minute will be flashing.
Then you can change the minutes according
to the operation described above.
MUTE
Press
MUTE
button on the front panel or
MUTE
button on the remote control to
mute down the sound instantly. Press it
again to resume sound output.
Volume Level Adjustment
Pressing
VOL+/-
buttons on the front panel
or
/-
on the remote control to
increase or decrease the volume level.
EQUALIZATION
Press
EQ
button shortly to turn on
equalization function and to select desired
audio mode. There are four kinds of mode
as below:
SUBWOOFER
Press
EQ (SW)
button on the front panel
for several seconds to toggle subwoofer
output. Press it for several seconds
again to release this mode.
MODE SELECTION
Press
MODE
button on the front panel of
the unit or
MODE
button on the remote
control to select among radio, disc
VOL
BAS
TRE
BAL
FAD
(Volume)
(Bass)
(Treble)
(Balance)
(Fader)
FLAT
CLAS
POP ROCK
Disc Slot Eject Button


