Page 11
Page 2
3. MODE (Input Select)
Press this button repeatedly to cycle through the audio input sources:
CARD> AUX >TUNER > USB > IPOD
Please note:
ipod Mode can only be selected if an ipod is present in the dock.
4. AUX IN JACK
This jack is a convenient way to play music from an MP3 music player such
as an ipod through your car audio.
Simply connect the headphone output of the MP3 player to this input jack, and
press MODE button to select AUX as input source and begin playing music on
the MP3 player.
Please note:
AUX IN Mode can only be selected if it is enabled in the system Settings.
If you are having problems with AUX IN mode, please check the setting.
5-10. RADIO PRESETS 1-6
These buttons are used to store the presets for radio stations. To set a preset,
tune to the desired radio station. Then press and hold the preset to which you
wish to assign that station for more than one second and release. To replace it
with a different station, repeat the process and the new setting will override
the previous one.
11.BAND
Press briefly, repeatedly to cycle between the five radio bands:
FM1 > FM2 > FM3 > AM1 > AM2
12&13. TUNE/SEEK UP/DOWN BUTTONS
Press these buttons briefly to step up or down the radio dial in single step
increments. Press and hold for more than one-haft second and the tuner will
enter the SEEK mode. In this mode the tuner will stop at the next strong
station available.
14.DISPLAY
Press to display or adjust the clock. Press and hold this button until the time
flashing then use the volume knob to adjust the time.
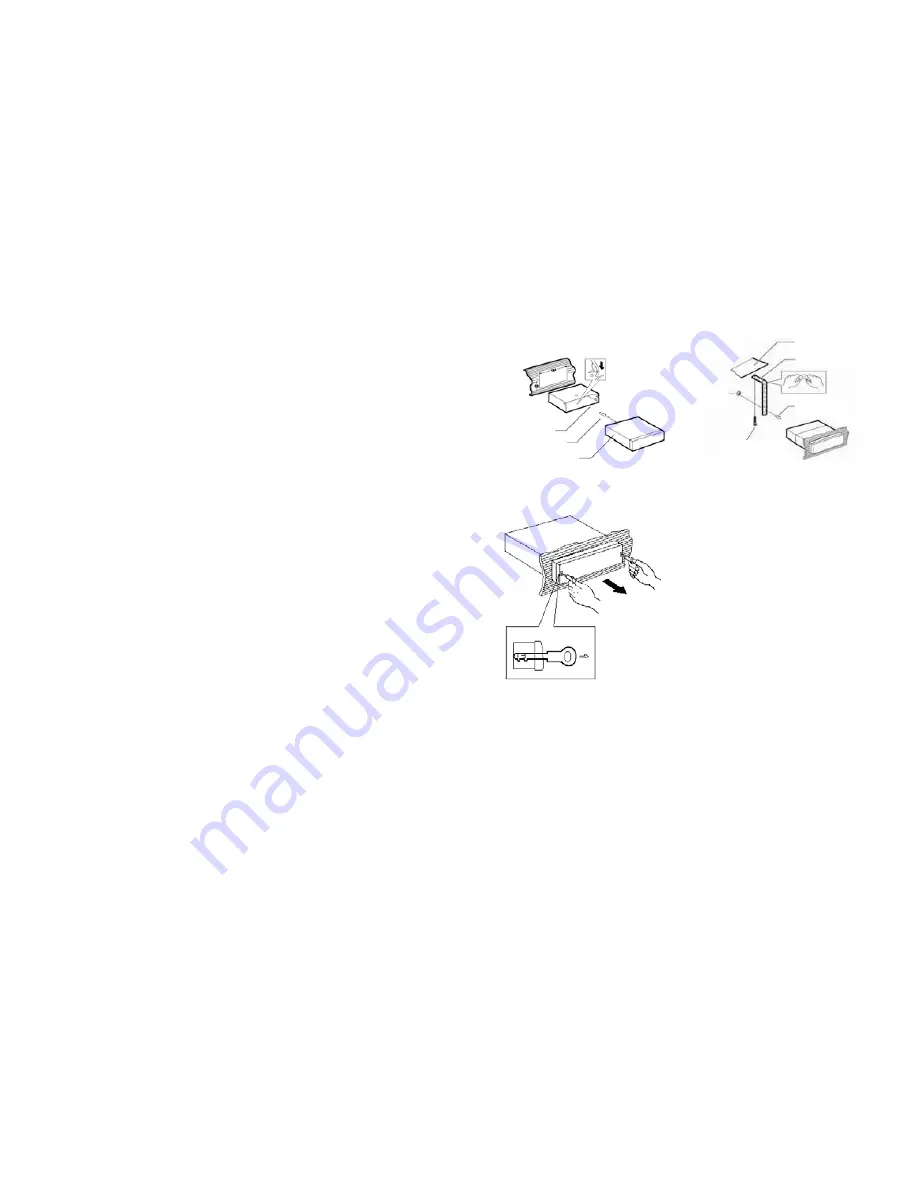
5x15mm
support screw
5mm nut
support screw
support strap
dashboard attachment
surface
head unit
support screw
mounting case
Installation
Figure 1 Bending the support tabs
Figure 2 Forming the support bracket
Figure 3 Insert levers unit
“
click
”
occurs,
then use levels to pull out head unit.


