4
DISASSEMBLY/ASSEMBLY PROCEDURES (CONT.)
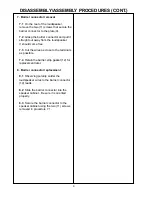
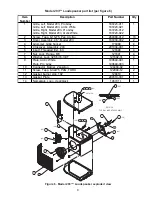
7. Barrier connector removal
7.1 On the rear of the loudspeaker,
remove the two (11) screws that secure the
barrier connector to the plate (9).
7.2 Grasp the barrier connector and pull it
straight out away from the loudspeaker.
It should come free.
7.3 Cut the wires as close to the terminals
as possible.
7.4 Retain the barrier strip gasket (12) for
replacement later.
8. Barrier connector replacement
8.1 Observing polarity, solder the
loudspeaker wires to the barrier connector
(10) leads.
8.2 Slide the barrier connector into the
speaker cabinet. Be sure it is oriented
properly.
8.3 Secure the barrier connector to the
speaker cabinet using the two (11) screws
removed in procedure 7.1.


