User Manual
10 of 23
MENU Basic Operation
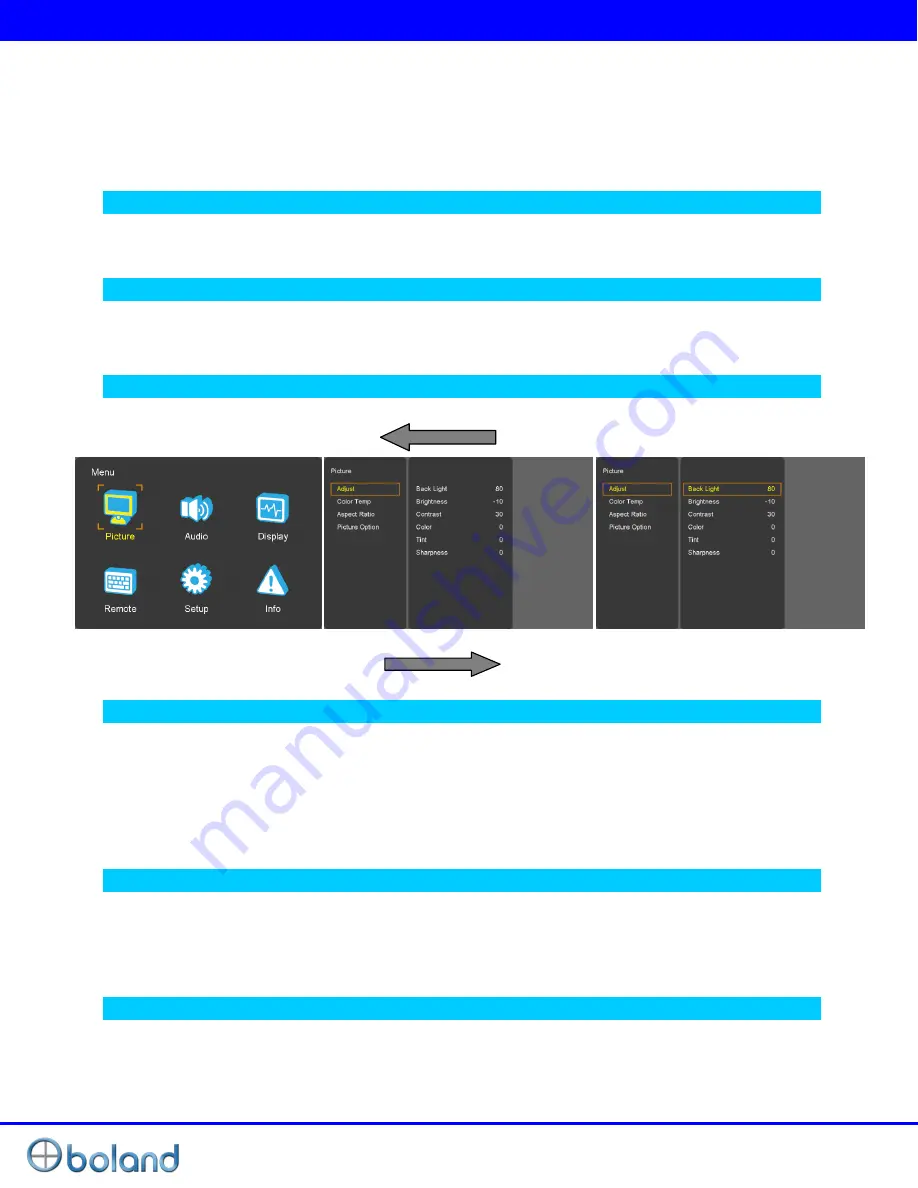
In this menu system, there are several ways to customize the menu settings provided.
Most menus consist of three levels to set up the options, but some require greater depth for the variety of
settings. If you press the
MENU
button, only the first and second level of the menu system will appear on
the monitor screen. The third level can be displayed by pressing
INPUT
▶
. If a menu has more than three
levels, the pop-up dialogue box will be displayed as the fourth or fifth level.
To show and remove the Menu
Press the
MENU
button to display the menu. A second press of the
MENU
button will take you back to
monitor viewing.
To go to the next level
Press
INPUT
▶
button.
To go back to the previous level
Press
◀(Left)
button
Typical Menu Operation
1. Press
MENU
button: The main menu will appear.
2. Use
UP/DOWN
button to select the desired menu option (icon).
3. While the desired menu option is selected, press
INPUT
to move to the second level.
4. Use
UP/DOWN
button to select the second menu option.
5. Press
INPUT
to move to the third level: Some menu options require additional steps.
6. Press
MENU
to return to the previous menu to return to monitor viewing.
Turning On the Monitor
1. First, connect power cord correctly. At this moment, the monitor switches to standby or power on mode.
In standby mode, in order to turn monitor on, press the
Power
button.
2. Select the viewing source by using
INPUT
button on Keypad in front of monitor
Volume Adjustment
1. Press the
ADJUST
button on Keypad.
2. If you want to switch the sound off, press the
FUNCTION (Audio mute)
button.
3. You can cancel this function by pressing the
FUNCTION (Audio mute)
or volume control button.


