4
Safety precautions
(continued)
Important safety instructions
1.
Read these instructions.
2.
Keep these instructions.
3.
Heed all warnings.
4.
Follow all instructions.
5.
Do not use this apparatus near water.
6.
Clean only with dry cloth.
7.
Do not block any ventilation openings. Install in accordance with the
manufacturer’s instructions.
8.
Do not install near any heat sources such as radiators, heat registers,
stoves, or other apparatus (including amplifiers) that produce heat.
9.
Do not defeat the safety purpose of the polarized or grounding-type
plug. A polarized plug has two blades with one wider than the other.
A grounding type plug has two blades and a third grounding prong.
The wide blade or the third prong are provided for your safety. If the
provided plug does not fit into your outlet, consult an electrician for
replacement of the obsolete outlet.
10.
Protect the power cord from being walked on or pinched particularly
at plugs, convenience receptacles, and the point where they exit from
the apparatus.
11.
Only use attachments / accessories specified by the manufacturer.
12.
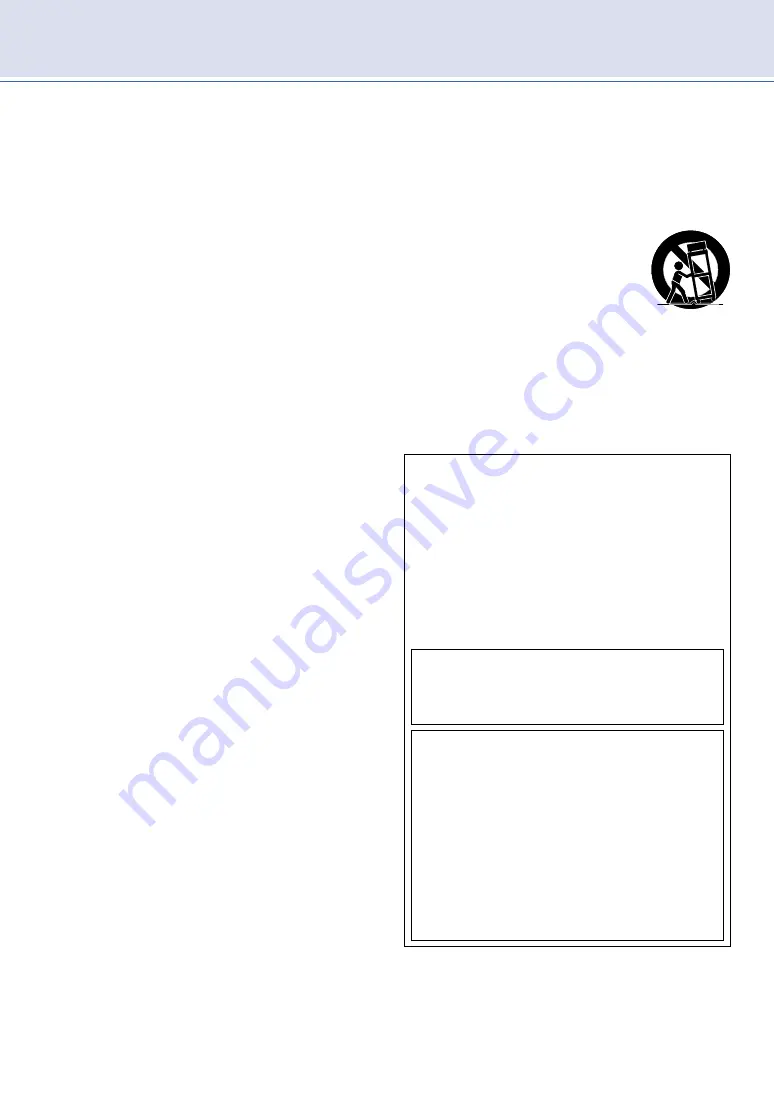
Use only with the cart, stand, tripod,bracket, or
table specified by the manufacturer, or sold with
the apparatus. When a cart is used, use caution
when moving the cart / apparatus combination to
avoid injury from tip-over.
13.
Unplug this apparatus during lightning storms or
when unused for long periods of time.
14.
Refer all servicing to qualified service personnel. Servicing is required
when the apparatus has been damaged in any way, such as power-
supply cord or plug is damaged, liquid has been spilled or objects
have fallen into the apparatus, the apparatus has been exposed to
rain or moisture, does not operate normally, or has been dropped.
Notice
Pixel characteristics
This LCD product has a high number of color pixels. Although it has
effective pixels of 99.999% or more, black dots or bright points of light
(red, green or blue) may appear constantly on the screen. This is a
structural property of the display (within common industry standards) and
is not a malfunction.
Warranty
No components are user serviceable. Do not open or remove covers to
the inside of the product. Repairs may only be done by service cen-ters
and official repair shops. Failure to do so shall void any warranty, stated
or implied.
Any operation expressly prohibited in this Owner’s manual, any adjust-
ments or assembly procedures not recommended or authorized in this
Owner’s manual shall void the warranty.
Federal communications commission notice
This equipment has been tested and found to comply with the limits
for a Class B digital device, pursuant to part 15 of the FCC Rules.
These limits are designed to provide reasonable protec-tion against
harmful interference in a residential installation. This equipment
generates, uses and can radiate radio frequency energy and, if not
installed and used in accordance with the instructions, may cause
harmful interference to radio commu-nications. However, there is no
guarantee that interference will not occur in a particular installation. If
this equipment does cause harmful interference to radio or television
reception, which can be determined by turning the equipment off and
on, the user is encouraged to try to correct the interference by one or
more of the following measures:
• Reorient or relocate the receiving antenna.
• Increase the separation between the equipment and the receiver.
• Connect the equipment into an outlet on a circuit different from that
to which the receiver is connected.
• Consult the dealer or an experienced radio or television technician for
help.
Modifications
This apparatus may generate or use radio frequency energy. Changes or
modifications to this apparatus may cause harmful interference. The user
could lose the authority to operate
Cables
Connections to this device must be made with shielded cables with
metallic RFI / EMI connector hoods to maintain compliance with FCC
Rules and regulations.
The following FCC/IC RSS applies to the wireless LAN adapter
included in this product.
FCC caution: Any changes or modifications not expressly ap-proved
by the party responsible for compliance could void the user’s authority
to operate this equipment.
This transmitter must not be co-located or operated in conjunction
with any other antenna or transmitter.
FCC/IC RF Exposure Compliance
This equipment complies with FCC/IC radiation exposure limits set forth
for an uncontrolled environment and meets the FCC radio frequency
(RF) Exposure Guidelines and RSS-102 of the IC radio frequency (RF)
Exposure rules. This equipment should be installed and operated
keeping the radia-tor at least 20cm or more away from your body.
This device complies with Part 15 of FCC Rules and Industry Can-
ada licence-exempt RSS standard(s). Operation is subject to the
following two conditions: (1) this device may not cause interference,
and (2) this device must accept any interference, including
interference that may cause undesired operation of this device.
5150-5250 MHz band is restricted to indoor operations only.
High-power radars are allocated as primary users (i.e. priority us-ers)
of the bands 5250-5350 MHz and 5650-5850 MHz and that these
radars could cause interference and/or damage to LE-LAN devices.
Compliance with IC requirement RSS-210 A9.4.4
Data transmission is always initiated by software, which is the passed
down through the MAC, through the digital and analog baseband,
and finally to the RF chip. Several special packets are initiated by
the MAC. These are the only ways the digital base-band portion
will turn on the RF transmitter, which it then turns off at the end of
the packet. Therefore, the transmitter will be on only while one of
the aforementioned packets is being transmitted. In other words,
this device automatically discontinue transmission in case of either
absence of information to transmit or operational failure.


